
Just as the transition from film to digital revolutionized the way you capture the world, the rise of Artificial Intelligence is fundamentally altering how you refine your vision. As a photographer, you know that the hours spent behind a computer screen can often outweigh the time spent behind the lens. This is where Luminar Neo steps in: not just as another editing tool, but as a sophisticated AI-powered ecosystem designed to return those hours to you while elevating your creative output to professional heights.
In this comprehensive guide, you will discover why Luminar Neo has become an indispensable asset for fine art photographers and why it might be the single most important upgrade to your post-processing workflow this year.
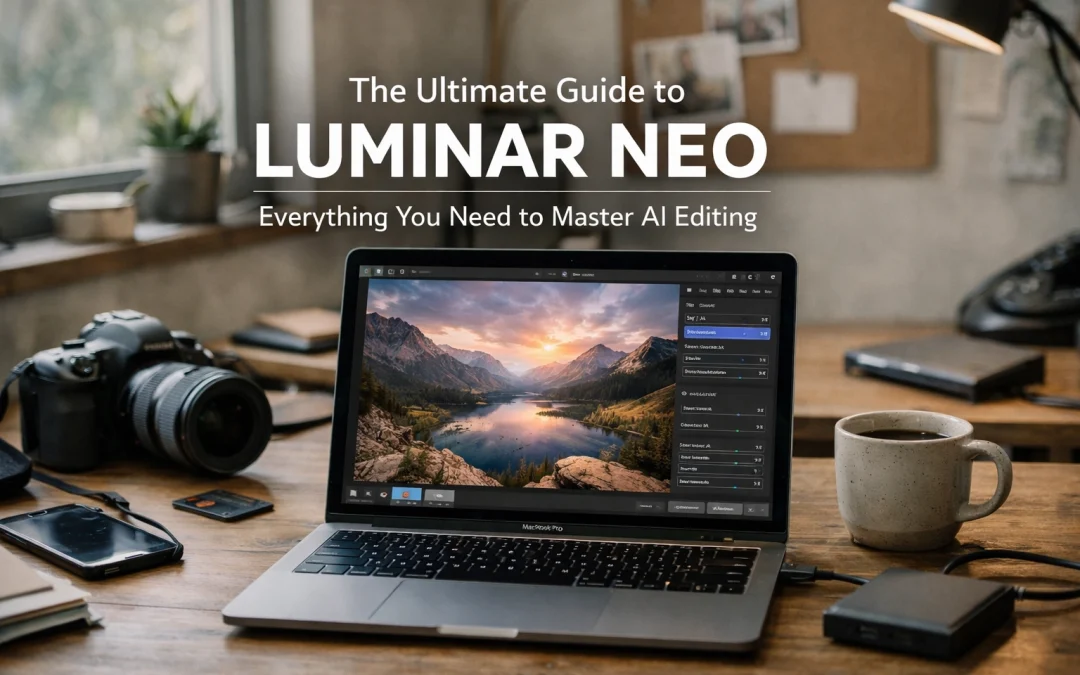
Why Luminar Neo is the Future of Your Workflow
Many photographers feel overwhelmed by the complexity of traditional editing software. You might find yourself buried in layers, complex masks, and tedious selection tools just to make a simple adjustment. Luminar Neo eliminates these barriers by utilizing a neural engine that understands the three-dimensional depth and content of your images.
Whether you are capturing the vibrant energy of Miami Beach surfers or the quiet majesty of Grand Canyon National Park, Luminar Neo provides a level of control that feels both intuitive and powerful. When you start using Luminar Neo, you aren't just buying software; you are gaining a digital assistant that handles the heavy lifting of pixel manipulation.
The Power of Generative AI
One of the most significant leaps in recent updates is the introduction of generative tools. These features allow you to manipulate reality in ways that were previously reserved for high-end retouching specialists.
- Generative Erase: Imagine you’ve captured a perfect sunrise at South Pointe Pier, but a stray piece of trash or a distracting sign ruins the composition. Generative Erase doesn't just "smudge" the area; it intelligently replaces the distraction with textures and details that match the surrounding environment perfectly.
- GenSwap: This allows you to replace specific elements in your photo with AI-generated objects that blend seamlessly with the lighting and perspective of your shot.

Master the AI Tools: A Deep Dive
To truly master Luminar Neo, you need to understand how to leverage its specialized modules. Each tool is designed to target a specific pain point in the editing process.
Sky AI: Transform Your Atmosphere
We’ve all been there: you hike for miles to a location like Meteora, Greece, only to be met with a flat, grey sky. Sky AI allows you to replace a dull sky with a dramatic one in a single click. What sets it apart is its ability to automatically adjust the relighting of the entire scene: including reflections in water: to match the new sky. This ensures your fine art photography remains grounded in realism.
Relighting and Depth
The Light Depth tool (formerly Relight AI) is a game-changer for landscape and architectural photography. It builds a 3D depth map of your 2D image. This allows you to independently adjust the lighting of the foreground and background. If you are shooting a Miami Cityscape, you can darken the distant buildings to create more focus on the foreground elements without creating halos or messy masks.
Portrait Bokeh AI
For those who enjoy portraiture, achieving a creamy background blur (bokeh) usually requires expensive fast lenses. Portrait Bokeh AI recognizes your subject and creates a realistic depth-of-field effect, even if the original photo was shot with a narrow aperture. This is particularly useful when you want your subject to pop in busy environments, like during a Miami Beach social meet-up.
| Feature | Primary Benefit for You | Use Case Example |
|---|---|---|
| Structure AI | Enhances detail without halos. | Adding grit to a B&W cityscape. |
| Noiseless AI | Removes ISO noise while keeping sharpness. | Low-light shots of the American Airlines Arena. |
| Supersharp AI | Corrects motion blur and missed focus. | Saving a slightly soft wildlife shot at the Everglades. |
| Upscale AI | Increases resolution up to 6X. | Preparing small crops for large fine art prints. |
Luminar Neo vs. The Competition
You might be wondering how this compares to your current workflow in Lightroom or Photoshop. While I am a massive fan of Adobe products: and highly recommend my Ultimate Lightroom Preset Collection for foundational work: Luminar Neo offers a level of automation that Adobe is still catching up to.
Luminar Neo functions perfectly as a standalone application, but it also shines as a plugin. You can perform your basic Raw adjustments and apply presets in Lightroom, then "round-trip" the image into Luminar Neo for the AI-heavy lifting. This hybrid approach ensures you get the best of both worlds. For instance, if you are following my guide on how to bring your photos to life in Lightroom, adding Luminar Neo to the end of that process can provide that final 10% of "magic" that makes a photo stand out.

Enhancing Specific Landscapes
Different environments require different approaches. Luminar Neo provides specific tools tailored for various niches of photography.
Landscape Mastery
If you find yourself at Mono Lake, California or Pyramid Lake, the Landscape module is your best friend. The "Golden Hour" slider can add a warm, directional glow that mimics the sun's position, while the "Dehaze" tool is essential for clearing up atmospheric interference in vast mountain ranges. For those planning a trip to the Sierras, checking out the Lake Tahoe Photography Guide in conjunction with Luminar’s landscape tools will ensure you come home with wall-worthy captures.
Architectural Precision
Correcting perspective is often a nightmare. Whether you are shooting the futuristic curves of Calypso Cave in Malta or high-rises in downtown Miami, the Develop tool in Neo includes powerful lens and perspective corrections. If you’ve struggled with vertical lines, my tutorial on how to fix leaning buildings pairs perfectly with Neo’s automated alignment features.
If your work focuses on the Magic City, using the Miami Self-Driving Photography Guide will lead you to the best spots, and Luminar Neo will help you handle the complex lighting found in South Beach. For a more hands-on experience, you might even consider a Private Miami Photography Tour to master these techniques in the field.
The Professional Edge: Efficiency and Speed
In the world of professional photography, time is literally money. Luminar Neo’s speed comes from its ability to batch-process AI adjustments. You can edit one photo from a series at Antelope Canyon and sync those complex AI masks: like Sky AI or Relight: across dozens of images. This consistency is vital for maintaining a professional portfolio.
Furthermore, the AI Assistant provides real-time suggestions based on the content of your photo. It analyzes the histogram, the subjects, and the colors to suggest a starting point. This doesn't take away your creative control; it simply provides a faster route to your destination.

Getting Started with Luminar Neo
If you are ready to stop fighting your software and start creating, the transition is smooth as butter. You can download the software and begin exploring the tools immediately. To get the most out of your purchase, use this link to explore the latest offers on Luminar Neo.
By integrating these AI tools into your daily practice, you aren't just following a trend: you are adopting a more efficient, creative, and powerful way of working. Whether you are a seasoned pro at Edin Studios or a hobbyist looking to improve your shots from a Miami Beach sunrise meet-up, the combination of AI and your unique vision is a winning formula.
Luminar Neo empowers you to focus on the why of your photography while it handles the how. It removes the technical hurdles that often stand between your imagination and the final print. As you continue to explore the possibilities of fine art, remember that your tools should serve your vision, not limit it.
For more insights on how to elevate your work, explore our site for a deep dive into hundreds of tutorials and guides at Edin Chavez Blog.
Hence, with these considerations in mind, you have everything you need to begin your journey into AI-assisted editing. The future of photography is here, and it’s more accessible than ever. Reach out to the team at Edin Fine Art if you have any questions about how these tools can help you create gallery-ready masterpieces.


