
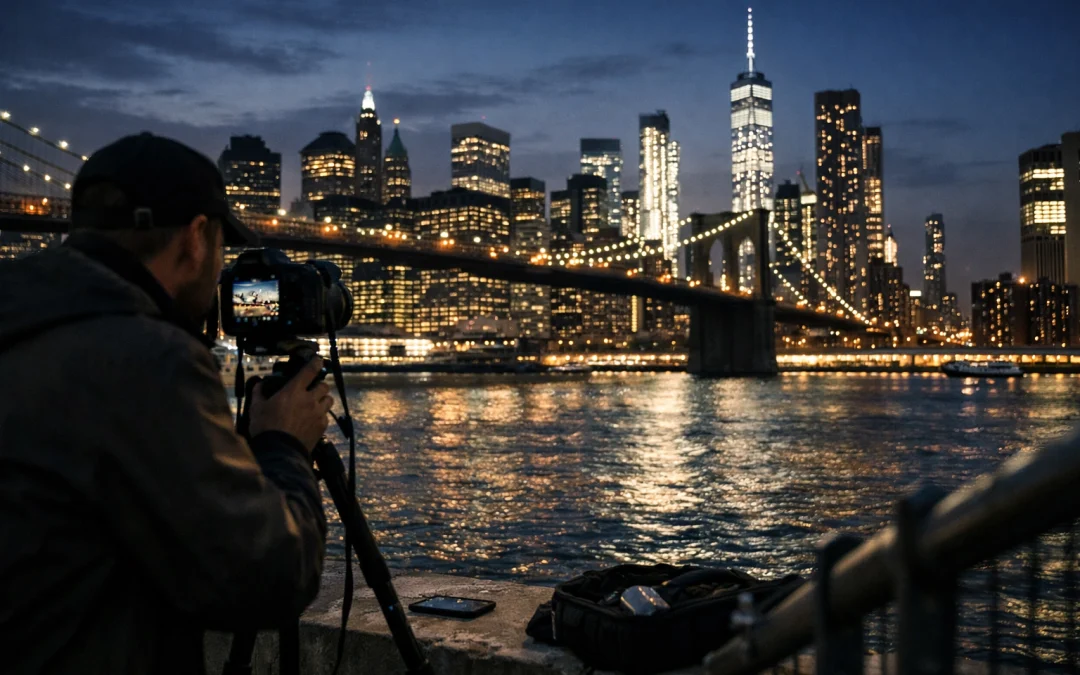
As the sun dips below the Hudson and the neon pulse of the city begins to thrum, New York City transforms into a playground of light, shadow, and glass. You’ve likely seen the postcards: the glittering Manhattan skyline reflected in the East River or the chaotic, electric glow of Times Square: but capturing those images yourself requires more than just showing up. Night photography in a city this vertical and vibrant demands a blend of technical precision and creative patience.
In this guide, we are going to dive deep into the world of long exposure and low-light mastery. Whether you are aiming to create museum-quality fine art prints for your home or simply want to level up your portfolio, understanding how to navigate the "City That Never Sleeps" after dark will empower you to take photos that truly stand out. This post is part of our comprehensive NYC series, so if you haven't checked it out yet, make sure to visit our New York City Photography Guide to see how this fits into your larger itinerary.
Your Night Photography Arsenal: Essential Gear
Before you step onto the streets of Lower Manhattan, you need to ensure your kit is prepared for the unique challenges of night photography. Shooting in low light is an exercise in stability and light management. If your gear isn't up to the task, your images will suffer from "noise" (graininess) or motion blur.
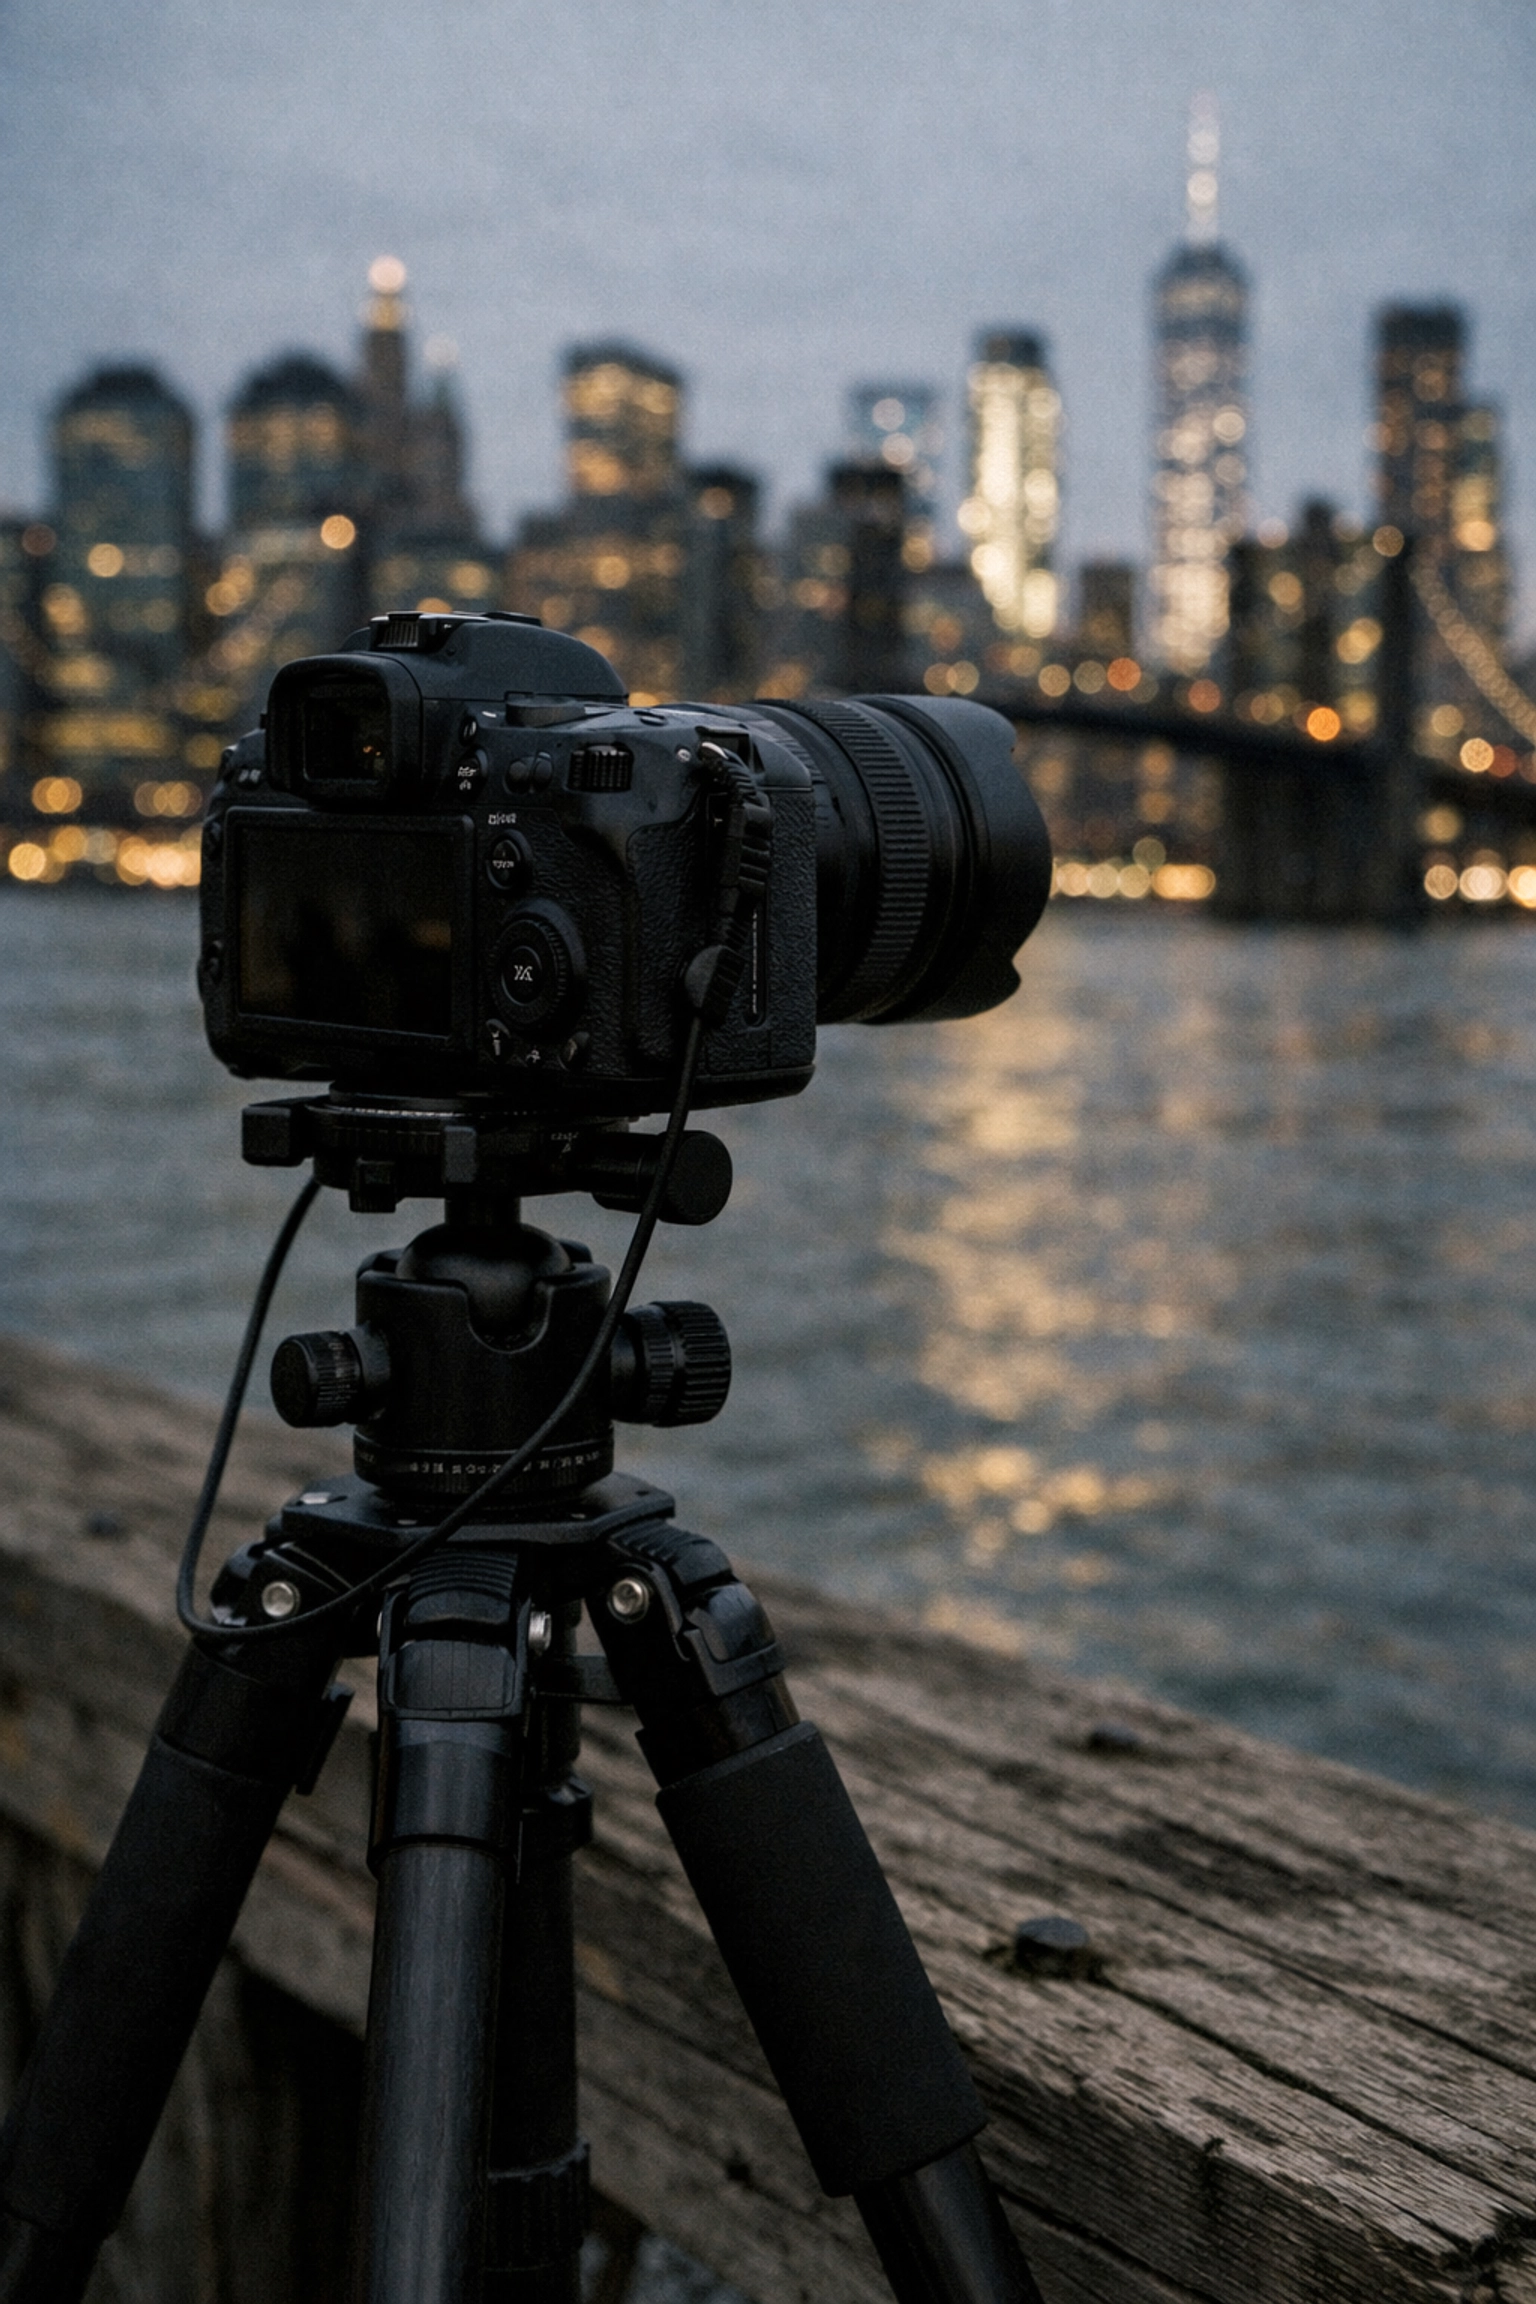
1. The Sturdy Tripod
In the world of night photography, your tripod is your best friend. Because you’ll be using long exposure techniques: keeping the shutter open for seconds or even minutes: any slight vibration from the wind or a passing subway will ruin the sharpness of your shot. You want something robust yet portable enough to carry through the subway system.
2. Wide-Angle and Telephoto Lenses
For those iconic skyline shots from Dumbo or Gantry Plaza State Park, a wide-angle lens (16mm to 35mm) is essential to capture the sheer scale of the architecture. However, don't leave your telephoto lens at home. Compressing the skyline from a distance or picking out specific architectural details on the Chrysler Building requires that extra reach.
3. Remote Shutter Release
Even the act of pressing the shutter button can cause "shutter shake." By using a remote release or your camera’s built-in timer, you ensure the camera remains perfectly still the moment the exposure begins.
Mastering the Technicals: The Night Exposure Triangle
Capturing the perfect NYC skyline shot requires you to move away from "Auto" mode and take full control of your camera. You need to balance three specific elements to ensure your highlights aren't blown out while maintaining detail in the shadows.
Balancing ISO, Aperture, and Shutter Speed
When you are shooting at night, your natural instinct might be to crank up the ISO to make the sensor more sensitive to light. Resist this urge. A high ISO introduces digital noise, which can degrade the quality of your fine art prints. Instead, keep your ISO low (100 or 200) and use a longer shutter speed to "soak up" the light.
| Setting | Recommendation for Night Skyline | The "So What" for You |
|---|---|---|
| ISO | 100 – 400 | Ensures your images stay clean and free of grain. |
| Aperture | f/8 – f/11 | Provides a deep depth of field and creates "starburst" effects on streetlights. |
| Shutter Speed | 10s – 30s | Allows enough light to hit the sensor and creates smooth, glassy water. |
| Focus | Manual | Prevents the camera from "hunting" in the dark; ensures crisp edges on buildings. |
By keeping your aperture around f/11, you not only ensure the entire skyline is in focus, but you also turn those distant points of light into beautiful, multi-pointed stars. This is a classic hallmark of professional night photography. Once you lock in a clean, sharp base exposure, you can finish your files faster with a consistent, painterly look by using the Ultimate Lightroom Preset Collection to refine contrast, color, and glow without flattening the city’s highlights.
Timing the Shot: Blue Hour vs. True Night
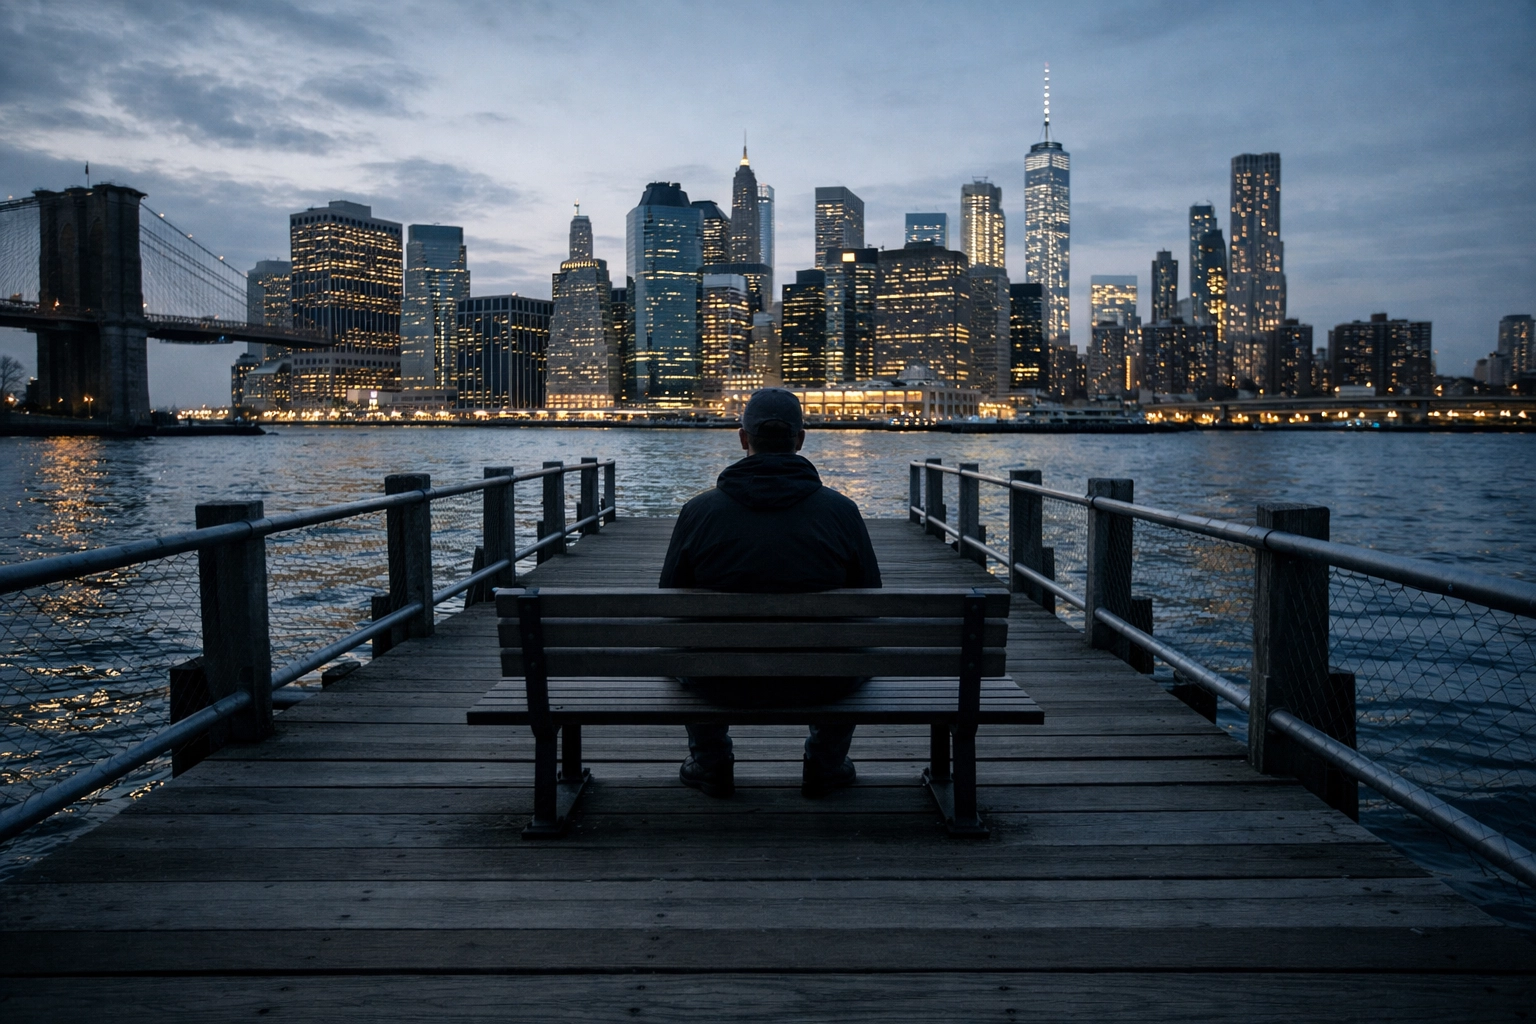
Many beginners wait until it is pitch black to start shooting. While "True Night" is great for high-contrast shots in Times Square, the most magical time for the Manhattan skyline is the Blue Hour. This is the short window (about 20-40 minutes) after the sun has set but before the sky turns completely black.
During Blue Hour, the sky retains a deep, cobalt hue that provides a stunning contrast to the warm yellows and oranges of the building lights. This balance of natural and artificial light creates a much more dynamic and professional-looking image. If you're looking for more specific timing and location tips, my New York City Photography Guide breaks down exactly when to be at each spot for the best results.
Iconic Spots to Capture the NYC Skyline
New York offers endless angles, but a few locations are non-negotiable for anyone looking to master the night.
Dumbo and Brooklyn Bridge Park
This is arguably the most famous night photography spot in the world. From Pebble Beach in Dumbo, you can capture the Manhattan Bridge with the Empire State Building framed perfectly beneath its legs. Move further down to the shoreline near Jane's Carousel to get a wide, sweeping view of the Financial District across the East River. The movement of the water here creates a smooth, ethereal foreground when using long exposure techniques.
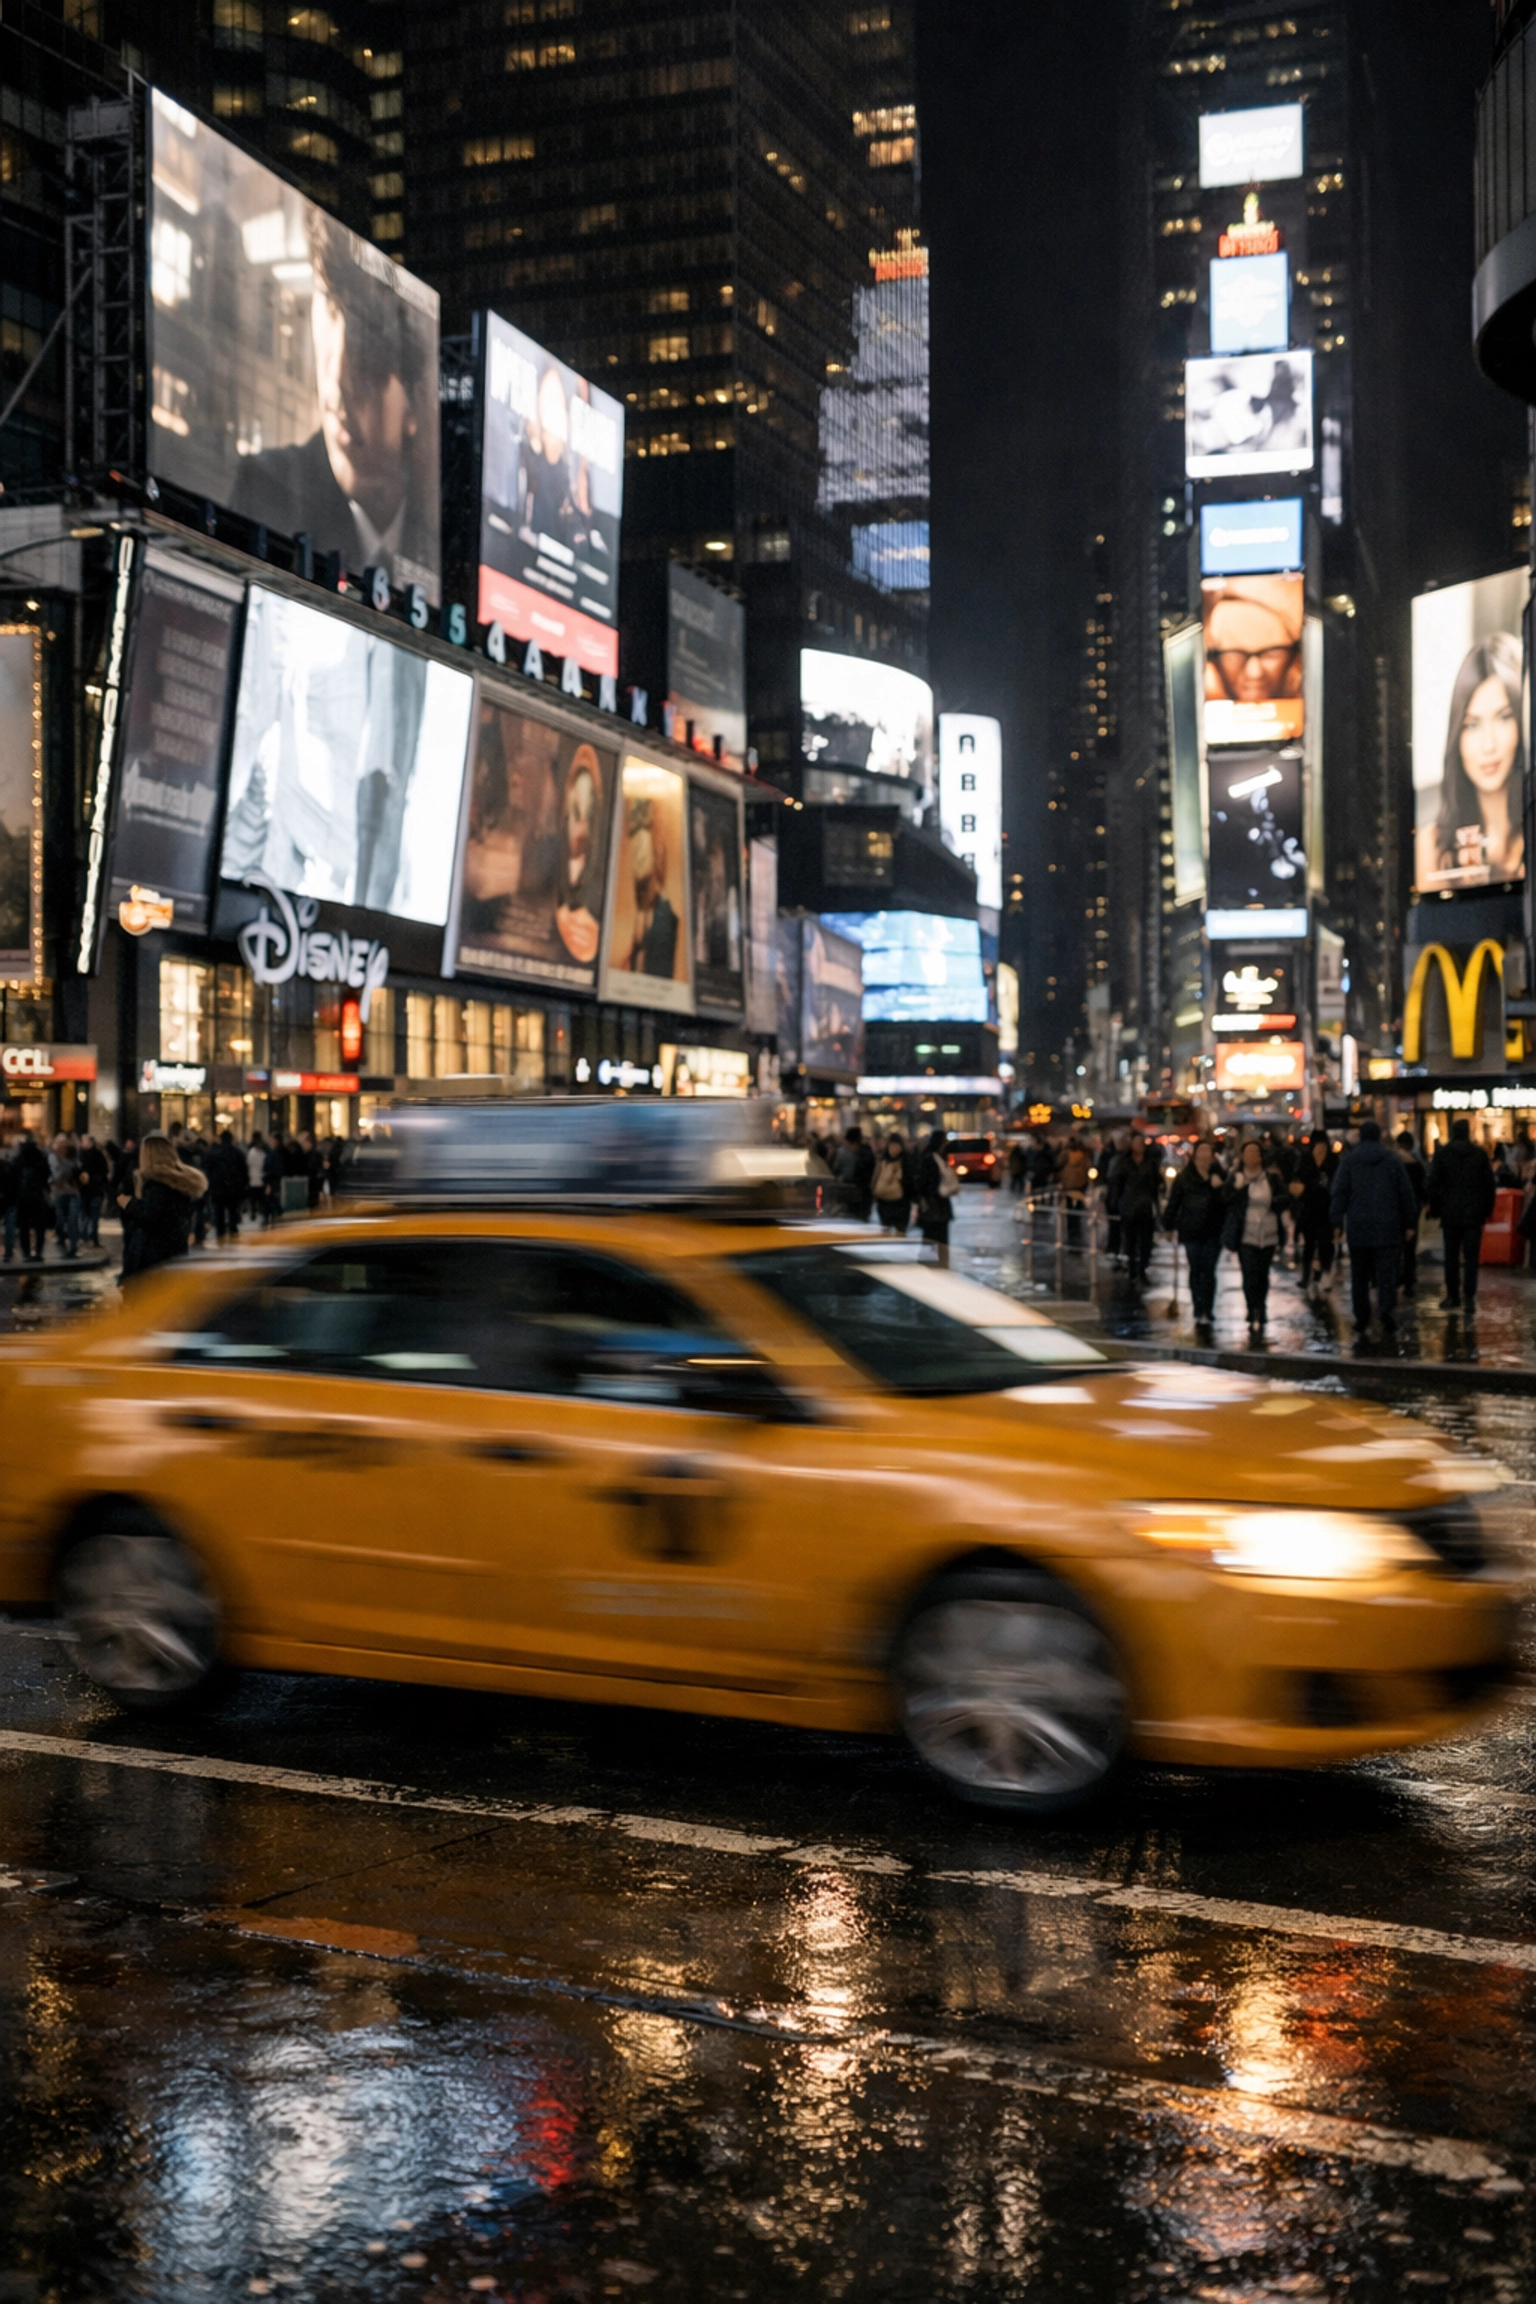
Times Square: The Neon Jungle
Times Square is the exception to the "low ISO" rule. Because there is so much artificial light, you can often shoot handheld if you have a fast lens (f/1.8 or f/2.8). To capture the "chaos" of the city, try a slightly longer shutter speed (around 1/2 second) while keeping your camera on a tripod to blur the yellow taxis while keeping the surrounding billboards tack-sharp.
Gantry Plaza State Park (Long Island City)
For a direct view of the United Nations and the Midtown skyline, head over to LIC. This spot is generally less crowded than Brooklyn, giving you more room to set up your tripod and experiment with different compositions. The reflections of the Pepsi-Cola sign and the Chrysler Building in the river are unparalleled.
Composition and Artistic Flair
Once you have your technical settings dialed in, it's time to think like an artist. Night photography isn't just about documenting the light; it’s about storytelling.
- Leading Lines: Use the railings of the piers or the cables of the Brooklyn Bridge to lead the viewer’s eye toward the skyline.
- Reflections: Look for puddles after a rainy NYC afternoon. Getting your camera low to a puddle in Times Square can create a mirror image that doubles the impact of the neon lights.
- Scale: Include a silhouette of a person in the foreground. This provides a sense of scale and makes the massive skyscrapers feel even more imposing.
By integrating these techniques, you aren't just taking a photo; you are creating a piece of fine art. If you want to see how these shots translate into high-end decor, you can explore my latest work at Edin Fine Art.
Elevate Your Craft with a Pro Guide
Capturing the energy of New York at night is a rite of passage for every photographer. It challenges your understanding of light and rewards your patience with some of the most breathtaking imagery imaginable. However, navigating the city at night with expensive gear can be daunting, and finding the "secret" spots that haven't been over-photographed takes years of local knowledge.
That is why I’ve put together a comprehensive resource for you. To bypass the trial and error and go straight to the best shots, download the New York City Photography Guide. It contains the exact GPS coordinates, best times of day (and night), and the specific settings I use to capture my award-winning images.
If you prefer a more hands-on experience, consider joining one of our NYC Photography Tours. We’ll walk the streets together, and I’ll show you exactly how to master the night in real-time. Whether you're a beginner or a seasoned pro, there is always something new to see through the lens in this city.
With these considerations in mind, grab your tripod, head out into the cool evening air, and start capturing the magic of the New York skyline. The city is waiting for you to tell its story. For more insights on how to elevate your work, explore our site for a deep dive into hundreds of tutorials and guides: https://blog.edinchavez.com/. For more tips and professional services, visit Edin Studios to see how we can help bring your creative vision to life.


