
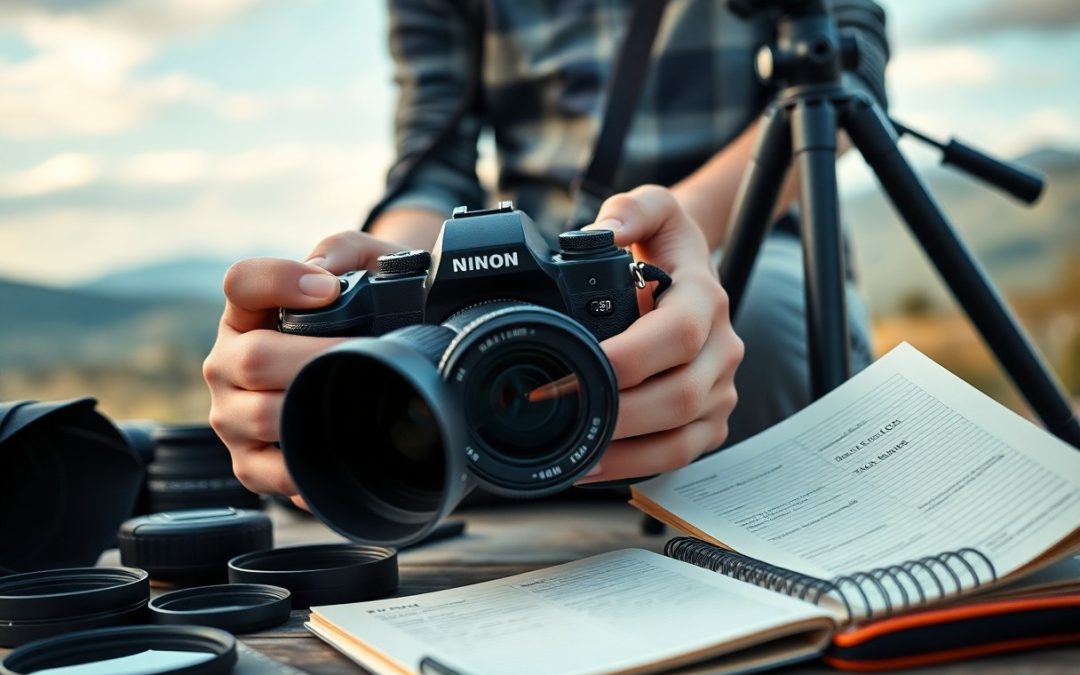
Photography can be both an exciting and challenging pursuit, especially when you’re just starting out. To help you enhance your skills and capture stunning images, we’ve compiled a list of 10 necessary photography tips that will set a strong foundation for your journey. Whether you’re shooting with a smartphone or a DSLR, these practical pointers will teach you how to harness your camera’s potential and improve your eye for composition. Dive in to transform your photography experience and elevate your shots to the next level!
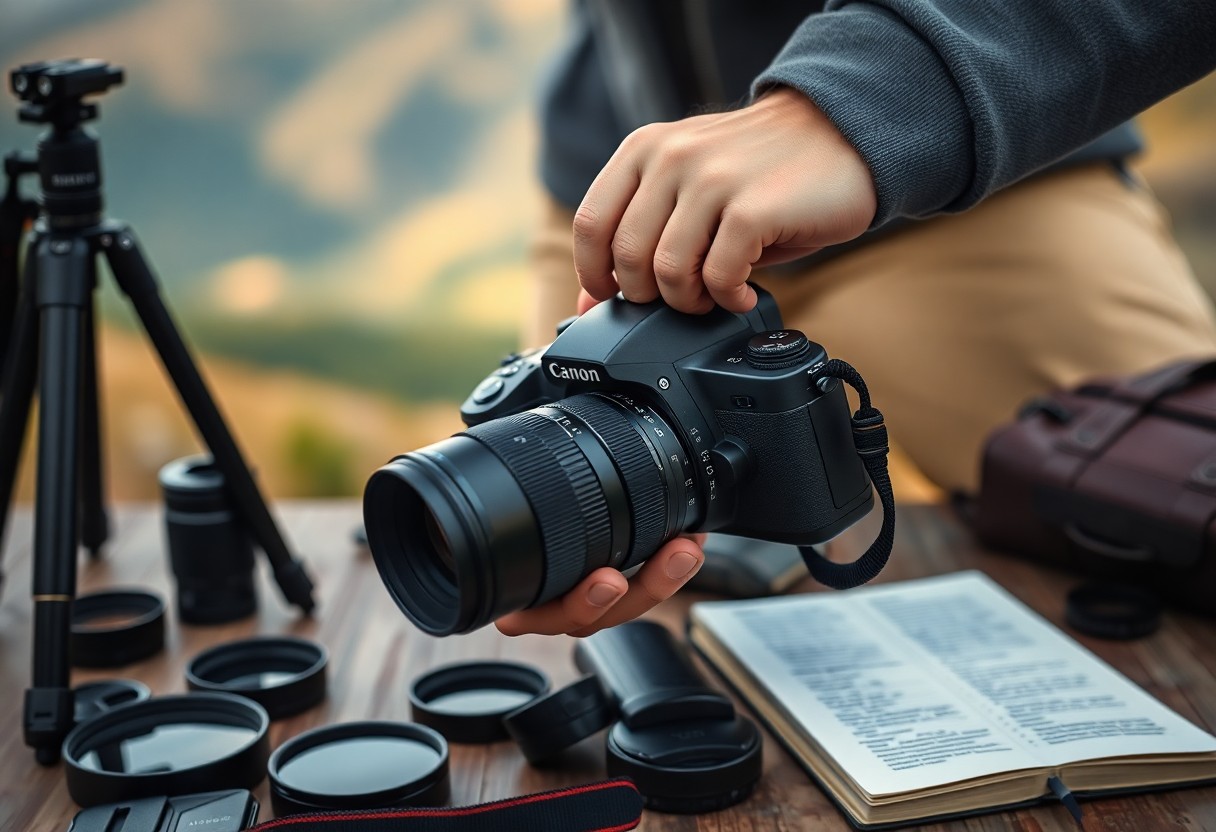
Understand Your Camera Settings
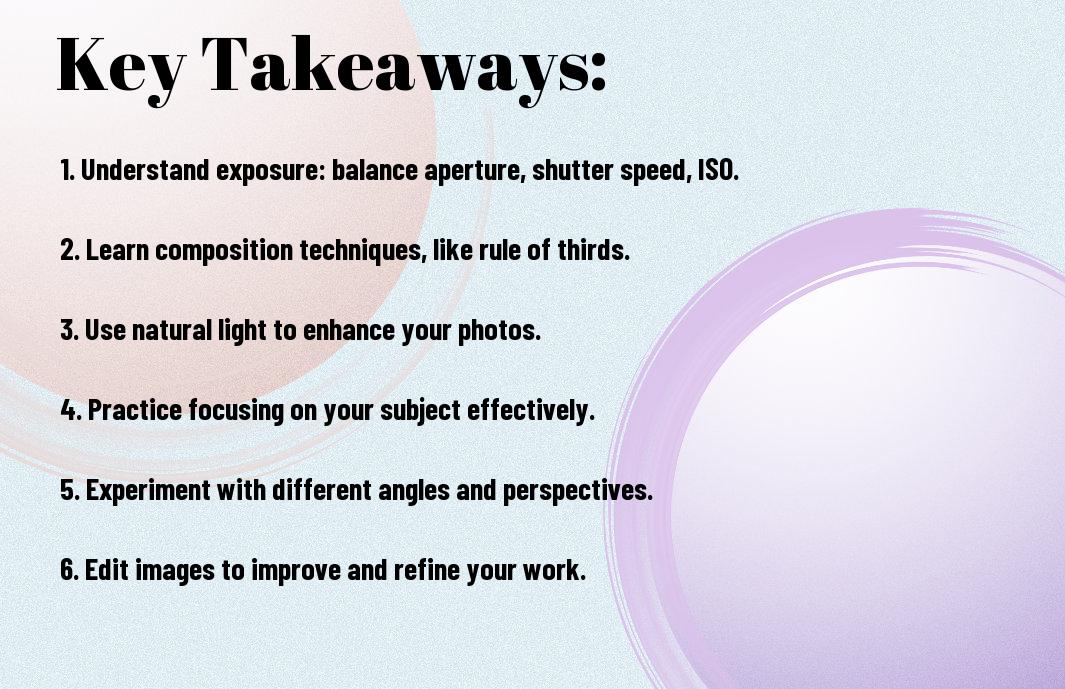
A solid grasp of your camera settings can dramatically elevate your photography skills. Understanding how to manipulate settings like aperture, shutter speed, and ISO allows you to create stunning images tailored to your artistic vision. Make it a habit to experiment with these features to see how they affect your photos, and you’ll soon find yourself feeling more confident behind the lens.
Aperture Control
Settings related to aperture influence the amount of light entering your camera and determine your depth of field. A wide aperture (small f-stop number) allows more light, producing a blurred background that highlights your subject, while a narrow aperture (larger f-stop) keeps everything in focus. Adjusting your aperture helps set the mood and effectively directs the viewer’s attention.
Shutter Speed
Even the speed at which your camera’s shutter opens and closes plays a significant role in capturing images. Shutter speed determines how long light is allowed to hit the sensor, affecting the exposure and motion blur in your photos. Faster shutter speeds can freeze action, making them ideal for sports or moving subjects, while slower speeds lend a sense of motion to scenes like flowing water or bustling streets.
For instance, if you’re photographing a moving cyclist, a shutter speed of 1/500 second will freeze the action, allowing you to capture sharp details. Conversely, if you want to convey the motion of the cyclist, you can experiment with a slower shutter speed of around 1/30 second to create a sense of movement while still capturing some of the detail. Adjusting your shutter speed according to your subject and desired effect greatly influences the outcome of your images.
Master the Exposure Triangle
One of the fundamental concepts in photography is the exposure triangle, which consists of ISO, shutter speed, and aperture. Understanding how these three elements interact will help you control light and create the desired exposure for your images. By mastering this triangle, you’ll gain the ability to manipulate your photos artistically, whether you want to capture motion, enhance depth of field, or shoot in low light conditions. This foundational knowledge will empower you to take your photography skills to the next level.
ISO Sensitivity
Some photographers overlook ISO sensitivity, but it plays a vital role in your images. The ISO setting controls your camera’s sensitivity to light; a higher ISO allows you to shoot in dimly lit environments, while a lower ISO produces cleaner images in brighter settings. Balancing ISO with shutter speed and aperture is important, as increasing ISO can introduce graininess to your photos. Be mindful of how adjustments affect the final image, and choose the right ISO for the scene you are capturing.
Balancing Elements
Clearly, balancing the elements of the exposure triangle is key to achieving well-exposed photos. Each component—ISO, shutter speed, and aperture—affects the others. For instance, if you increase your ISO to shoot in lower light, you may need to compensate by adjusting your shutter speed or aperture to maintain a proper exposure. You can creatively manipulate these settings to achieve different effects, like a blurred background with wide aperture or motion blur with slower shutter speeds. Understanding their interplay will allow you to make informed choices based on your artistic vision.
Plus, finding the right balance among the three elements can transform an ordinary photograph into something extraordinary. As you become more comfortable with adjusting each aspect, you’ll learn to be adaptable and make quick decisions in varying lighting conditions. Practice systematically altering one element at a time while observing the effects on your photos. This hands-on approach will not only reinforce your knowledge but also boost your confidence in handling various shooting scenarios.
Use Natural Lighting Wisely
Your choice of lighting can make or break your photos. When possible, utilize natural light to enhance the mood and clarity of your images. Soft, diffused light, such as that found in shaded areas or on cloudy days, can bring out the details and colors in your subject without overwhelming it. Experiment with different times of the day to see how lighting changes the overall feel of your photos.
Golden Hour Magic
Golden hour, the period shortly after sunrise and before sunset, offers some of the most breathtaking natural light for photography. The warm tones during this time create a flattering glow that enriches colors and adds depth to your images. Taking advantage of this magical moment allows you to capture stunning photos that evoke emotion and beauty.
Avoid Harsh Shadows
One of the challenges of using natural light is managing harsh shadows that can distract from your subject. Direct sunlight, especially around midday, creates strong contrasts that can obscure details and create unflattering features in your photos.
To minimize harsh shadows, opt for shooting in the early morning or late afternoon when the light is softer, or find shaded areas to take your photos. If you must shoot in direct sunlight, consider using reflectors or diffusers to soften the light, which can help to create a more even exposure and maintain the beauty of your subject. Avoiding harsh shadows will ensure your images have greater detail and are more visually appealing.
Compose Your Shots Carefully
Unlike snapping away indiscriminately, careful composition can transform your photographs from ordinary to extraordinary. By paying attention to how you frame your subjects, you create a more visually appealing image. Consider elements like balance, symmetry, and the relationship between objects in your scene. Adopting a thoughtful approach to composition will elevate your photography skills and help you convey your intended message more effectively.
Rule of Thirds
Now, the Rule of Thirds is a fundamental guideline that can significantly improve your composition. By dividing your frame into a 3×3 grid, you can position your subject along the intersecting lines or at their intersections for a balanced and dynamic shot.
Leading Lines Technique
Shots that incorporate leading lines can greatly enhance the depth and dimension of your photos. This technique involves using natural lines in the scene—such as roads, fences, or rivers—to draw the viewer’s eye toward the main subject. By aligning your composition with these lines, you create a path for your audience to follow, adding a sense of movement and direction. This method not only helps to guide the viewer’s gaze but also emphasizes the depth of the photograph, making it more engaging and compelling. Look for lines in your environment to utilize this technique effectively!
Experiment with Perspectives
All photographers can elevate their images by experimenting with different perspectives. Instead of always shooting from eye level, try varying your angles to create more dynamic and engaging compositions. This approach can help you discover unique details and viewpoints, adding depth and interest to your photographs. Challenge yourself to think outside the box, and find creative ways to showcase your subject, transforming a simple scene into a captivating story.
Low Angles
Little tweaks in your positioning can produce striking results, particularly when you shoot from low angles. This technique offers a fresh perspective, often making your subject appear more powerful or dramatic. Consider kneeling or lying down, capturing scenes that might be overlooked from a standard height. This approach not only emphasizes your subject but also incorporates the foreground and background creatively, resulting in a more immersive image.
High Angles
Perspectives can significantly alter the mood and storytelling in your photography, and high angles are an effective tool in your arsenal. Shooting from above can create a sense of vulnerability in your subject, while showcasing the surrounding area and context. It’s particularly useful for landscape photography, where broad vistas and patterns become visible. To master high-angle shots, find elevated spots such as hills or platforms, and experiment with different distances to see how your perspective changes the narrative of your image.
Keep the Background Simple
To create compelling images that draw attention to your subject, keeping the background simple is vital. A cluttered backdrop can distract viewers from the main focus, making the photograph less impactful. Opt for plain or neutral backgrounds that complement your subject without overwhelming it, allowing your images to convey your intended message effectively.
Reduce Distractions
The key to reducing distractions in your photography is to identify elements that may compete for attention with your subject. Look for busy patterns, objects, or colors that could detract from the overall picture. By carefully selecting your composition and angling your shot, you can eliminate these distractions and elevate the focus on what truly matters in your frame.
Use Negative Space
You can enhance your photos significantly by incorporating negative space, which is the empty area surrounding your subject. This approach not only highlights your main focus but also adds balance and visual interest to the composition. By strategically positioning your subject off-center and leaving ample space around it, you create a sense of freedom and openness, inviting viewers into the scene.
This technique allows you to portray emotions and stories more effectively. For instance, using negative space can convey solitude or isolation when the subject is small against a vast background. In contrast, generous negative space around a subject can invoke feelings of serenity and calmness. As you experiment with different arrangements, you’ll discover how negative space can transform your images, making them more engaging and meaningful.
Focus on Your Subject
Keep your images captivating by ensuring your subject stands out. To achieve this, you can use different techniques such as adjusting the camera settings, exploring your composition, and playing with light. Direct your viewer’s attention toward the focal point by minimizing distractions in the background, allowing your subject to shine through in every shot.
Sharp Focus
While it’s important to isolate your subject, having a sharp focus is key for a professional-looking photograph. Use a wide aperture to blur the background and bring clarity to your focal point. Don’t forget to double-check your focus before capturing the shot. A few moments spent ensuring this can significantly elevate the quality of your photography.
Depth of Field
Depth of field refers to the amount of your image that is in focus, which can dramatically affect the overall impact of your photo. A shallow depth of field makes your subject pop by blurring the surroundings, while a deeper depth invites the viewer to explore the entire scene. By selecting the appropriate aperture and focal length, you can manipulate this effect to suit your artistic vision.
To master depth of field, experiment with various aperture settings on your camera. A wide aperture (like f/2.8) creates a shallow depth of field, isolating your subject from the background, perfect for portraits and close-ups. In contrast, a narrow aperture (like f/11) increases depth, keeping more of the scene in focus, ideal for landscapes. Understanding how to control depth of field will allow you to create powerful, visually engaging images that resonate with your audience.
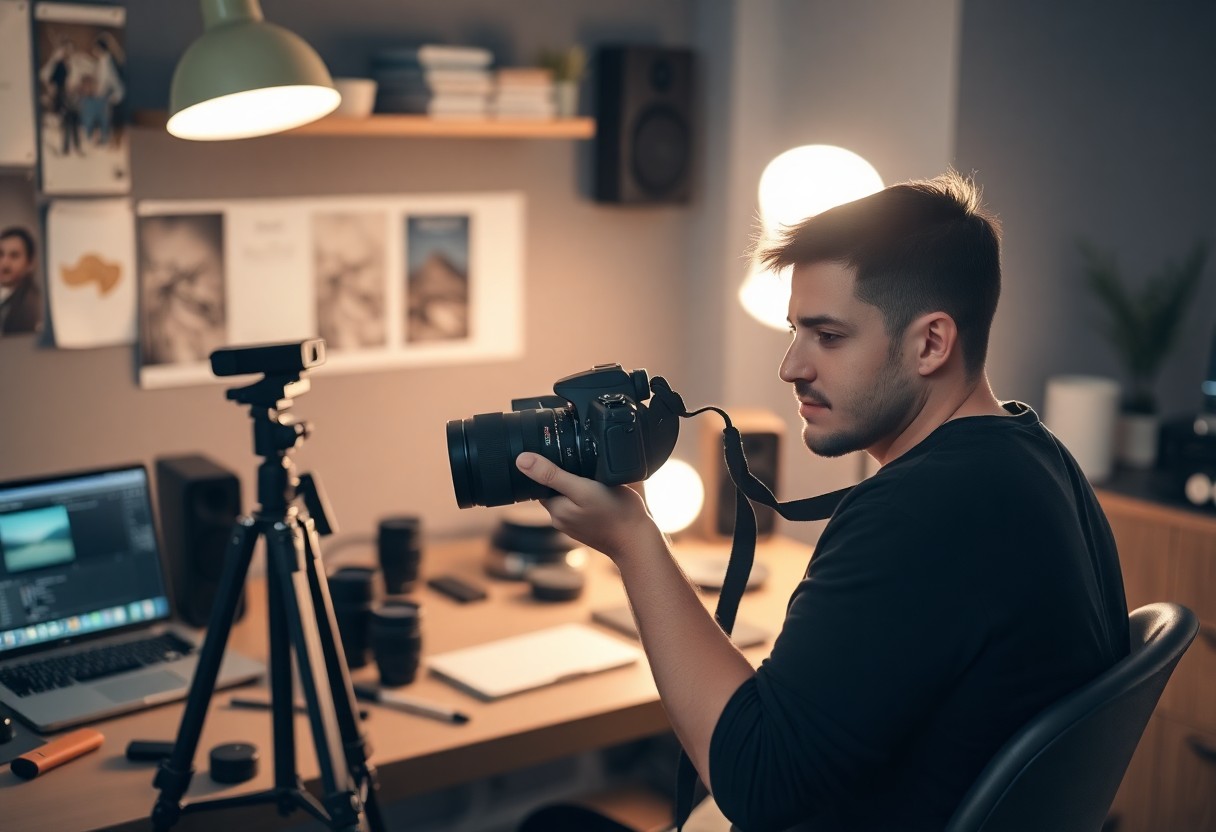
Learn Post-Processing Basics
Despite the skill you develop in capturing images, a significant aspect of photography lies in post-processing. This stage enables you to refine and enhance your photographs, ensuring they reflect your creative vision. By mastering the basics of post-processing, you can elevate your photos from good to stunning, allowing for adjustments in exposure, contrast, and clarity.
Editing Software
Assuming you want to examine into post-processing, selecting the right editing software is imperative. Programs like Adobe Lightroom and Photoshop are popular choices among photographers due to their extensive features and ease of use. Familiarizing yourself with these tools will empower you to experiment with your images and discover your style.
Color Correction
Clearly, color correction is vital in post-processing as it ensures your images are visually appealing and true to life. Adjusting the colors allows you to enhance the mood and atmosphere of your photos, making them resonate with viewers.
Color correction centers around balancing the hues and tones in your images. You can adjust brightness, contrast, and saturation to achieve a more natural appearance or an artistic effect. Learning to use tools like the white balance slider and color grading will help you correct color imbalances caused by various lighting conditions. Developing your color correction skills can transform an average shot into a standout image that truly captivates your audience.
Practice Consistently
Now, the key to mastering photography lies in consistent practice. The more you shoot, the better your skills will develop. Treat photography like any other art form: the more effort you put into it, the more you will grow. Aim to take your camera with you wherever you go, and don’t shy away from experimenting with different styles and techniques.
Daily Shooting
You should aim to take photos every day, even if just for a few minutes. This daily commitment helps you become familiar with your camera and its settings while sharpening your eye for composition and lighting. Plus, daily shooting will inspire you to notice the beauty in everyday life.
Join Photography Groups
If you want to elevate your photography skills, consider joining photography groups. These communities provide a fantastic way to meet other enthusiasts, share your work, and learn from one another.
A photography group can offer valuable feedback on your work, allowing you to see different perspectives and improve your techniques. Engaging with others who share your passion can motivate you to try new things and get outside of your comfort zone. Additionally, many groups organize photo walks and competitions, offering you opportunities to practice and showcase your skills while connecting with like-minded individuals.
Final Words
Hence, mastering the art of photography is a journey that begins with understanding vital tips and techniques. By applying these ten foundational insights, you can enhance your skills and develop your unique style. From composing your shots to utilizing natural light, every aspect plays a vital role in your growth as a photographer. Embrace practice and experimentation, and soon you’ll find yourself capturing stunning images that reflect your vision and creativity.


