
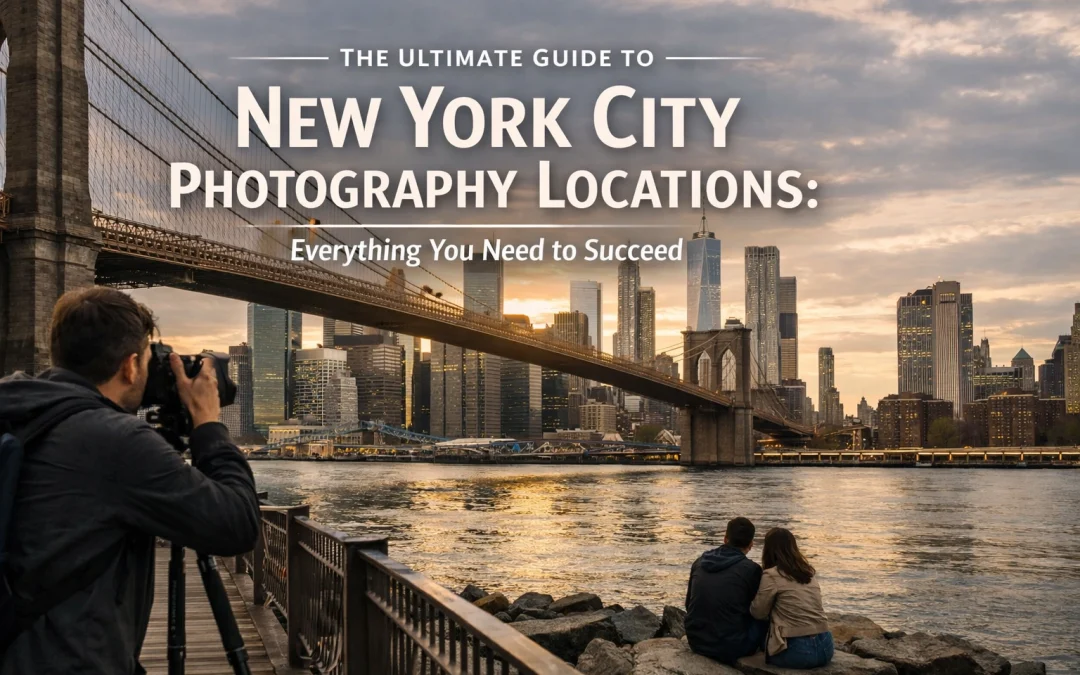
As New York City keeps reinventing itself block by block, you get an unmatched playground of light, geometry, and energy: if you know exactly where to stand. This guide locks in the best places to take pictures in NYC, organizes the most dependable NYC photo spots by vibe and time of day, and gives you a repeatable plan for walking away with fine art keepers, not “almost” shots. When you want every angle, timing cue, and access detail packaged cleanly, grab the New York City Photography Guide here: https://blog.edinchavez.com/product/new-york-city-photography-guide/
If you want more fine art photography education (and the full ecosystem behind these shoots), explore https://blog.edinchavez.com/ and see the studio side of the work at https://edinstudios.com/: then browse finished fine art pieces at https://www.edinfineart.com/ to calibrate what “gallery-ready NYC” actually looks like.
Your NYC shooting game plan (so you don’t waste golden hour)
When you treat NYC like a set with strict call times, your success becomes automatic. You’ll win faster by matching location + time + focal length instead of randomly chasing famous landmarks.
The “3-light-windows” schedule you can rely on
- Sunrise to 90 minutes after: clean streets, softer contrast, fewer tourists, and that cinematic hush you can feel in your frame.
- Blue hour into early night: neon wakes up, windows glow like grids of amber pixels, and long exposures turn traffic into liquid light.
- Overcast midday: your secret weapon for fine art: clouds act like a giant softbox, flattening harsh shadows and making architecture look sculpted.
A fast gear + settings baseline (fine art friendly)
| What you’re shooting | Lens choice that delivers | Starting settings that stay sharp | Why it works for you |
|---|---|---|---|
| Skylines + wide city scenes | 16–35mm or 24mm prime | f/8, ISO 100–400, 1/60+ handheld | Keeps buildings crisp edge-to-edge |
| Street layers + compression | 50mm / 85mm / 70–200mm | f/2–f/4, ISO 400–1600, 1/250 | Separates subject, stacks city depth |
| Night long exposures | 16–35mm or 24–70mm | f/8–f/11, ISO 100, 2–10 sec + tripod | Turns traffic into clean light ribbons |
With these foundations, every location below becomes easier to execute: and you’ll know exactly what to do when the city throws you chaos.
The iconic skyline decks (the cleanest “instant wow” NYC shots)
When you want New York City photography locations that guarantee results fast, observation decks are your reliable win: especially if you plan your time slot like a pro.
Top of the Rock (Rockefeller Center): the skyline that sells NYC
Top of the Rock stands out because it gives you what every NYC shooter really wants: a clean Empire State Building view with depth stretching to Central Park. When you arrive near sunset, you get warm highlights on midtown facades, then you roll directly into blue hour when the city flips its lights on like a circuit board.
How to shoot it like fine art
- Go early or late to reduce the “phone forest” in your compositions.
- Lock a level horizon and build symmetry with building edges.
- Shoot wide for scale, then switch to 50–70mm for graphic patterns in windows and streets.
The Edge (Hudson Yards): glass, steel, and adrenaline
The Edge gives you a more modern, high-gloss feel: straight lines, reflective surfaces, and that “future NYC” energy. When you frame downward angles, the streets become leading lines that pull your viewer right into the scene.
Your best move: plan for sunset and stay through blue hour, because the city glow is where your frame turns from documentary to fine art.
Brooklyn’s knockout hits (your best “NYC postcard… but better” angles)
When you cross into Brooklyn, the skyline stops being “a view” and becomes a layered subject with foreground, midground, and atmosphere: exactly what fine art compositions thrive on.
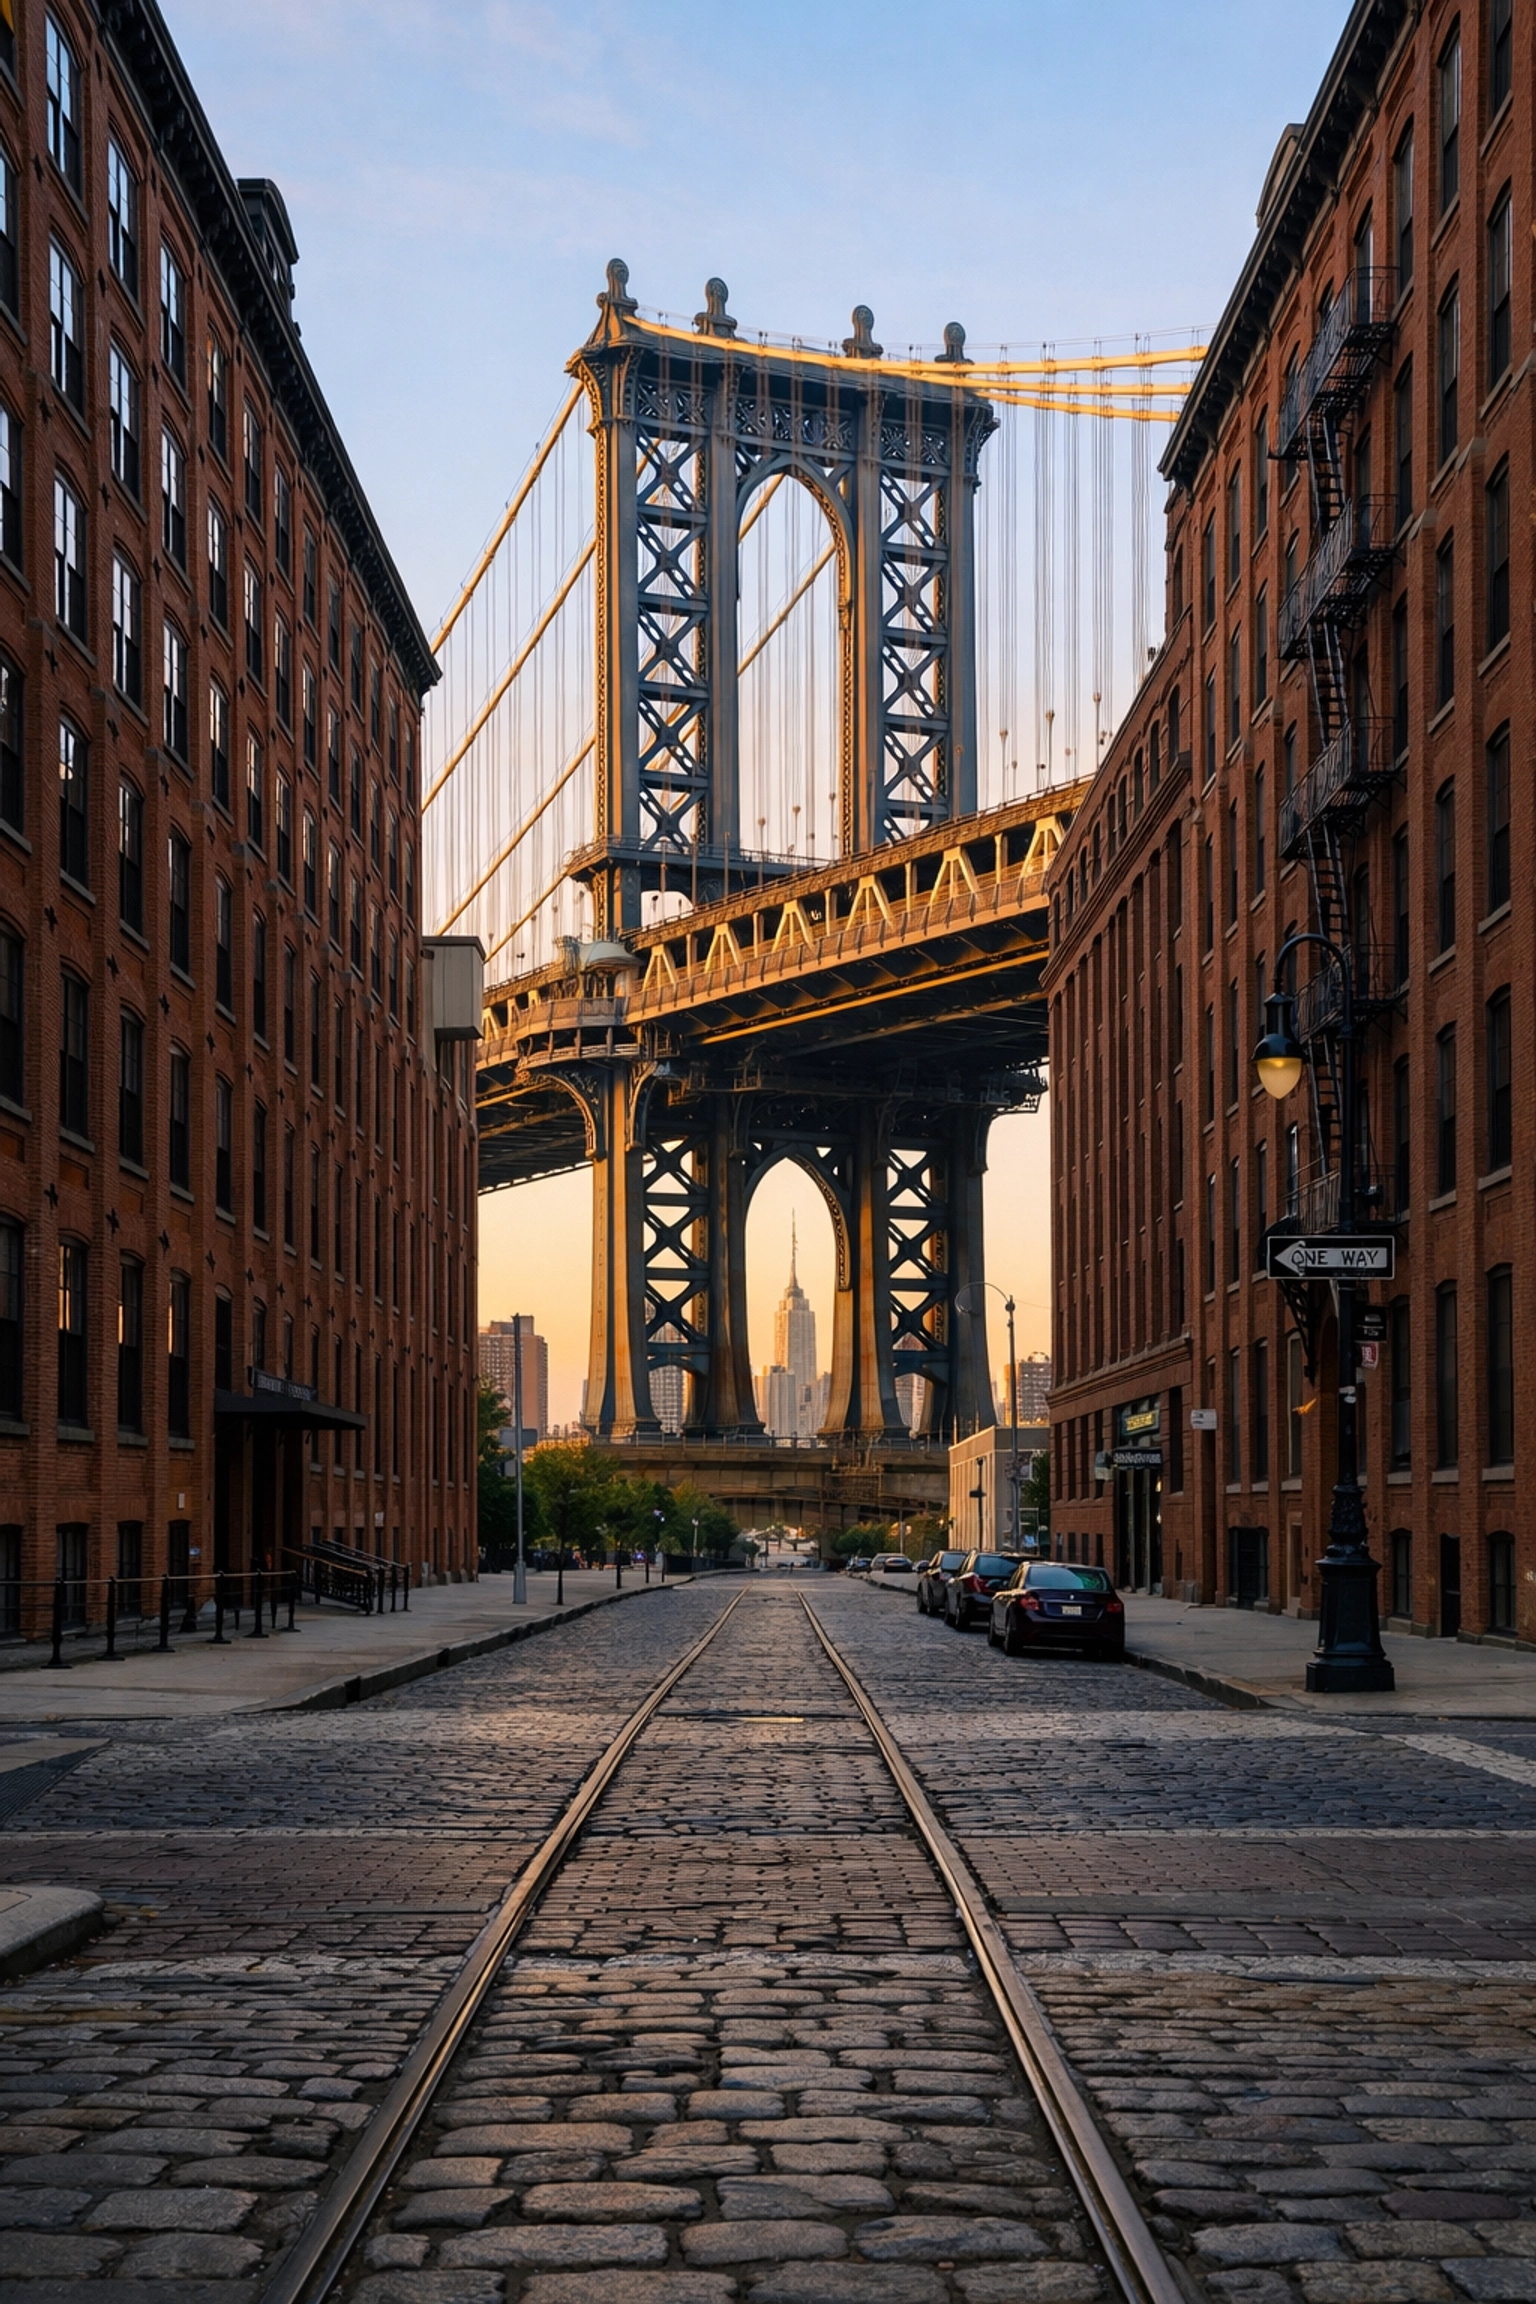
DUMBO (Washington Street): the Manhattan Bridge frame
This is one of the most famous NYC photo spots for a reason: the Manhattan Bridge drops perfectly between red brick buildings, and the street creates natural leading lines that lock your viewer in.
Ultra-realistic visual target: at sunrise, the bricks glow muted orange, the bridge steel turns cool slate-blue, and the first light hits the skyline like a soft brushstroke.
Your success checklist
- Shoot at sunrise for clean frames and the most controlled light.
- Use a 70–200mm if you want the bridge to feel massive and graphic.
- Keep your subject centered, but let small details (a bike, a taxi, a pedestrian) add scale.
Brooklyn Bridge Park: skyline + water = instant fine art
This location gives you texture: rippled water, pylons, layered bridges, and a skyline that looks carved into the horizon. Overcast days shine here because the water smooths out in long exposures and the sky turns into a dramatic, painterly ceiling.
Try this
- Blue hour long exposure: ISO 100, f/11, 4–8 seconds.
- Compose with a foreground anchor (rocks, railing, pilings) so the image has depth.
Brooklyn Heights Promenade: the classic bench-and-skyline view
You get a clean, elevated look at Lower Manhattan with a calmer feel than the park. This is where you create minimalist skyline frames: less clutter, more elegance.
The bridges that deliver (movement, structure, and scale)
As soon as you treat bridges as leading-line machines, you start producing images that feel engineered for impact.
Brooklyn Bridge: the cathedral of cables
The Brooklyn Bridge gives you repeating lines, symmetry, and scale that reads immediately: even in a thumbnail. At early morning, the wooden planks show warm texture, and the cables pull your eye straight into the towers like a runway.
Shoot it right
- Go early to keep it clean.
- Use 24–35mm for symmetry, then switch to 50mm for tighter geometry.
- Keep verticals straight; your fine art look depends on clean alignment.
Manhattan Bridge (from the Brooklyn side): steel and drama
When you shoot the Manhattan Bridge close, the steel structure becomes bold and graphic. You’ll get a grittier, industrial vibe that contrasts beautifully with glossy skyline shots.
Street photography neighborhoods (where NYC feels alive in your frame)
When your goal is energy: not just landmarks: your best places to take pictures in NYC are the neighborhoods where style, architecture, and motion collide.
SoHo: cast-iron perfection + fast street moments
SoHo is built for street photography: cast-iron facades, big windows, and constant movement. You’ll get clean lines and fashion-forward subjects without forcing anything.
Where to focus
- Greene Street for architecture rhythm.
- Prince & Broadway for dense city motion and layered frames.
Settings that keep you sharp
- 1/500 sec, Auto ISO, f/2.8–f/4 for quick isolation.
Stone Street (Financial District): cobblestones and warm glow
Stone Street delivers texture: wet cobblestones after rain, warm restaurant lights at dusk, and a tucked-away “old New York” feel that photographs like Europe. It’s one of the most reliable NYC photo spots when you want atmosphere without fighting crowds.
Washington Mews: quiet, gated, and cinematic
This spot gives you a rare mood shift: brick, lanterns, and a calm that feels miles away from midtown. Your shots come out timeless and story-driven, especially in soft light.
Midtown neon + architectural gems (high energy, high payoff)
When you lean into the city’s glow, you create images that look like the soundtrack to NYC.
Radio City Music Hall: vintage neon that reads instantly
This is signage done right: bold letters, retro curves, and a glow that wraps around the sidewalk. At night, the reds and blues feel saturated and buttery, and reflections pop after rain.
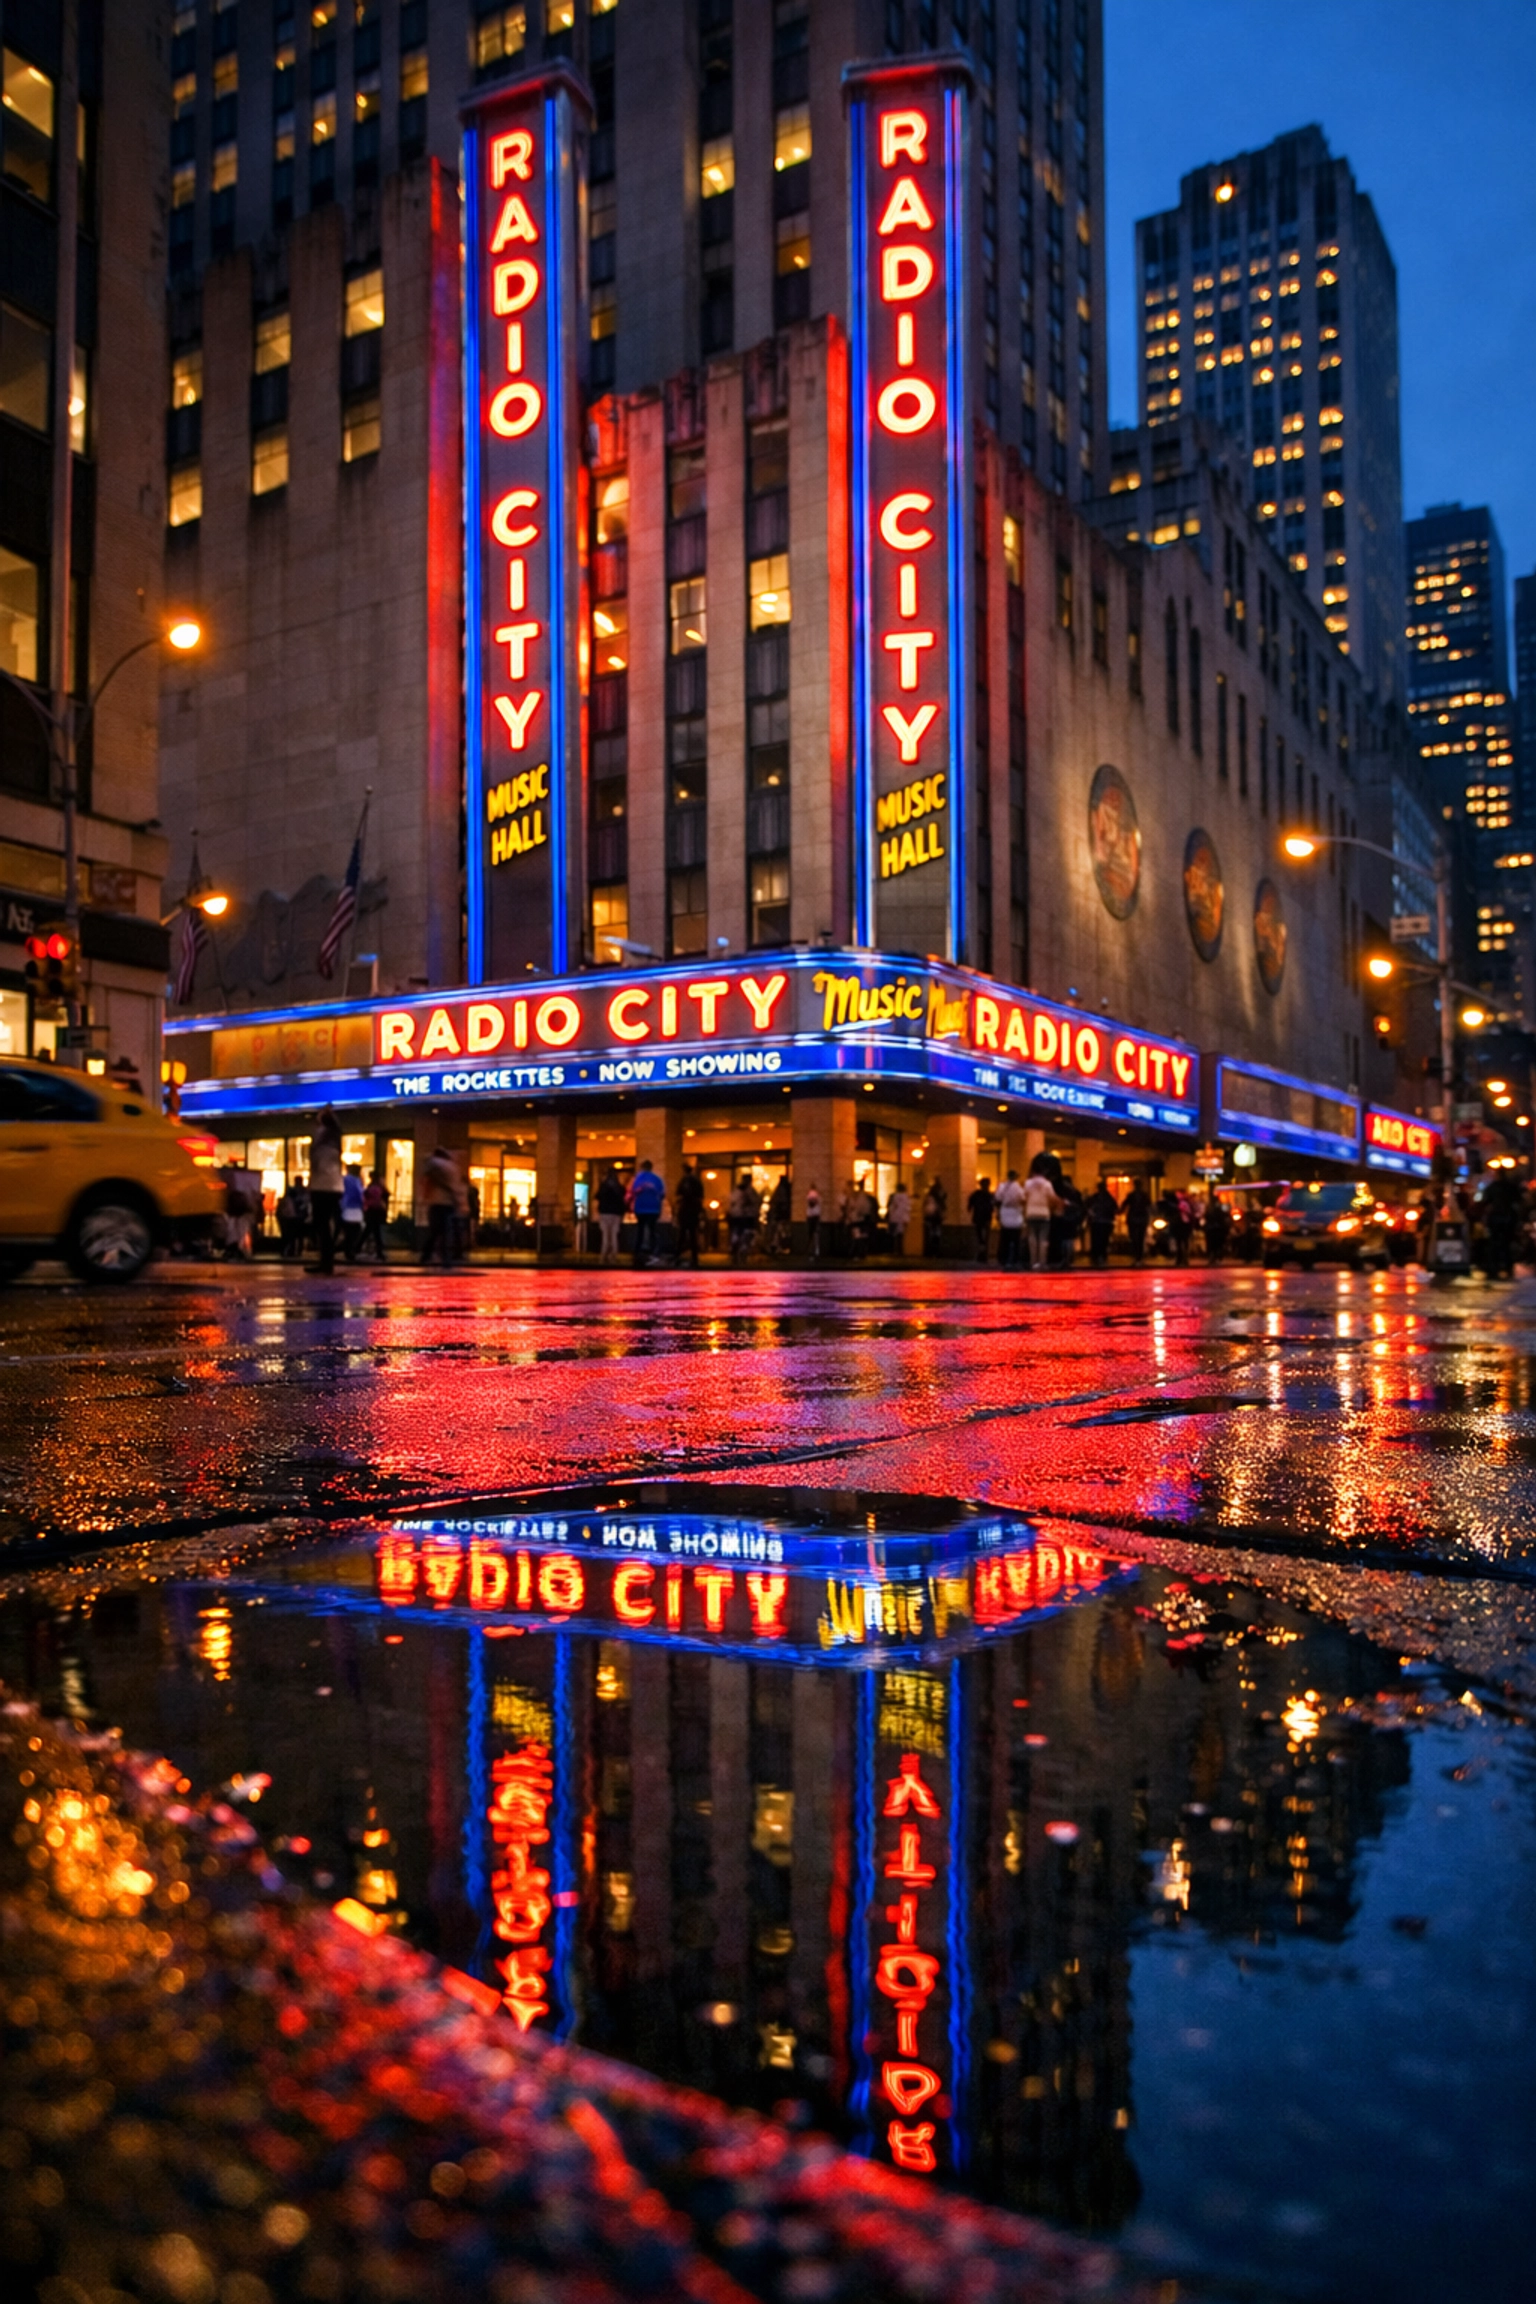
Your move
- Shoot blue hour into night.
- Look for reflections in puddles, windows, and glossy pavement.
- Frame with a human silhouette for scale and drama.
Chrysler Building viewpoints: classic NYC elegance
You don’t always need to be directly under the Chrysler Building to make it iconic. When you find a clean angle where it rises above street lines, you get that Art Deco crown shining like a polished metal flame.
Tudor City Bridge: taxis, depth, and a skyline punch
From this bridge, you get a powerful street canyon view with yellow cabs streaming through, and the Chrysler Building peeking in the distance. The scene looks engineered: repeating lanes, vertical walls of buildings, and motion you can freeze or blur.
If you want motion blur: try 1/10–1/2 sec with stabilization or a tripod for silky taxi trails.
Central Park (your natural reset with fine art texture)
With the chaos of the grid behind you, Central Park gives you controlled compositions: curves, stone textures, and layered trees that frame the skyline like a painting.
Bow Bridge: the romance shot that still feels premium
Bow Bridge photographs beautifully because it’s simple: an elegant arc, water reflections, and a skyline hint if you frame it right. Early morning fog or post-rain stillness elevates it into true fine art territory.
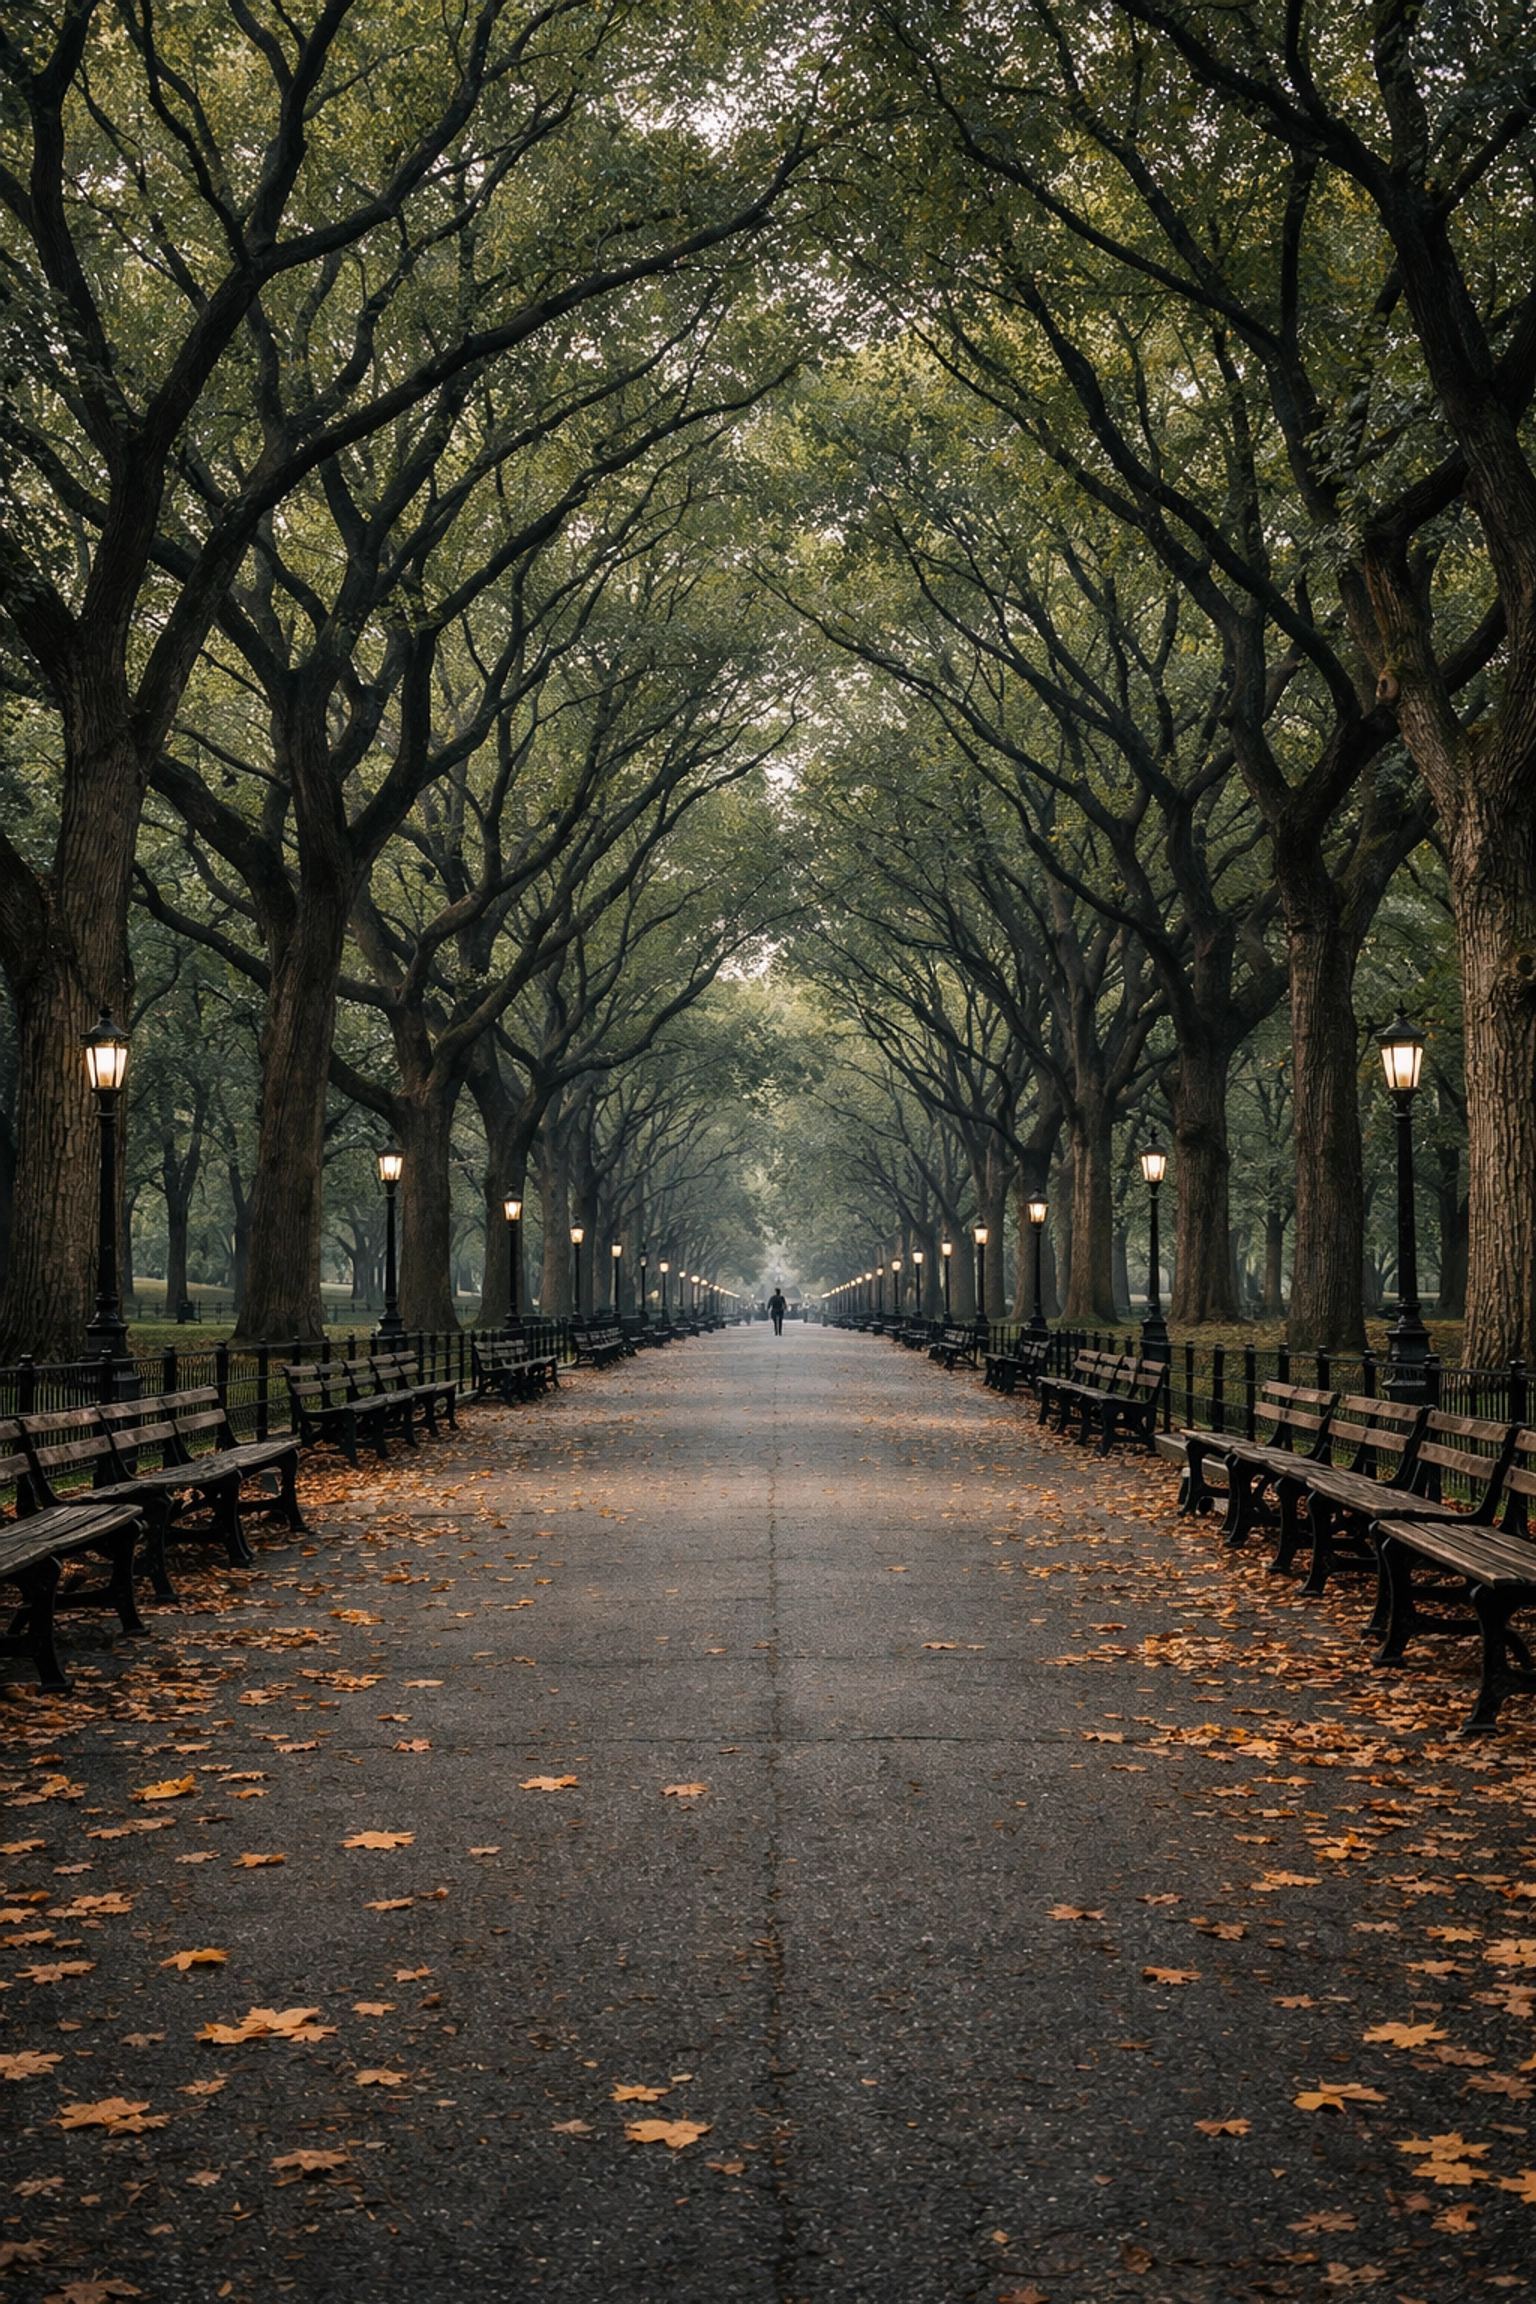
The Mall: symmetry, leading lines, and seasonal drama
This is one of the easiest places in NYC to build depth. The trees form a natural tunnel, and seasonal changes completely rewrite your palette: fresh green in spring, deep shadowy canopy in summer, fiery orange in fall, and stark graphic branches in winter.
Umpire Rock: a “hidden” elevation that adds scale
You get a slightly raised perspective that helps you layer foreground rock texture with city hints beyond. It’s subtle, and that’s exactly why it feels sophisticated in a fine art edit.
The “less crowded, more cinematic” alternatives (your secret weapons)
When you’re serious about consistent results, you want locations that give you room to work: clean frames, calmer pacing, and less time spent waiting.
Hunter’s Point South Park (Queens): skyline views without the stress
This waterfront angle delivers a clean Manhattan view with breathing room. You get water foreground, skyline midground, and sky drama overhead: perfect for long exposures and minimalist compositions.
William Street area (near Stone Street): a tucked-away European feel
This pocket gives you narrow street perspective, moody shadows, and the kind of intimacy that makes viewers feel like they discovered NYC, not just visited it.
Your “fine art finishing” workflow (how your NYC shots look expensive)
When your capture is strong, your edit becomes the polish: not the rescue. For a consistent, gallery-ready look across all these New York City photography locations, you’ll move faster with a proven preset base and then fine-tune contrast, color, and luminosity per scene.
Use the Ultimate Lightroom Preset Collection here to speed up that fine art finish without losing realism: https://blog.edinchavez.com/product/ultimate-lightrooom-preset-collection/
The simplest way to lock in every shot: use the NYC guide (and stop guessing)
When you want the fastest path to nailing the best places to take pictures in NYC, you need more than a list: you need a field-tested plan: where to stand, when to arrive, what lens to use, and how to repeat results in different seasons. That’s exactly what you get inside the New York City Photography Guide: https://blog.edinchavez.com/product/new-york-city-photography-guide/
If you’re building your photography skills beyond NYC, keep learning on https://blog.edinchavez.com/ and see what a full fine art workflow looks like through the studio lens at https://edinstudios.com/. With these considerations, you’re not just visiting NYC: you’re producing images that look collected, framed, and remembered.


