
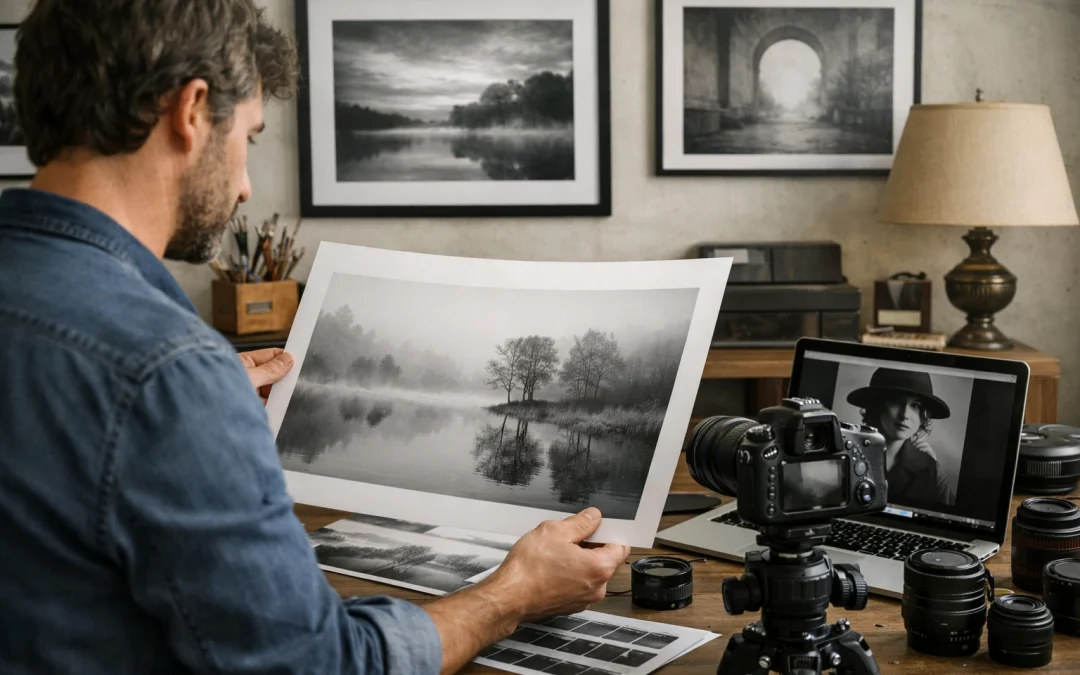
As you step into the world of fine art photography, you’re stepping away from the world of accidental snapshots and into a realm of intentional creation. This isn’t about just being in the right place at the right time; it’s about having a vision before you even click the shutter. Whether you’re wandering through the neon streets of Miami or standing amidst the quiet giants of Arches National Park, your goal is to produce something that doesn't just sit on a hard drive: it belongs on a gallery wall.
Creating museum-quality work requires a marriage of technical precision and raw emotion. You aren't just documenting reality; you're interpreting it. By the time you finish this guide, you’ll have the roadmap to elevate your images from digital files to high-end archival prints that command attention.
The Foundation: Vision Over Gear
Just as a painter doesn't start by throwing random colors at a canvas, your journey into fine art begins with a concept. Many photographers get caught up in the "latest and greatest" gear, but I'm here to tell you that your brain is your most valuable piece of equipment.
Before you head out, ask yourself: What am I trying to say? Fine art relies heavily on emotion. If your viewer can’t feel the mood of the shot within a second, you’ve lost them. Are you capturing the desolate beauty of a desert or the frantic energy of a city? To help you refine this, try sketching your shots. It sounds old-school, but visualizing the composition on paper forces you to think about leading lines and subject placement before the pressure of "the light" hits.
For those of you looking to capture the vibrant, tropical soul of Florida, check out my Private Miami Photography Tour or grab the Miami Self-Driving Photography Guide to start practicing your conceptual eye in one of the most photogenic cities on earth.
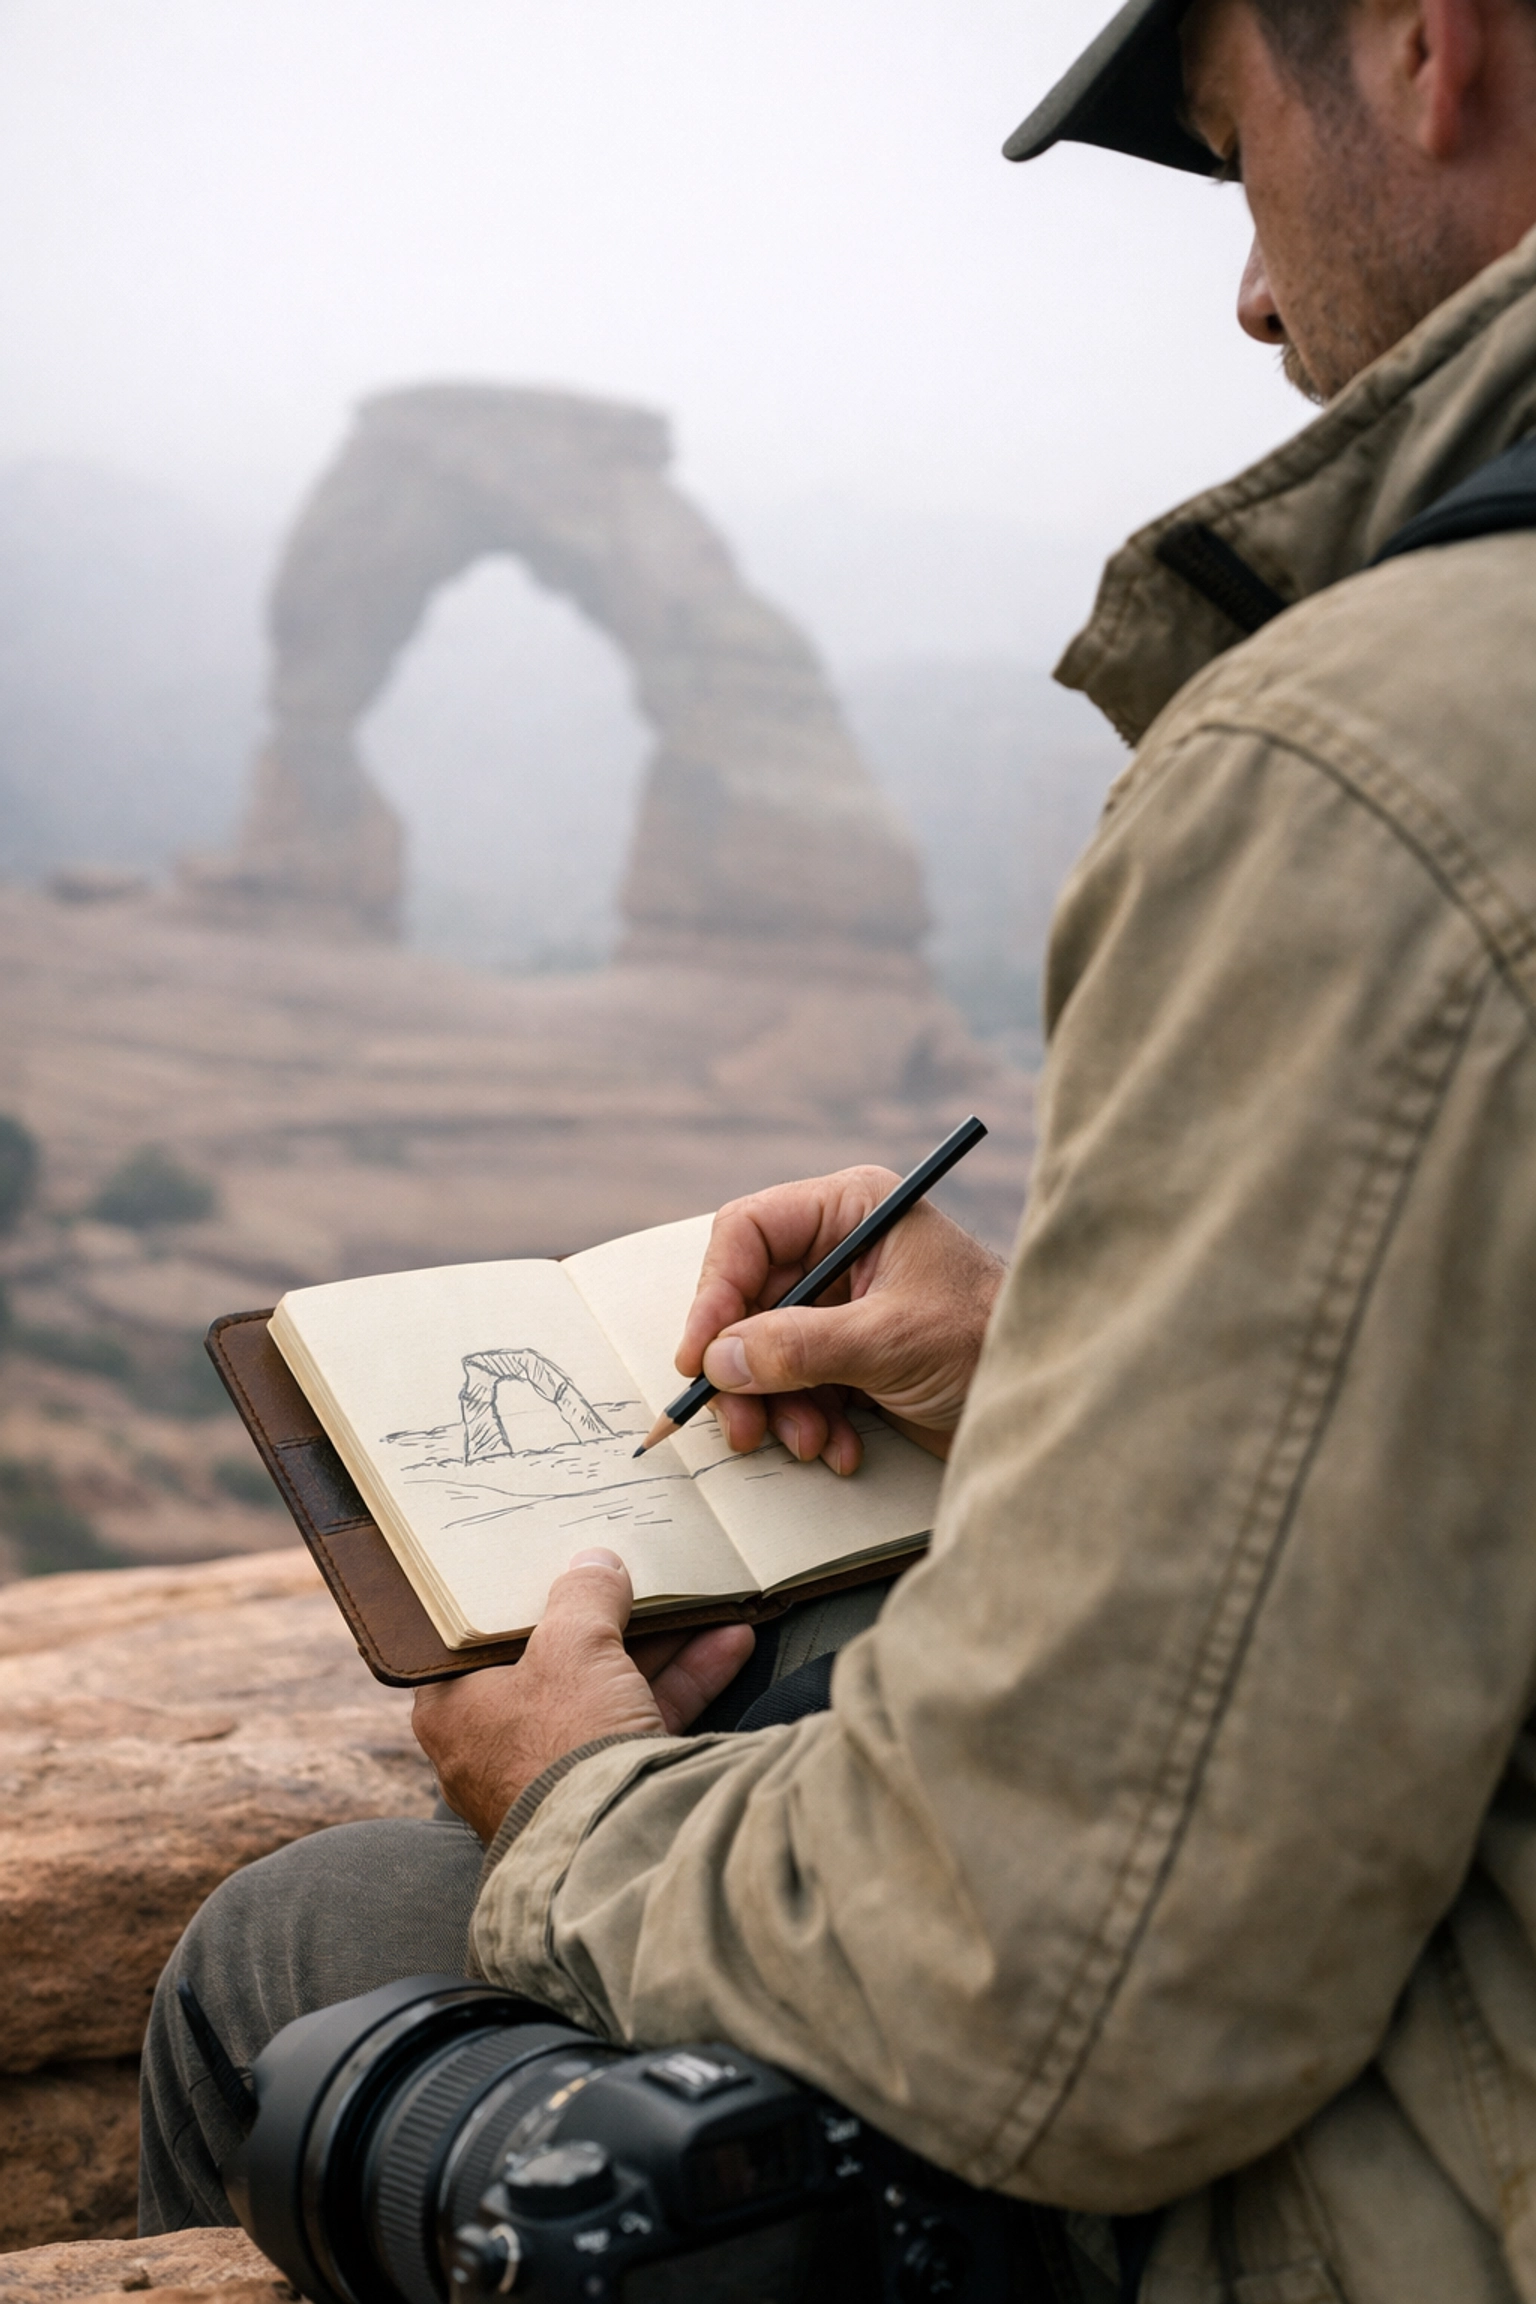 A photographer sketching a composition in a notebook while overlooking a misty mountain landscape, showing the planning phase of fine art photography. Alt Text: Professional photographer planning a fine art photography shoot by sketching a minimalist landscape composition in a leather-bound notebook with a misty mountain range in the background.]
Mastering the Technical Craft
To create work that stands out as museum quality, your technical foundation must be as solid as a rock. You need to master the trinity: depth of field, focal length, and shutter speed. These aren't just settings; they are your brushes.
The Power of Light and Shadow
In fine art, light is everything. But don't think you're limited to "Golden Hour." While that soft glow is great, some of the most compelling fine art photography is born from harsh shadows or flat, moody overcast skies. If you're shooting in the Everglades, for instance, the way the light filters through the sawgrass can create a painterly effect that is absolutely unmatched. If you want to master these specific conditions, my Everglades Photography Guide is your best bet for finding those hidden, light-drenched corners.
Intentional Movement
Don't be afraid to break the rules. Using a slower shutter speed: around 1/15th of a second: can introduce motion blur that feels more like an impressionist painting than a photograph. This technique, often called Intentional Camera Movement (ICM), allows you to strip away the literal details of a scene and focus on the "vibe."
| Technical Element | Fine Art Application | Desired Outcome |
|---|---|---|
| Aperture | Selective focus or deep sharpness | Directing the viewer’s eye specifically |
| Shutter Speed | Long exposures or ICM | Conveying a sense of time or energy |
| Focal Length | Compression or wide distortion | Changing the relationship between elements |
| ISO | Low ISO for maximum detail | Ensuring the image is clean for large-scale printing |
Post-Processing: The Digital Darkroom
Once you've captured your vision, the real magic happens in post-processing. This is where you refine the "look" that defines your brand. To achieve a cohesive body of work, you need consistency. You can't have one photo looking like a gritty black-and-white film noir and the next like a neon-soaked synth-wave dream: unless that's your specific "thing."
Using high-quality tools is non-negotiable here. To get that polished, professional look quickly, I highly recommend using the Ultimate Lightroom Preset Collection. These presets are designed to streamline your workflow while maintaining the integrity of the light. They help you achieve that elusive "painterly" feel that distinguishes fine art from standard edits.
Remember, post-processing in fine art isn't about "fixing" a bad photo; it's about enhancing the emotional narrative you've already started. Use vignettes to guide the eye and gradients to balance the sky. You want the viewer to feel like they are stepping into the frame, not just looking at a screen.
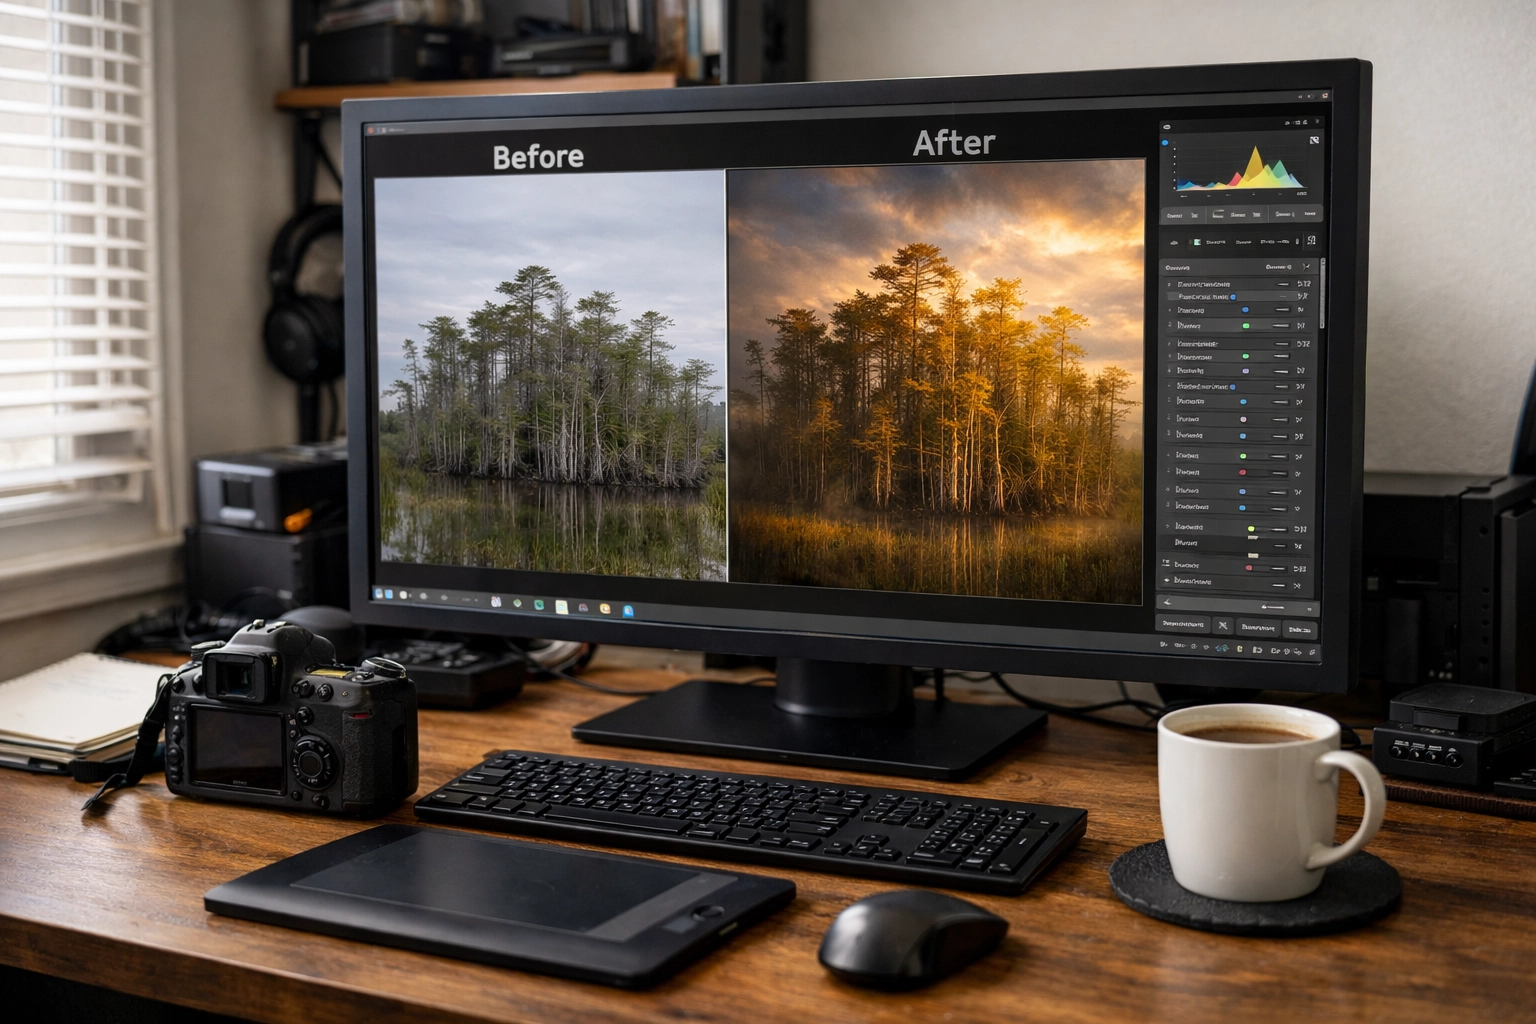 A side-by-side comparison of a raw landscape photo and a post-processed fine art version using professional Lightroom presets. Alt Text: Comparison of a raw sunset photo at the Everglades and a finished fine art photography piece edited with the Ultimate Lightroom Preset Collection to enhance museum-quality colors and textures.]
From Screen to Wall: Archival Prints
This is the stage that separates the pros from the hobbyists. You haven't truly finished your piece until it’s printed. To claim "museum quality," you must understand the world of archival prints.
When you visit Edin Fine Art, you’ll see that every piece is treated with the utmost respect for longevity. Archival printing involves using acid-free papers and pigment-based inks that are guaranteed to last for over 100 years without fading. This ensures that your work becomes a legacy, not just a temporary decoration.
Choosing the Right Paper
- Hahnemühle Photo Rag: Smooth as butter and perfect for deep blacks and high-contrast work.
- Canvas: Great for a more traditional "painterly" feel, especially for large-scale landscapes.
- Metal Prints: Provides a modern, high-gloss look that makes colors pop: ideal for vibrant cityscapes.
If you are serious about selling your work, you need to provide your collectors with the confidence that their investment is protected. Using archival standards is how you do that.
Building a Cohesive Collection
Collectors and galleries don't just buy single images; they buy into a vision. Your portfolio should tell a story. This commitment to a theme is what elevates your status in the art world.
Whether you’re focusing on the minimalist shores of Lake Tahoe or the architectural complexity of NYC (check out my New York City Photography Guide), keep your technique consistent. Use the same color palette or the same compositional style across a series of 10-15 images. This repetition creates a visual language that is uniquely yours.
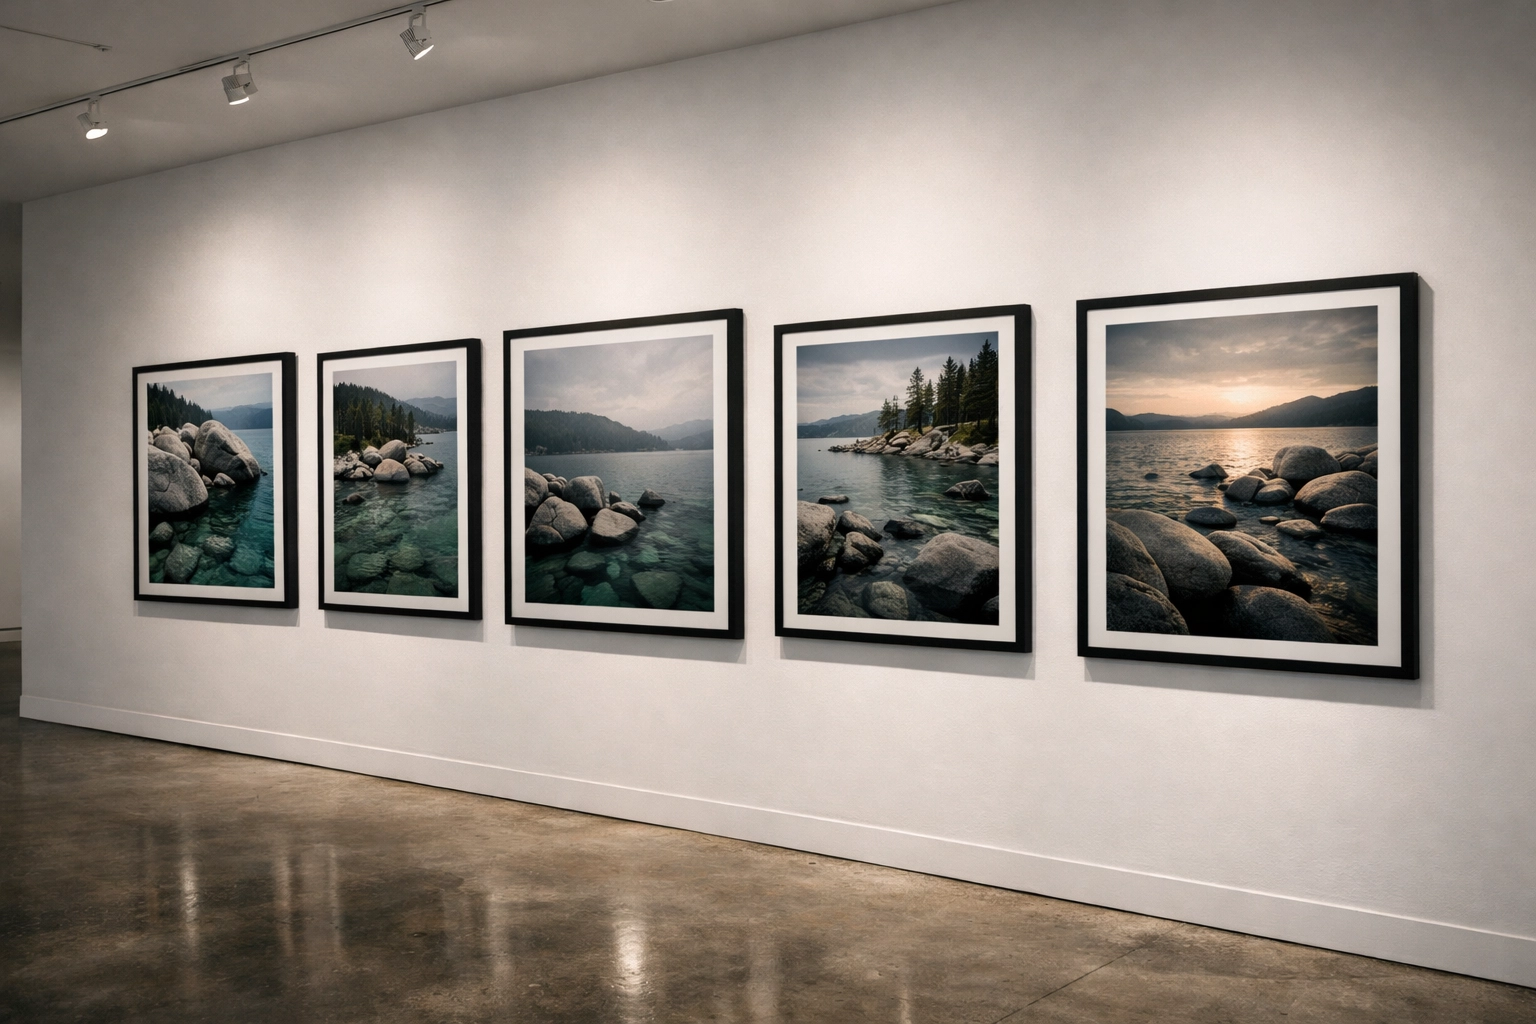 A beautiful gallery wall featuring a series of cohesive fine art landscape prints in black frames. Alt Text: A modern gallery wall displaying a collection of museum-quality fine art photography prints, showing consistent editing and archival framing for a professional art exhibition.]
Your Journey to the Gallery
The path to becoming a recognized fine art photographer isn't a race; it’s a leisurely pursuit of excellence. It’s about those early mornings, the failed experiments, and the "aha!" moments when everything clicks. By integrating intentional planning with professional post-processing and archival-grade finishing, you’re not just taking pictures: you’re creating history.
Take your time. Experiment with your Lightroom presets, get out into the field with a guide that inspires you, and never stop pushing the boundaries of what your camera can do.
For more insights on how to elevate your work, explore our site for a deep dive into hundreds of tutorials and guides. Whether you're looking for Edin Studios services or browsing the latest drops at Edin Fine Art, we’re here to help you turn your passion into a professional masterpiece.
With these considerations, you are now equipped to start building your own legacy. Grab your camera, find your vision, and go create something that belongs in a museum.


