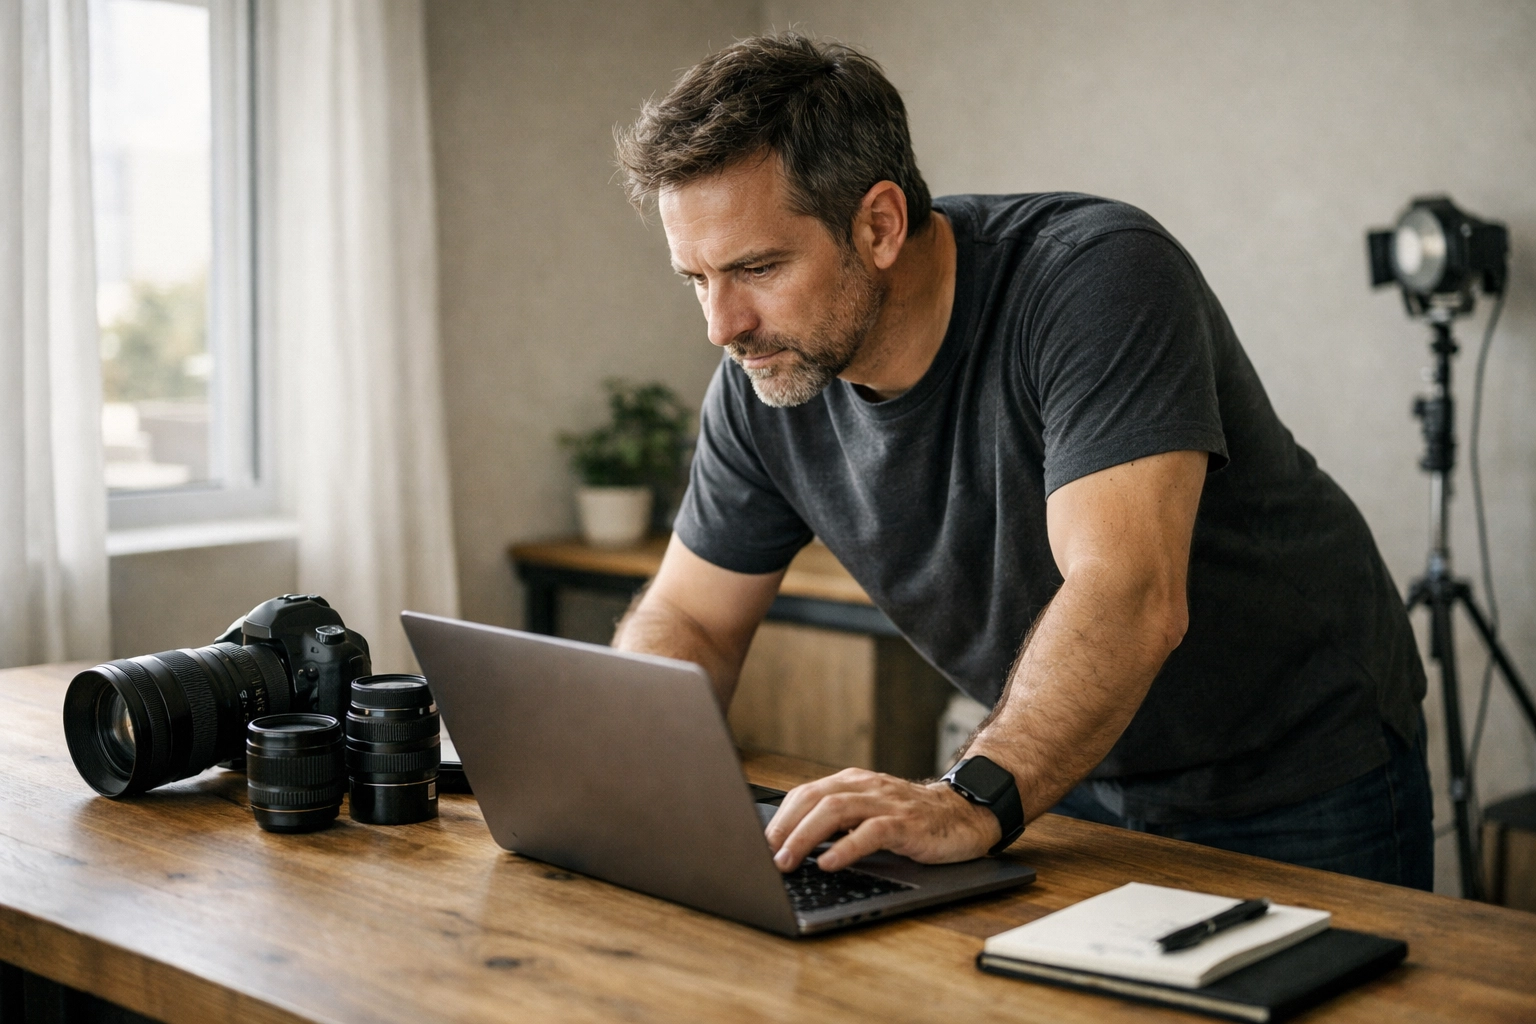
As the digital landscape for creative professionals continues to shift, the traditional methods of finding consistent, high-paying work are becoming relics of the past. You likely know the struggle of scrolling through endless social media feeds or bidding on generic gig sites where your talent is treated like a commodity. This is exactly why a dedicated marketplace like Proshoot.io is a game-changer for your career. By centralizing the search for jobs for photographers, this platform ensures you spend less time hunting for leads and more time behind the lens.
Whether you are a seasoned pro or an emerging talent looking to level up, understanding how to navigate this ecosystem is vital. You aren't just looking for any gig; you are looking for premium opportunities that respect your craft and pay what you are worth. In this guide, we will dive deep into how you can leverage Proshoot.io to build a sustainable, thriving photography business.
Navigating the New Landscape of Jobs for Photographers
Many photographers find themselves stuck in a cycle of "feast or famine," unsure of where their next client will come from. This instability often stems from a lack of a centralized hub that connects high-end clients with vetted professionals. Proshoot.io steps into this gap, providing a robust marketplace designed specifically for the visual arts. When you use a platform built by people who understand the industry, the entire process of finding jobs for photographers becomes smooth as butter.
By integrating your workflow into a dedicated marketplace, you gain immediate access to a pool of clients who are already looking for your specific skill set. Unlike general freelancer sites, the clients here are looking for quality over the lowest price. This commitment to professional standards ensures that the "race to the bottom" mentality doesn't exist here. You are empowered to showcase your unique style and negotiate terms that reflect your expertise.
Building a Profile That Converts
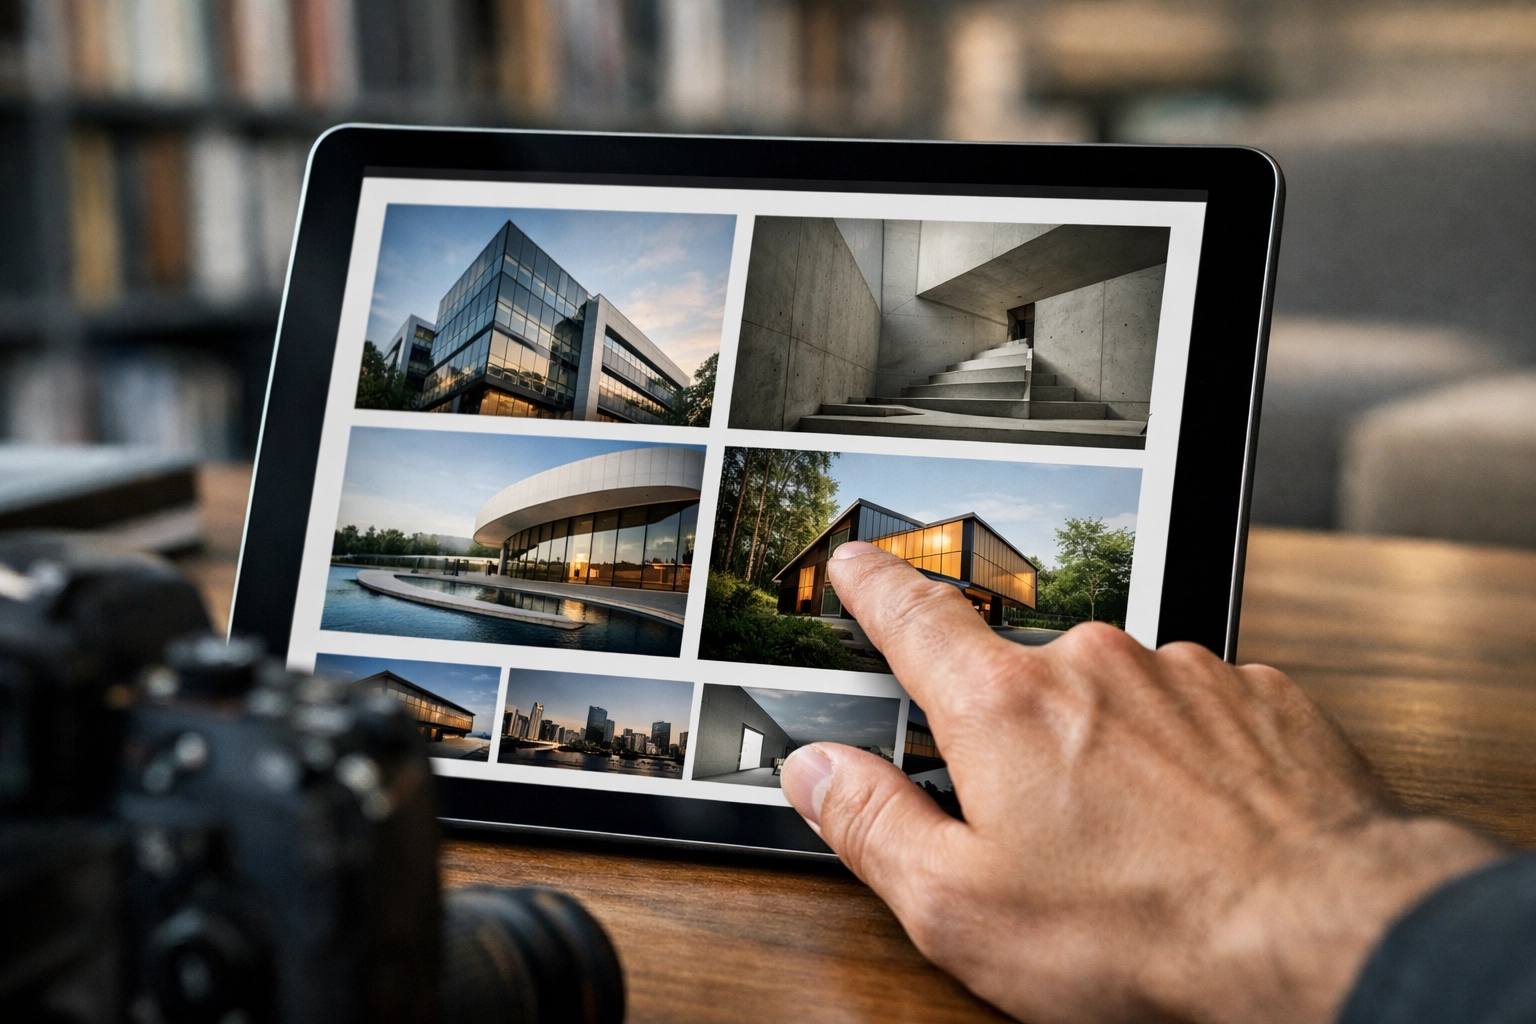
Just as a gallery curator meticulously selects pieces for an exhibition, you must curate your Proshoot.io profile to act as your 24/7 digital salesperson. Your profile is often the first interaction a potential client has with your brand, and it needs to scream professionalism from the first click. Proshoot.io provides unparalleled portfolio hosting features that allow your high-resolution imagery to shine without the compression issues found on social media platforms.
When you set up your profile, you are doing more than just uploading photos; you are building a narrative of your reliability and technical prowess. You should treat your portfolio as a living document, frequently updating it with your latest and best work. For insights on how to refine your aesthetic and keep your portfolio fresh, checking out the resources at Edin Chavez Photography Blog can provide the inspiration you need to stay ahead of trends.
| Feature |
Reader Benefit |
| High-Res Portfolio Hosting |
Ensures your work looks crisp and professional to every browsing client. |
| Verified Badge System |
Instantly builds trust by confirming your identity and professional status. |
| Direct Client Messaging |
Eliminates the friction of middle-man communication, letting you close deals faster. |
| SEO-Optimized Profiles |
Helps your profile appear when clients search for specific photography niches. |
Mastering the Marketplace Bidding System
This marketplace functions on a sophisticated bidding system that allows you to proactively pursue the projects that excite you. Instead of waiting for the phone to ring, you can browse through active listings and submit proposals that highlight why you are the best fit for the job. This active approach to finding jobs for photographers puts the steering wheel of your career back in your hands.
Winning a bid isn't just about having the lowest price: in fact, on Proshoot.io, it rarely is. It is about the value proposition you present. Your proposal should address the client’s specific needs, showing that you’ve read their brief and have a clear vision for the execution. If you need a deeper look at how to position yourself as a luxury brand to win these higher-tier bids, you can find expert advice at Edin Studios, where we focus on the business of high-end visual production.
Networking and Client Relationships
By fostering a community of professionals, Proshoot.io goes beyond a simple job board and becomes a networking powerhouse. The platform allows you to connect with other creatives and clients in a way that feels organic rather than forced. Long-term success in this industry is built on relationships, and your ability to turn a one-off job into a recurring contract is what will define your career longevity.
When you deliver exceptional work through the platform, you aren't just getting a paycheck; you are earning reviews and a reputation that propels you toward even bigger opportunities. Proshoot.io tracks your performance and client satisfaction, creating a feedback loop that rewards the best photographers with higher visibility. This transparency ensures that your hard work is always recognized and leveraged for future growth.
Strategic Steps to Land Your First Premium Job
- Complete Your Bio with Precision: Don't just say you "take photos." Describe the problems you solve for your clients and the specific moods you create.
- Upload Niche-Specific Galleries: Clients looking for architectural photography don't want to dig through 500 wedding photos. Create organized, themed galleries.
- Optimize Your Keywords: Use terms like "commercial photography," "luxury real estate," or "editorial portraits" to ensure the right clients find you.
- Set Up Alerts: Be the first to know when new jobs for photographers are posted in your area or niche to give yourself a competitive edge.
- Review the Competition: See what other top-rated photographers on Proshoot.io are doing and find ways to differentiate your offering.
Why Proshoot.io Outperforms Traditional Platforms
With these tools at your disposal, the comparison between Proshoot.io and traditional social media or general gig sites is night and day. On traditional social platforms, your work is buried under an algorithm that favors engagement over artistry. On Proshoot.io, the "algorithm" is built to showcase talent and facilitate business transactions. It is a streamlined ecosystem designed to remove the noise and focus on the work.
| Proshoot.io Feature |
Traditional Social Media |
General Gig Sites |
| Niche Focus |
Specifically for photographers/videographers. |
General audience; no business focus. |
| Bidding Control |
You choose the projects and the price. |
No formal bidding; "DM for rates." |
| Client Intent |
High; clients are ready to hire. |
Low; mostly browsing or looking for freebies. |
| Portfolio Quality |
Professional, high-res display. |
Compressed, mobile-first viewing. |
Future-Proofing Your Photography Career
As you look toward the future of your business, integrating with a platform like Proshoot.io is an essential step in professionalizing your workflow. The industry is moving toward specialized marketplaces where expertise is valued over generic availability. By establishing your presence here now, you are positioning yourself at the forefront of this shift, ensuring you are the first choice for premium clients.
This commitment to your professional development shouldn't stop at the marketplace. Continuous learning is the hallmark of any successful creative. You can explore a wealth of technical tutorials and industry insights on the Edin Chavez Photography Blog to keep your skills as sharp as your business acumen. Combining world-class talent with a robust platform for client acquisition is the ultimate formula for success.
By utilizing the features of Proshoot.io: from the marketplace bidding system to the high-end portfolio hosting: you are taking a definitive step toward financial and creative independence. The platform doesn't just provide a list of jobs for photographers; it provides a comprehensive infrastructure for your entire business.
With these considerations in mind, it is clear that the path to landing premium jobs is through a dedicated, professional marketplace. Whether you are aiming to fill your calendar for the next month or looking for that one career-defining project, Proshoot.io provides the tools, the network, and the visibility you need to make it happen. Start building your profile today at Proshoot.io and take control of your professional destiny. For more information on our high-end services and fine art, visit Edin Studios.
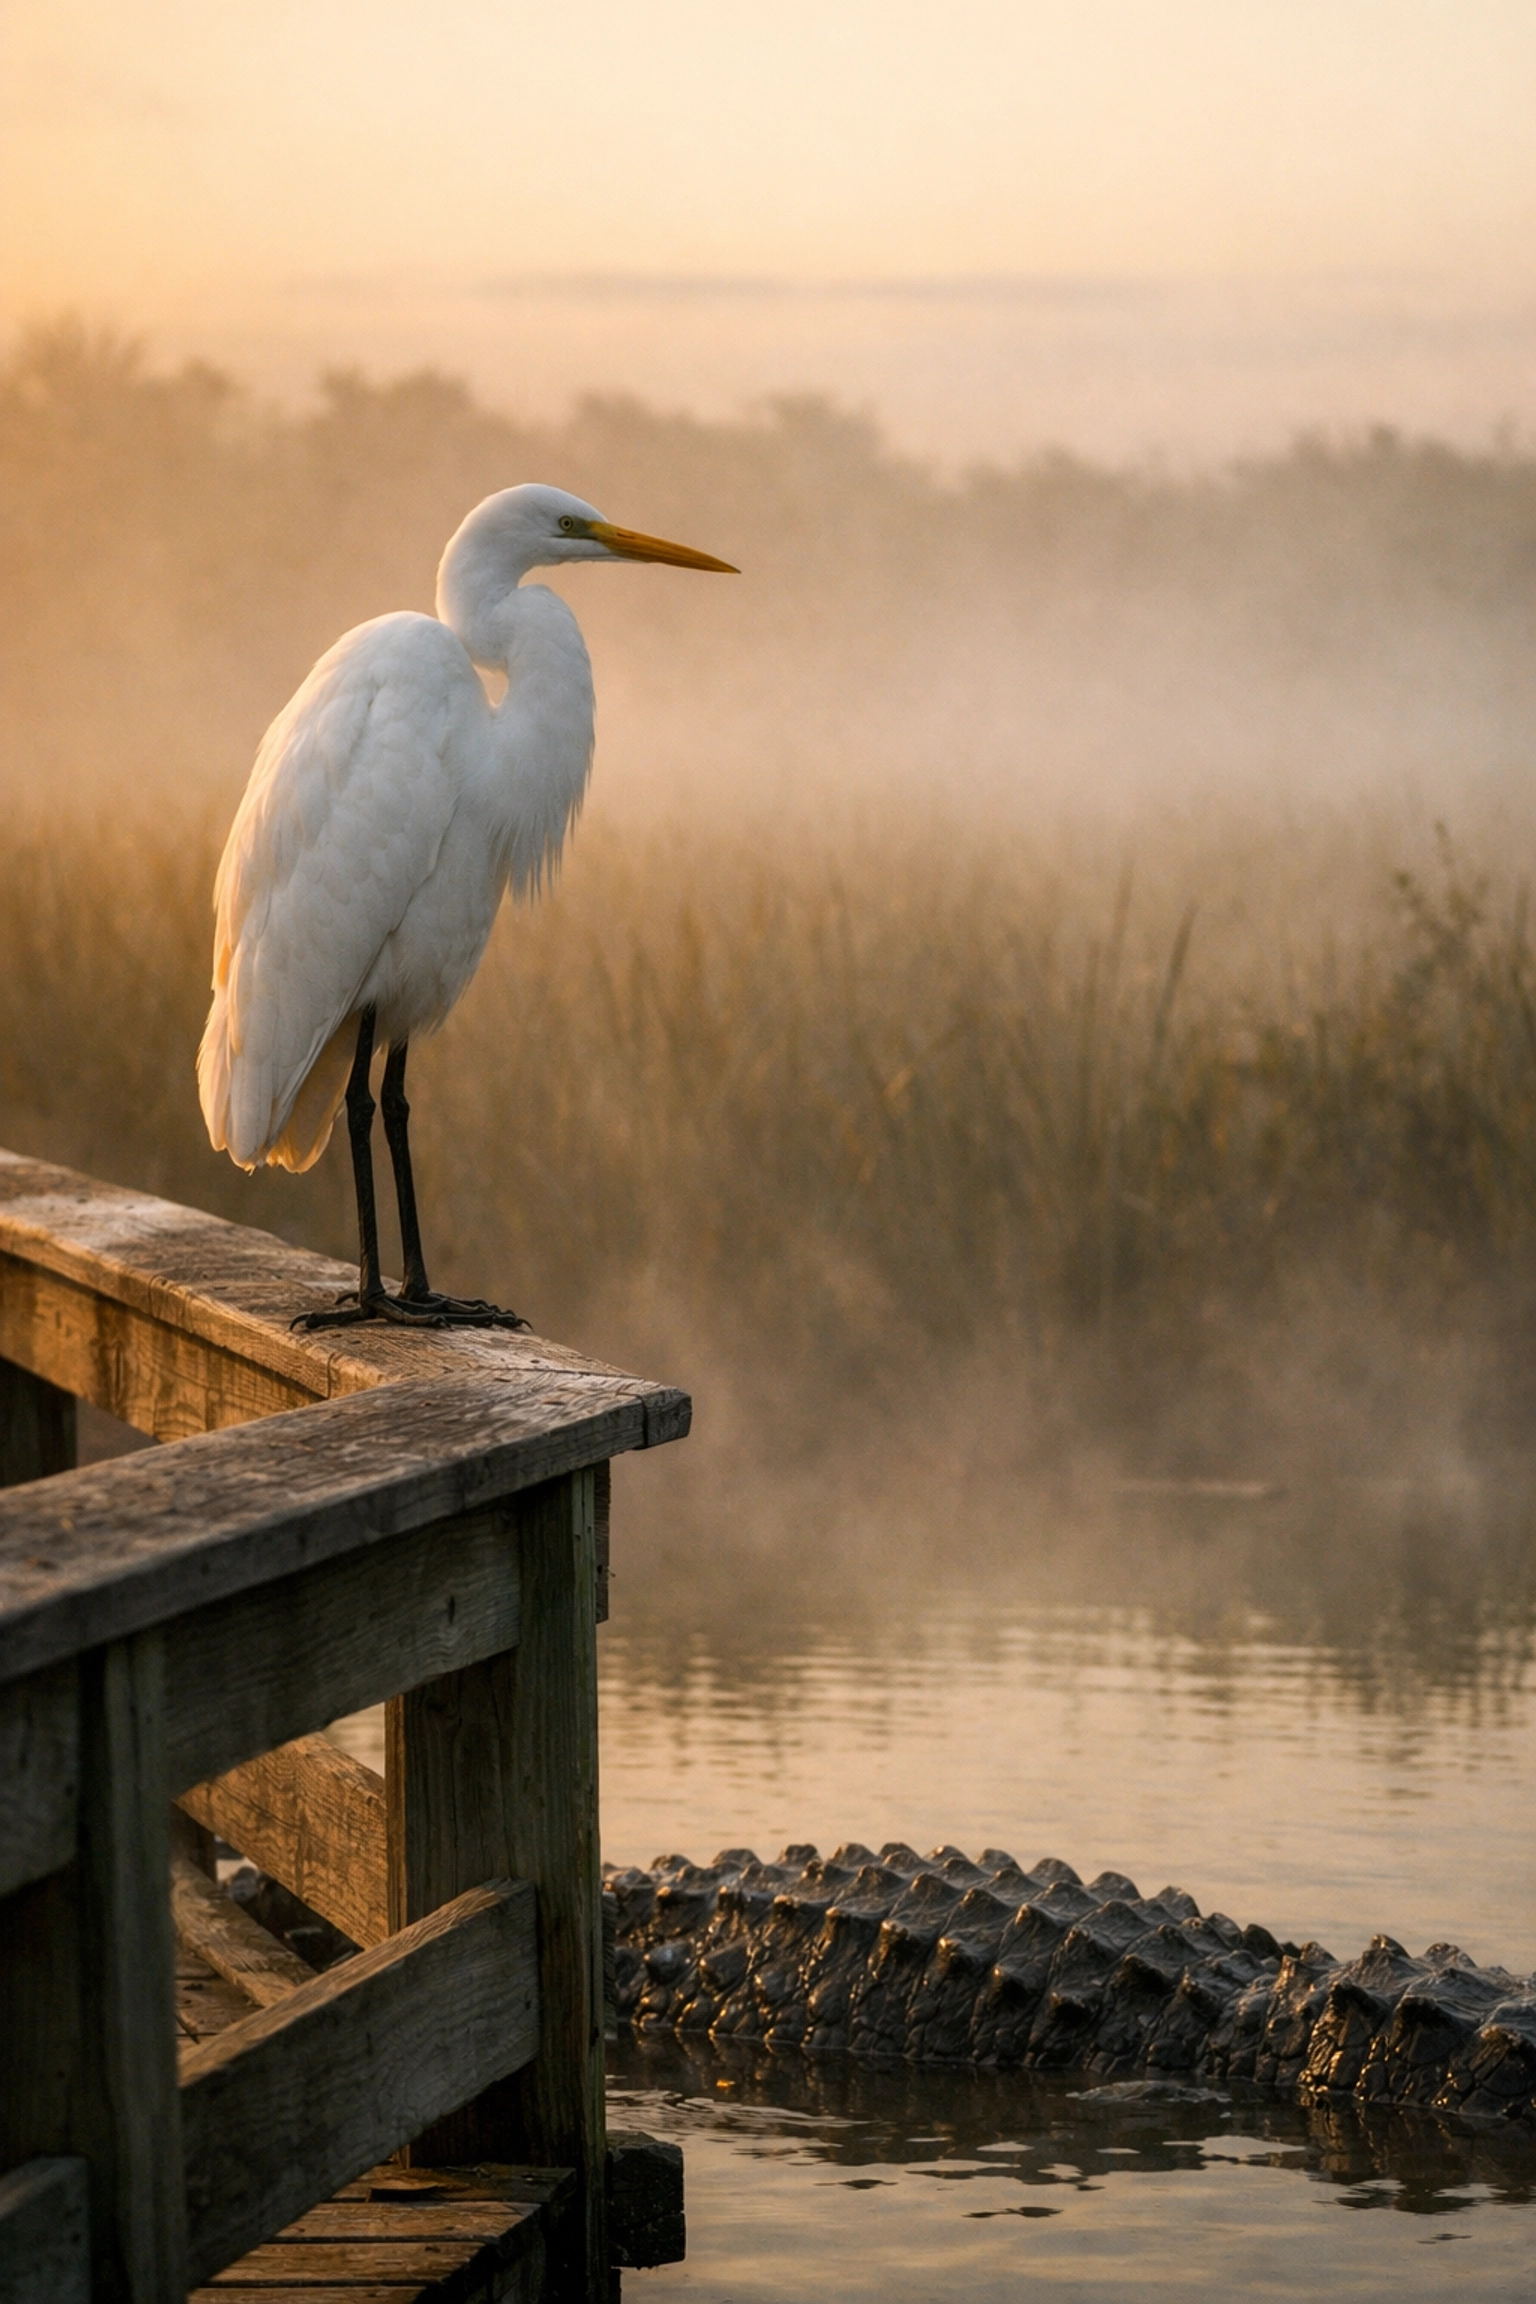
Just as the morning mist begins to lift off the sawgrass prairies, you realize that the Everglades is not just a swamp; it is a prehistoric landscape teeming with life, waiting for your lens to capture its soul. Many photographers visit Florida and stick to the coastlines, but when you venture into the "River of Grass," you unlock a world of biodiversity that is simply unmatched anywhere else on the planet. Whether you are looking for high-octane wildlife photography Everglades moments or the quiet, ethereal beauty of landscape photography Everglades scenes, this guide ensures you know exactly where to stand when the light hits.
Stepping into the Everglades can be overwhelming due to its sheer scale. To help you navigate this unique ecosystem, I have curated the absolute best Everglades photography locations based on years of field experience. This is your roadmap to success in one of the most challenging yet rewarding environments in the world.
The Iconic Anhinga Trail: Your Wildlife Hub
When you first arrive at the Royal Palm area, your primary destination should be the Anhinga Trail. This is widely considered the crown jewel of accessible wildlife photography. Because the animals here are accustomed to the boardwalk, you can get incredibly close to your subjects without disturbing their natural behavior.
You will encounter anhingas drying their wings, various species of herons and egrets, and more alligators than you can count. To truly elevate your work, arrive just before sunrise. The low-angled light creates a golden glow on the water, and if the temperature is right, a layer of mist will hang over the marsh, providing a dreamlike quality to your compositions. By positioning yourself early, you ensure your images have the depth and atmosphere that separate a snapshot from fine art.
Shark Valley: Perspective and Panoramas
Located off the Tamiami Trail, Shark Valley offers a different perspective on the glades. The 15-mile loop is a haven for birds and reptiles alike. While many tourists take the tram, you should consider renting a bike or walking the first few miles to maintain full control over your shooting angles.
The observation tower at the halfway point provides a 360-degree view of the horizon, which is essential for your landscape photography Everglades portfolio. From this height, you can capture the vastness of the sawgrass plains and the dramatic Florida cloud formations. Along the trail itself, you will find alligators lounging within feet of the path. Use a 70-200mm lens here to capture environmental portraits, showing the reptile within its grassy kingdom rather than just a tight headshot.
Big Cypress National Preserve and Loop Road
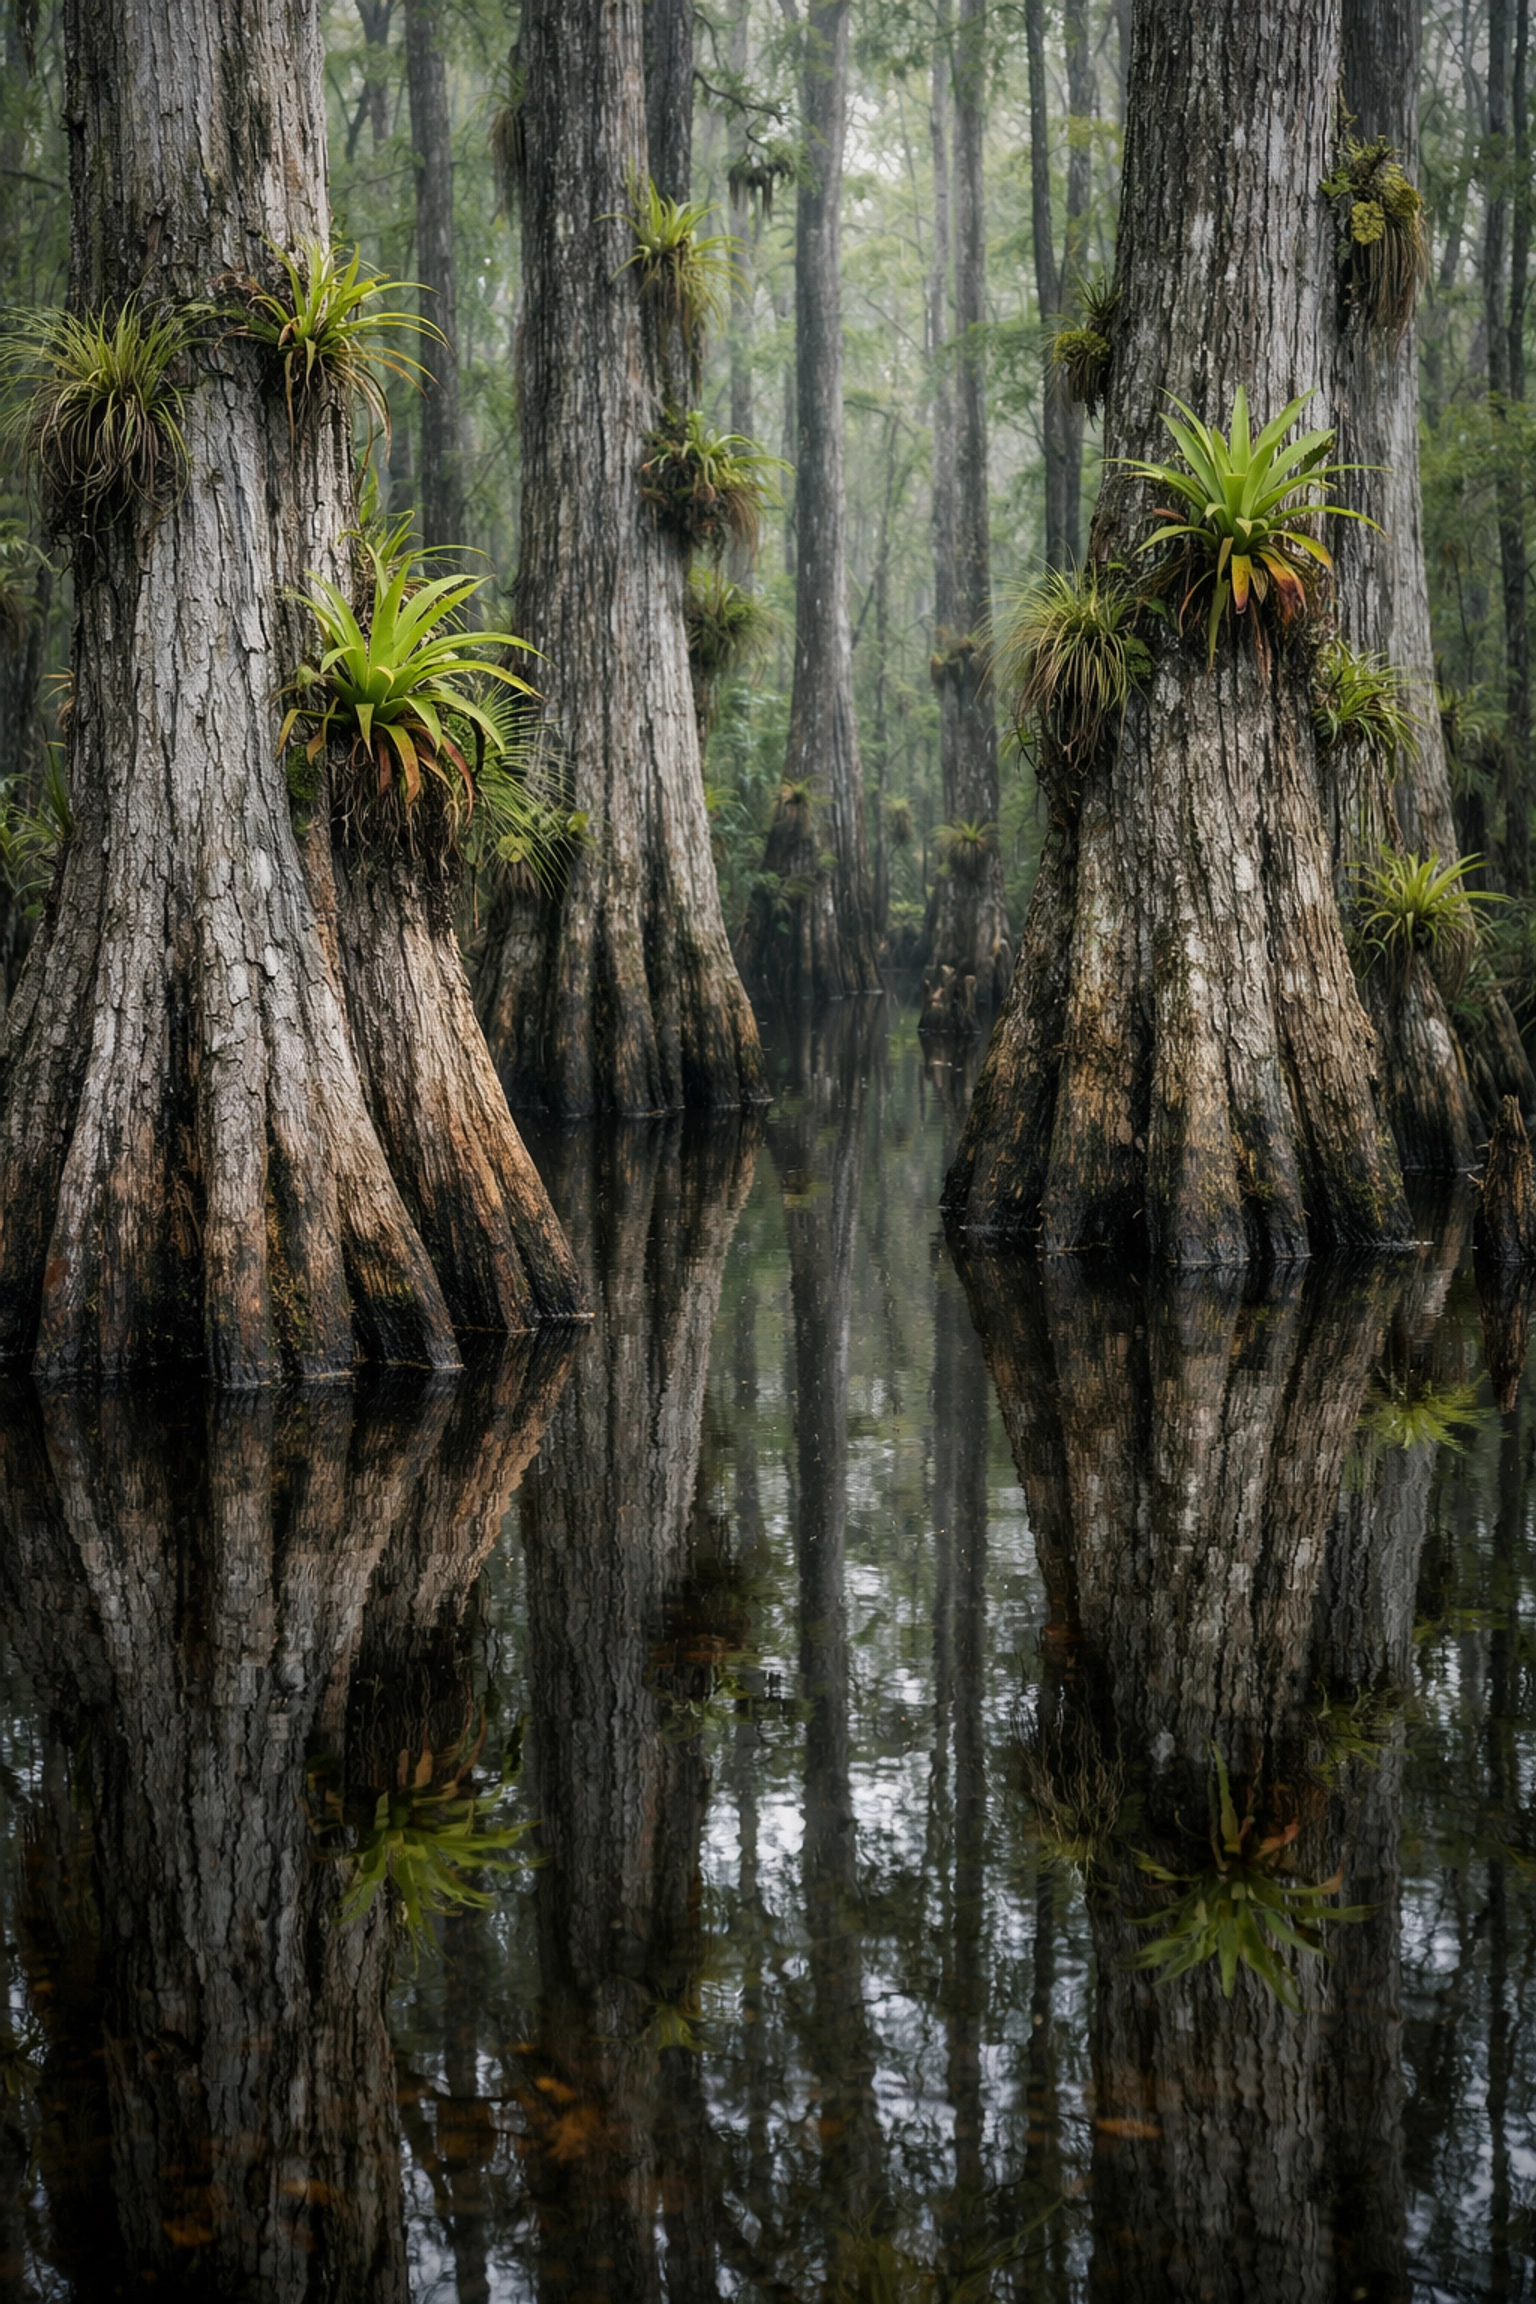
If you crave a more rugged, "old Florida" feel, your journey must include the Big Cypress National Preserve. Specifically, Loop Road is a legendary 24-mile stretch that takes you deep into the heart of the cypress strands. This is where you go for texture, shadow, and mystery.
As you drive slowly down this unpaved road, keep your eyes peeled for the elusive barred owl or the rare Florida panther. The cypress domes here create incredible leading lines and reflections in the tea-colored water. For the best results, look for "air plants" and orchids clinging to the ancient trees. The soft, filtered light under the canopy allows you to capture rich greens and deep browns that are often lost in the harsh midday sun.
Flamingo and the Southern Extremes
Driving all the way to the end of the park road leads you to Flamingo. This area feels like the edge of the world. Because it sits on the transition zone between fresh and saltwater, the photographic opportunities are unique. This is one of the few places in the world where you can photograph both the American Alligator and the American Crocodile in the same vicinity.
Eco Pond, located near the Flamingo visitor center, is your go-to spot for sunset silhouettes. During the dry season, Roseate Spoonbills often frequent the pond, their vibrant pink feathers contrasting beautifully against the deep blues of the water. When you set up your tripod here, focus on the "golden hour" to capture the reflections of the mangrove fringe as the sun dips below the Florida Bay.
Everglades Location Comparison Table
To help you plan your itinerary, I’ve broken down the key features of these primary locations:
| Location |
Primary Photography Focus |
Best Time of Day |
Recommended Lens |
| Anhinga Trail |
Wading Birds, Alligators, Mist |
Sunrise |
300mm – 600mm |
| Shark Valley |
Panoramic Landscapes, Bird-in-Flight |
Late Afternoon |
70-200mm |
| Loop Road |
Cypress Domes, Owls, Orchids |
Overcast or Early Morning |
24-70mm & 400mm |
| Eco Pond |
Spoonbills, Waterfowl, Sunsets |
Sunset |
500mm+ |
| Pahayokee |
Wide-open Sawgrass Vistas |
Sunrise |
16-35mm (Wide Angle) |
Mastering the Technical Challenges
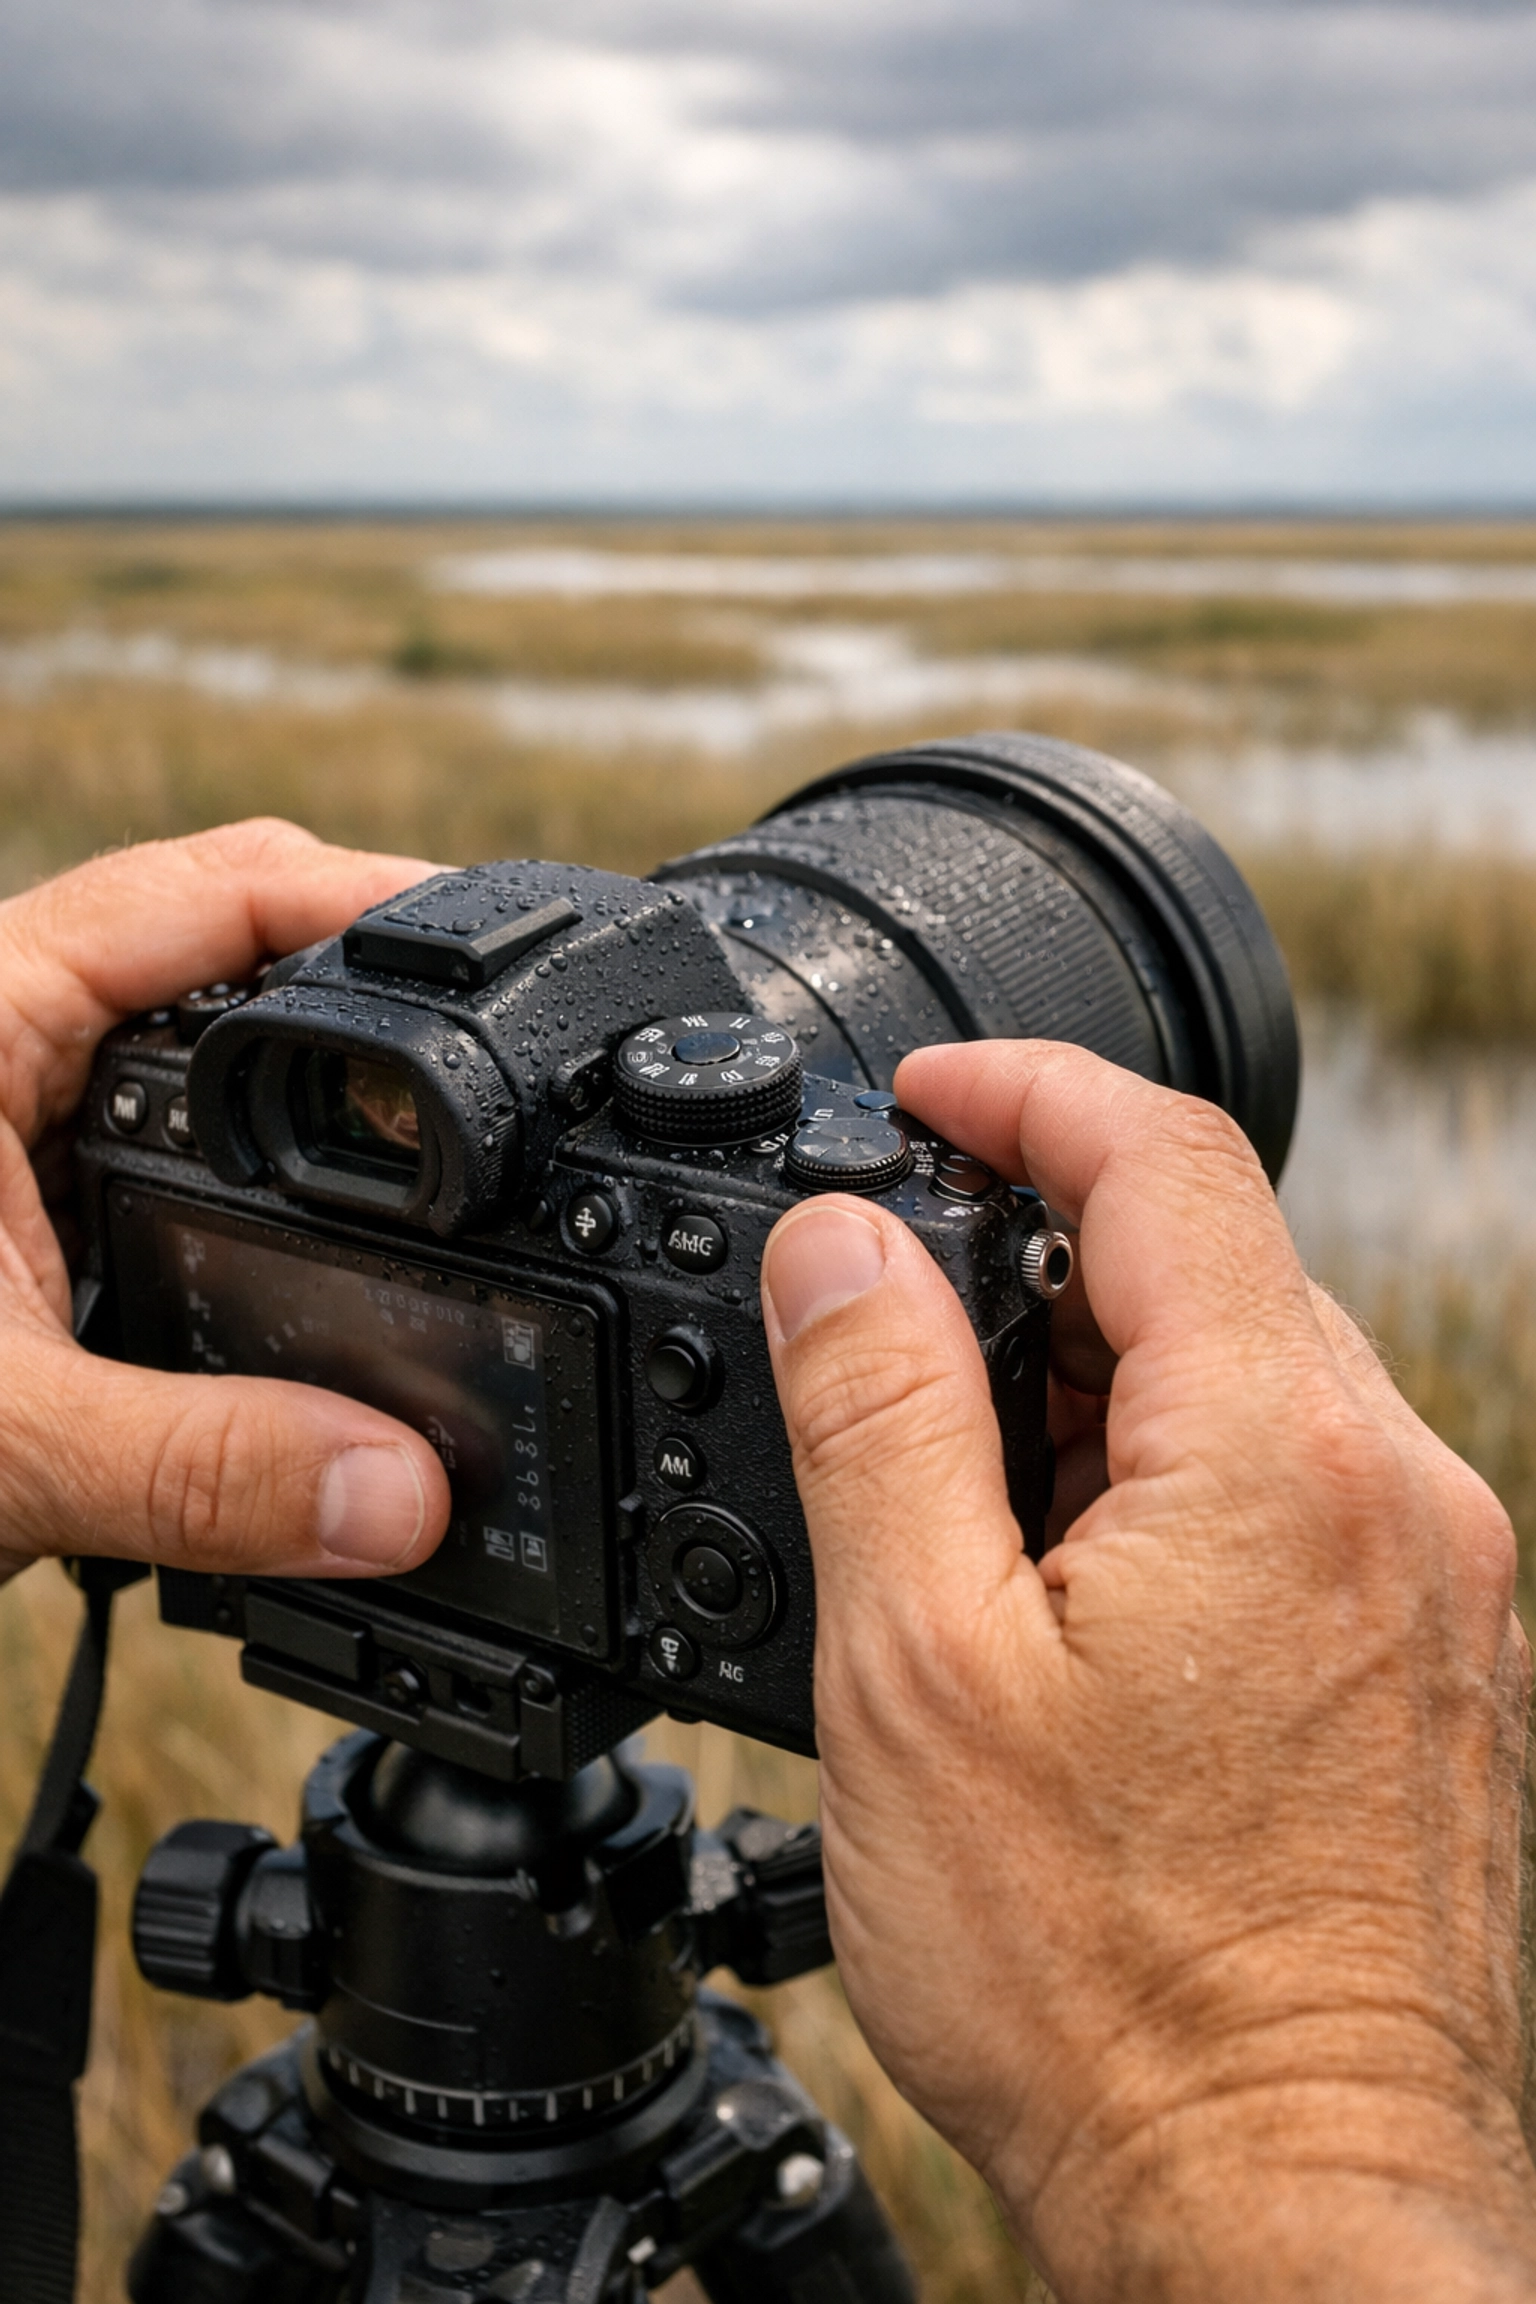
Photographing the Everglades requires more than just showing up; it requires a strategic approach to your gear and settings. Because you are often working in high-contrast environments or dark cypress canopies, your technical proficiency is what will ensure your success.
- Manage Your ISO: In the deep shade of Mahogany Hammock or Sweetwater Strand, don't be afraid to push your ISO to 2500 or higher. Modern mirrorless cameras handle noise exceptionally well, and a sharp, slightly grainy image is always better than a blurry one caused by a slow shutter speed.
- Use a Circular Polarizer: This is non-negotiable for landscape photography Everglades work. It allows you to cut the glare off the water’s surface, revealing the hidden world of submerged vegetation and fish below, while also saturating the greens of the foliage.
- Long Glass is Key: For wildlife photography Everglades sessions, a lens with at least 400mm of reach is your best friend. While some animals are close, the most intimate behavioral shots: like a heron striking at a fish: require that extra reach to fill the frame without encroaching on the animal's space.
The Magic of the Dry Season
Timing your visit is perhaps the most critical decision you will make. While the Everglades is beautiful year-round, the dry season (late November through April) is when the magic happens. As water levels drop, wildlife concentrates around the remaining deep-water holes.
During February and March, locations like Mrazek Pond become a frenzy of activity. You might find hundreds of wading birds feeding in a single small area. This concentration makes it much easier for you to capture multiple species in a single frame. This is also the peak nesting season, meaning you can photograph chicks in the nest at the Anhinga Trail, adding a powerful narrative element to your fine art collection.
Essential Gear for Your Expedition
Your comfort in the field directly impacts your creativity. Beyond your camera and lenses, you need to protect yourself and your equipment. The Florida sun is relentless, and the mosquitoes can be formidable if you aren't prepared.
- Protection: Wear long-sleeved, moisture-wicking clothing and use a high-quality insect repellent.
- Stability: A sturdy tripod is essential for those low-light sunrise shots at Pahayokee Road.
- Safety: Always carry a waterproof dry bag for your gear, especially if you decide to take a canoe out on the Nine Mile Pond trail to find hidden rookeries.

Take Your Skills to the Next Level
You now have the foundation to explore the Everglades and bring home world-class images. However, knowing the locations is only half the battle; knowing the secret "honey holes" and the exact seasonal shifts can take years to master on your own.
If you want to skip the trial and error and start shooting like a pro immediately, I have compiled everything I know into a comprehensive resource. My Everglades Photography Guide gives you GPS coordinates, specific seasonal tips, and advanced composition techniques tailored specifically for this environment.
Purchase the Ultimate Everglades Photography Guide Here
By investing in your education, you ensure that your next trip to the River of Grass isn't just a walk in the park, but a productive expedition that yields breathtaking fine art.
For more inspiration and to see my latest work from the field, feel free to explore my galleries at Edin Chavez Photography or browse more educational articles on my Photography Blog. Your journey into the wild heart of Florida starts now: make sure you're ready for it.
Hence, with these locations and strategies in your arsenal, you are well-equipped to capture the raw, untamed beauty of the Everglades. Respect the wildlife, mind the light, and always keep your eyes open for the unexpected. The perfect shot is waiting for you just around the next bend in the boardwalk.
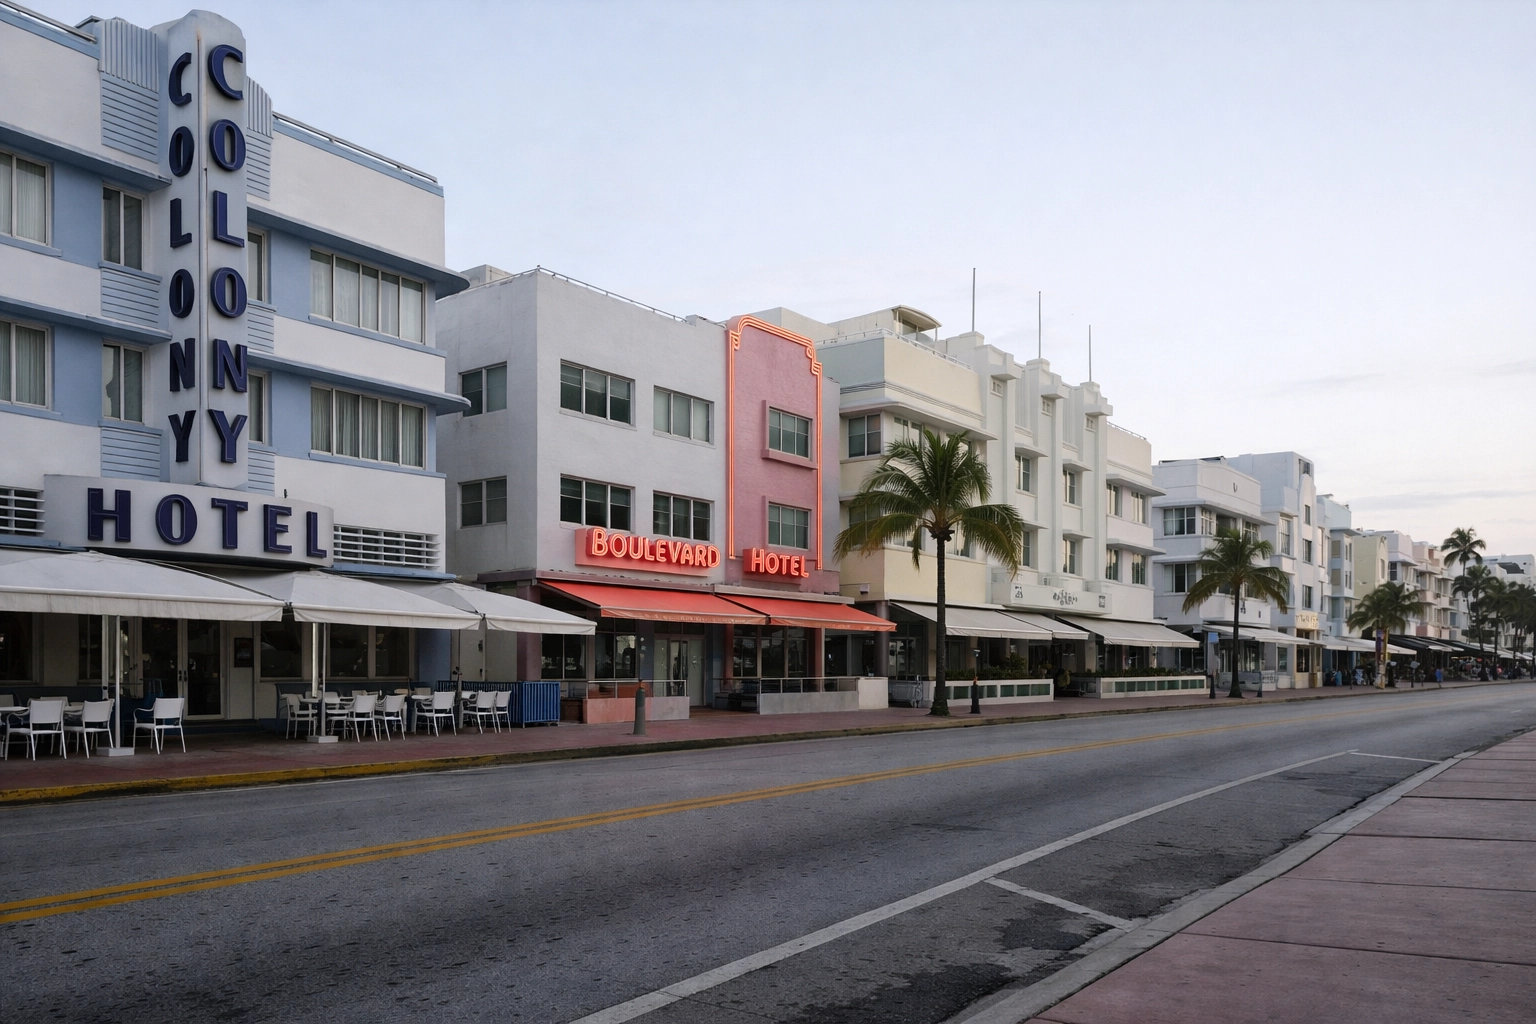
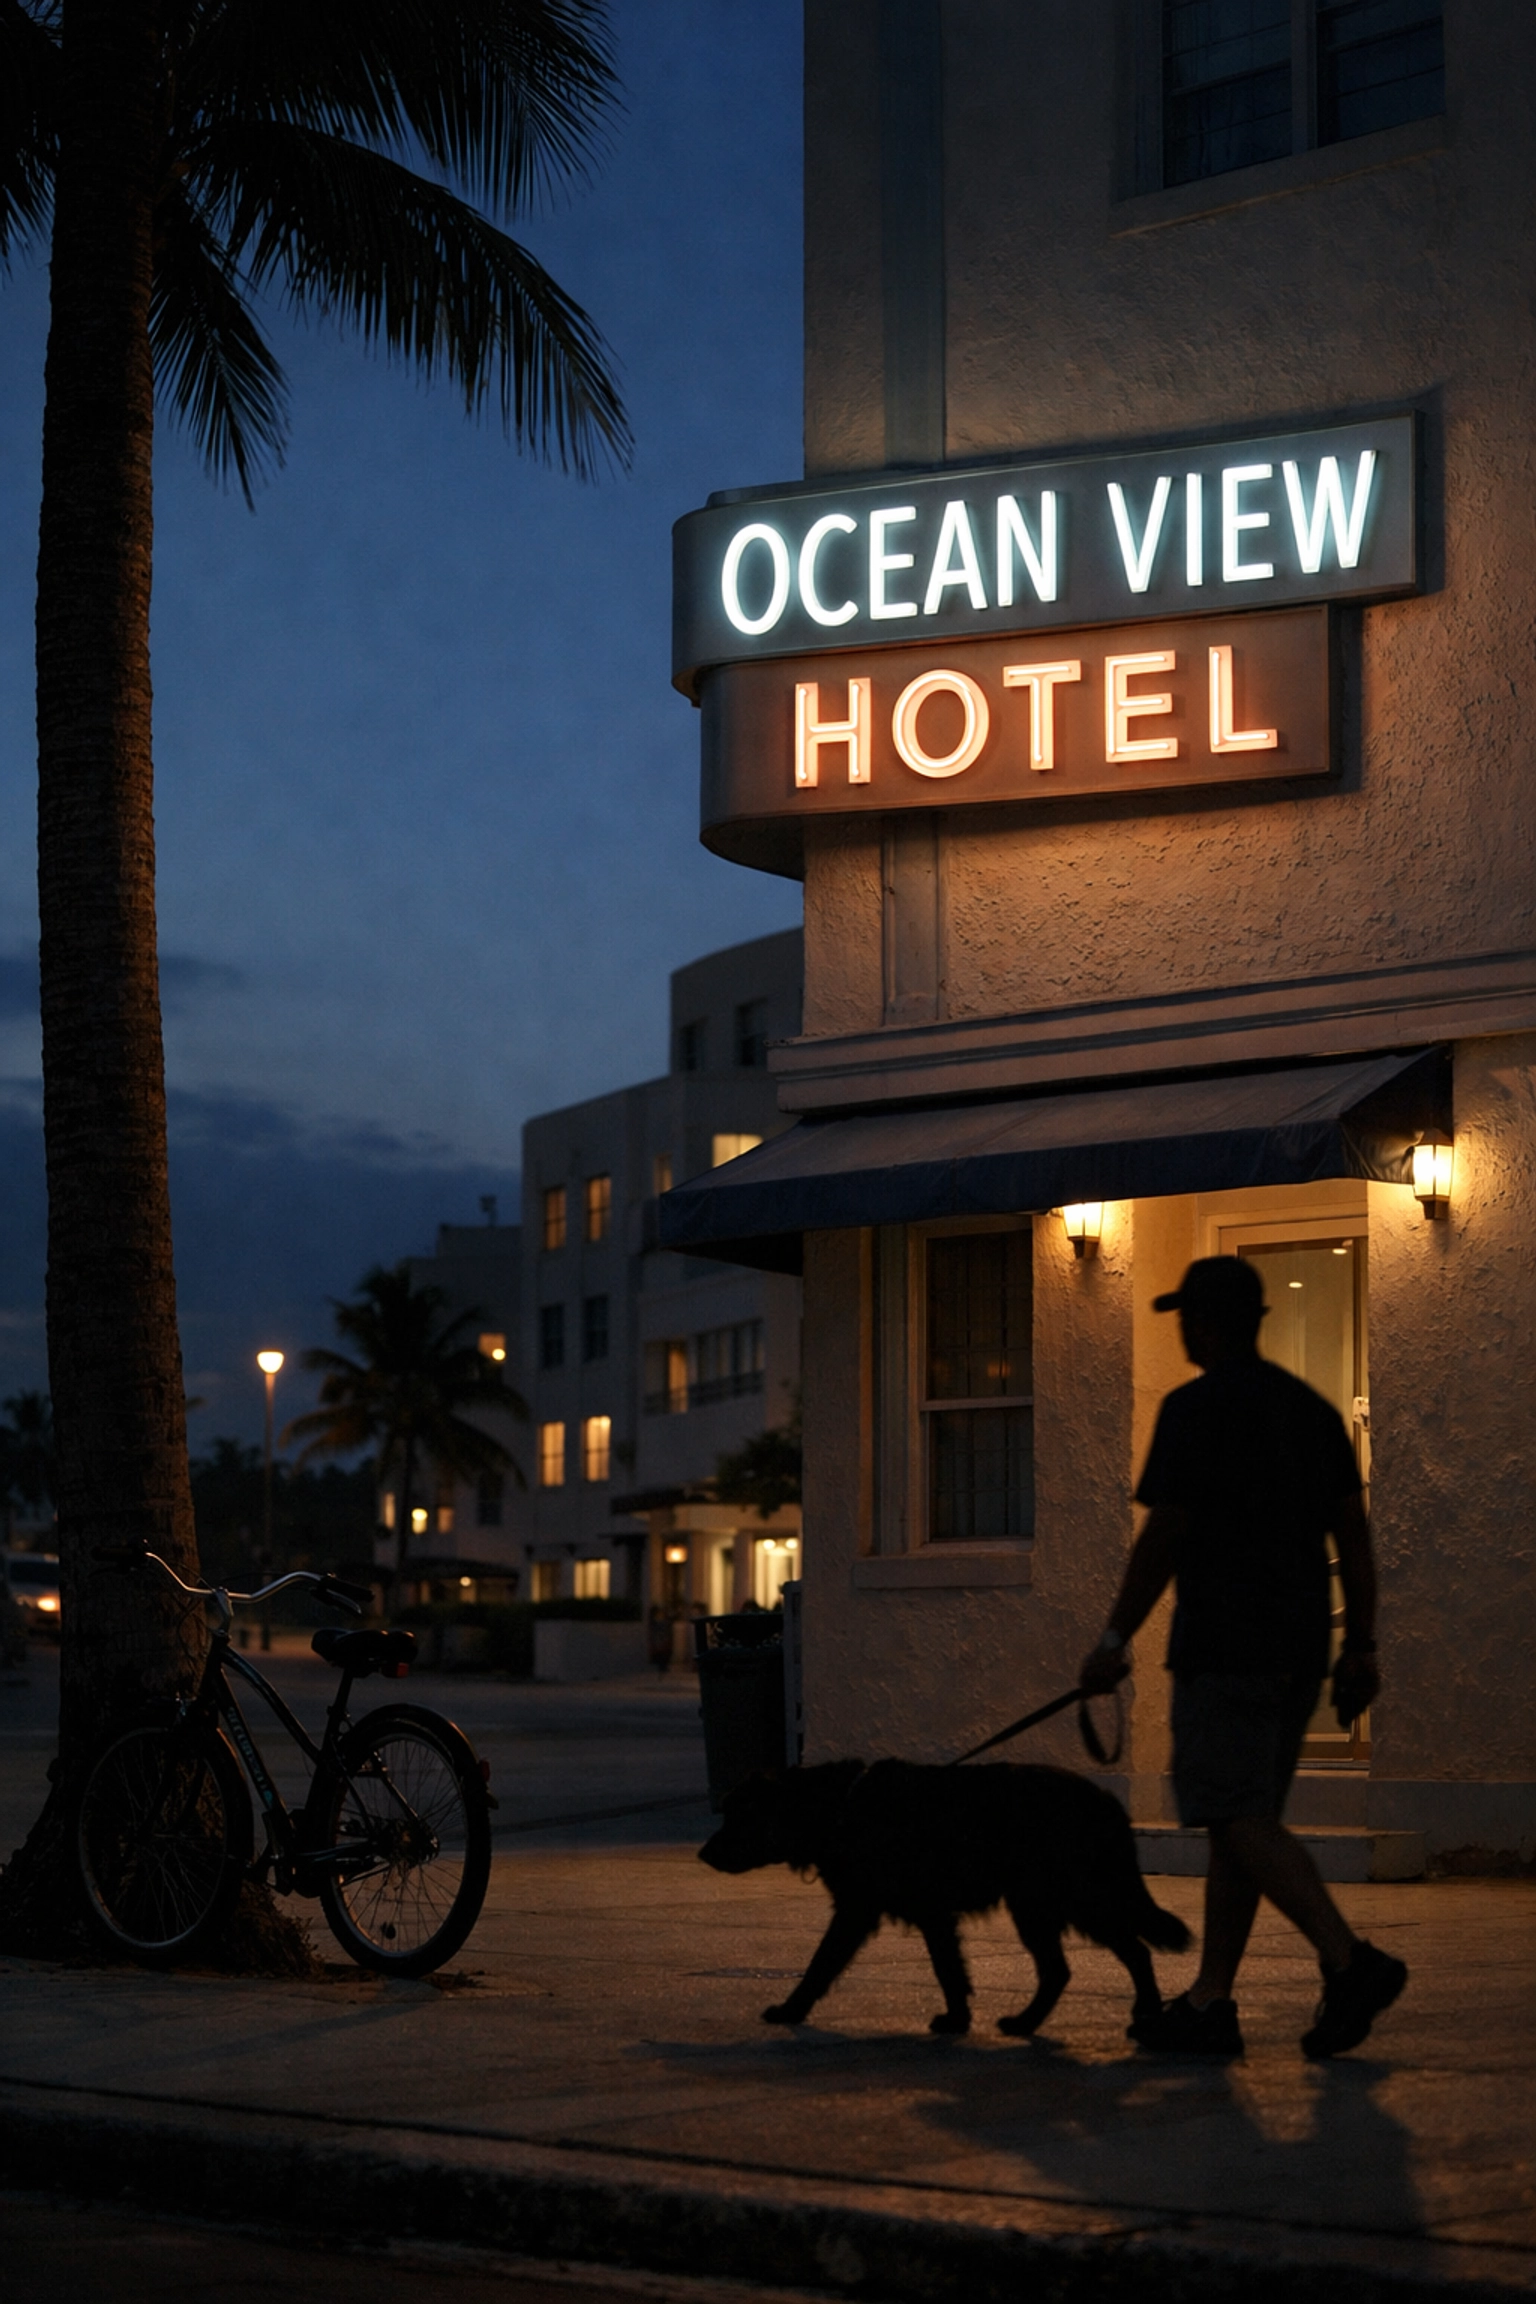
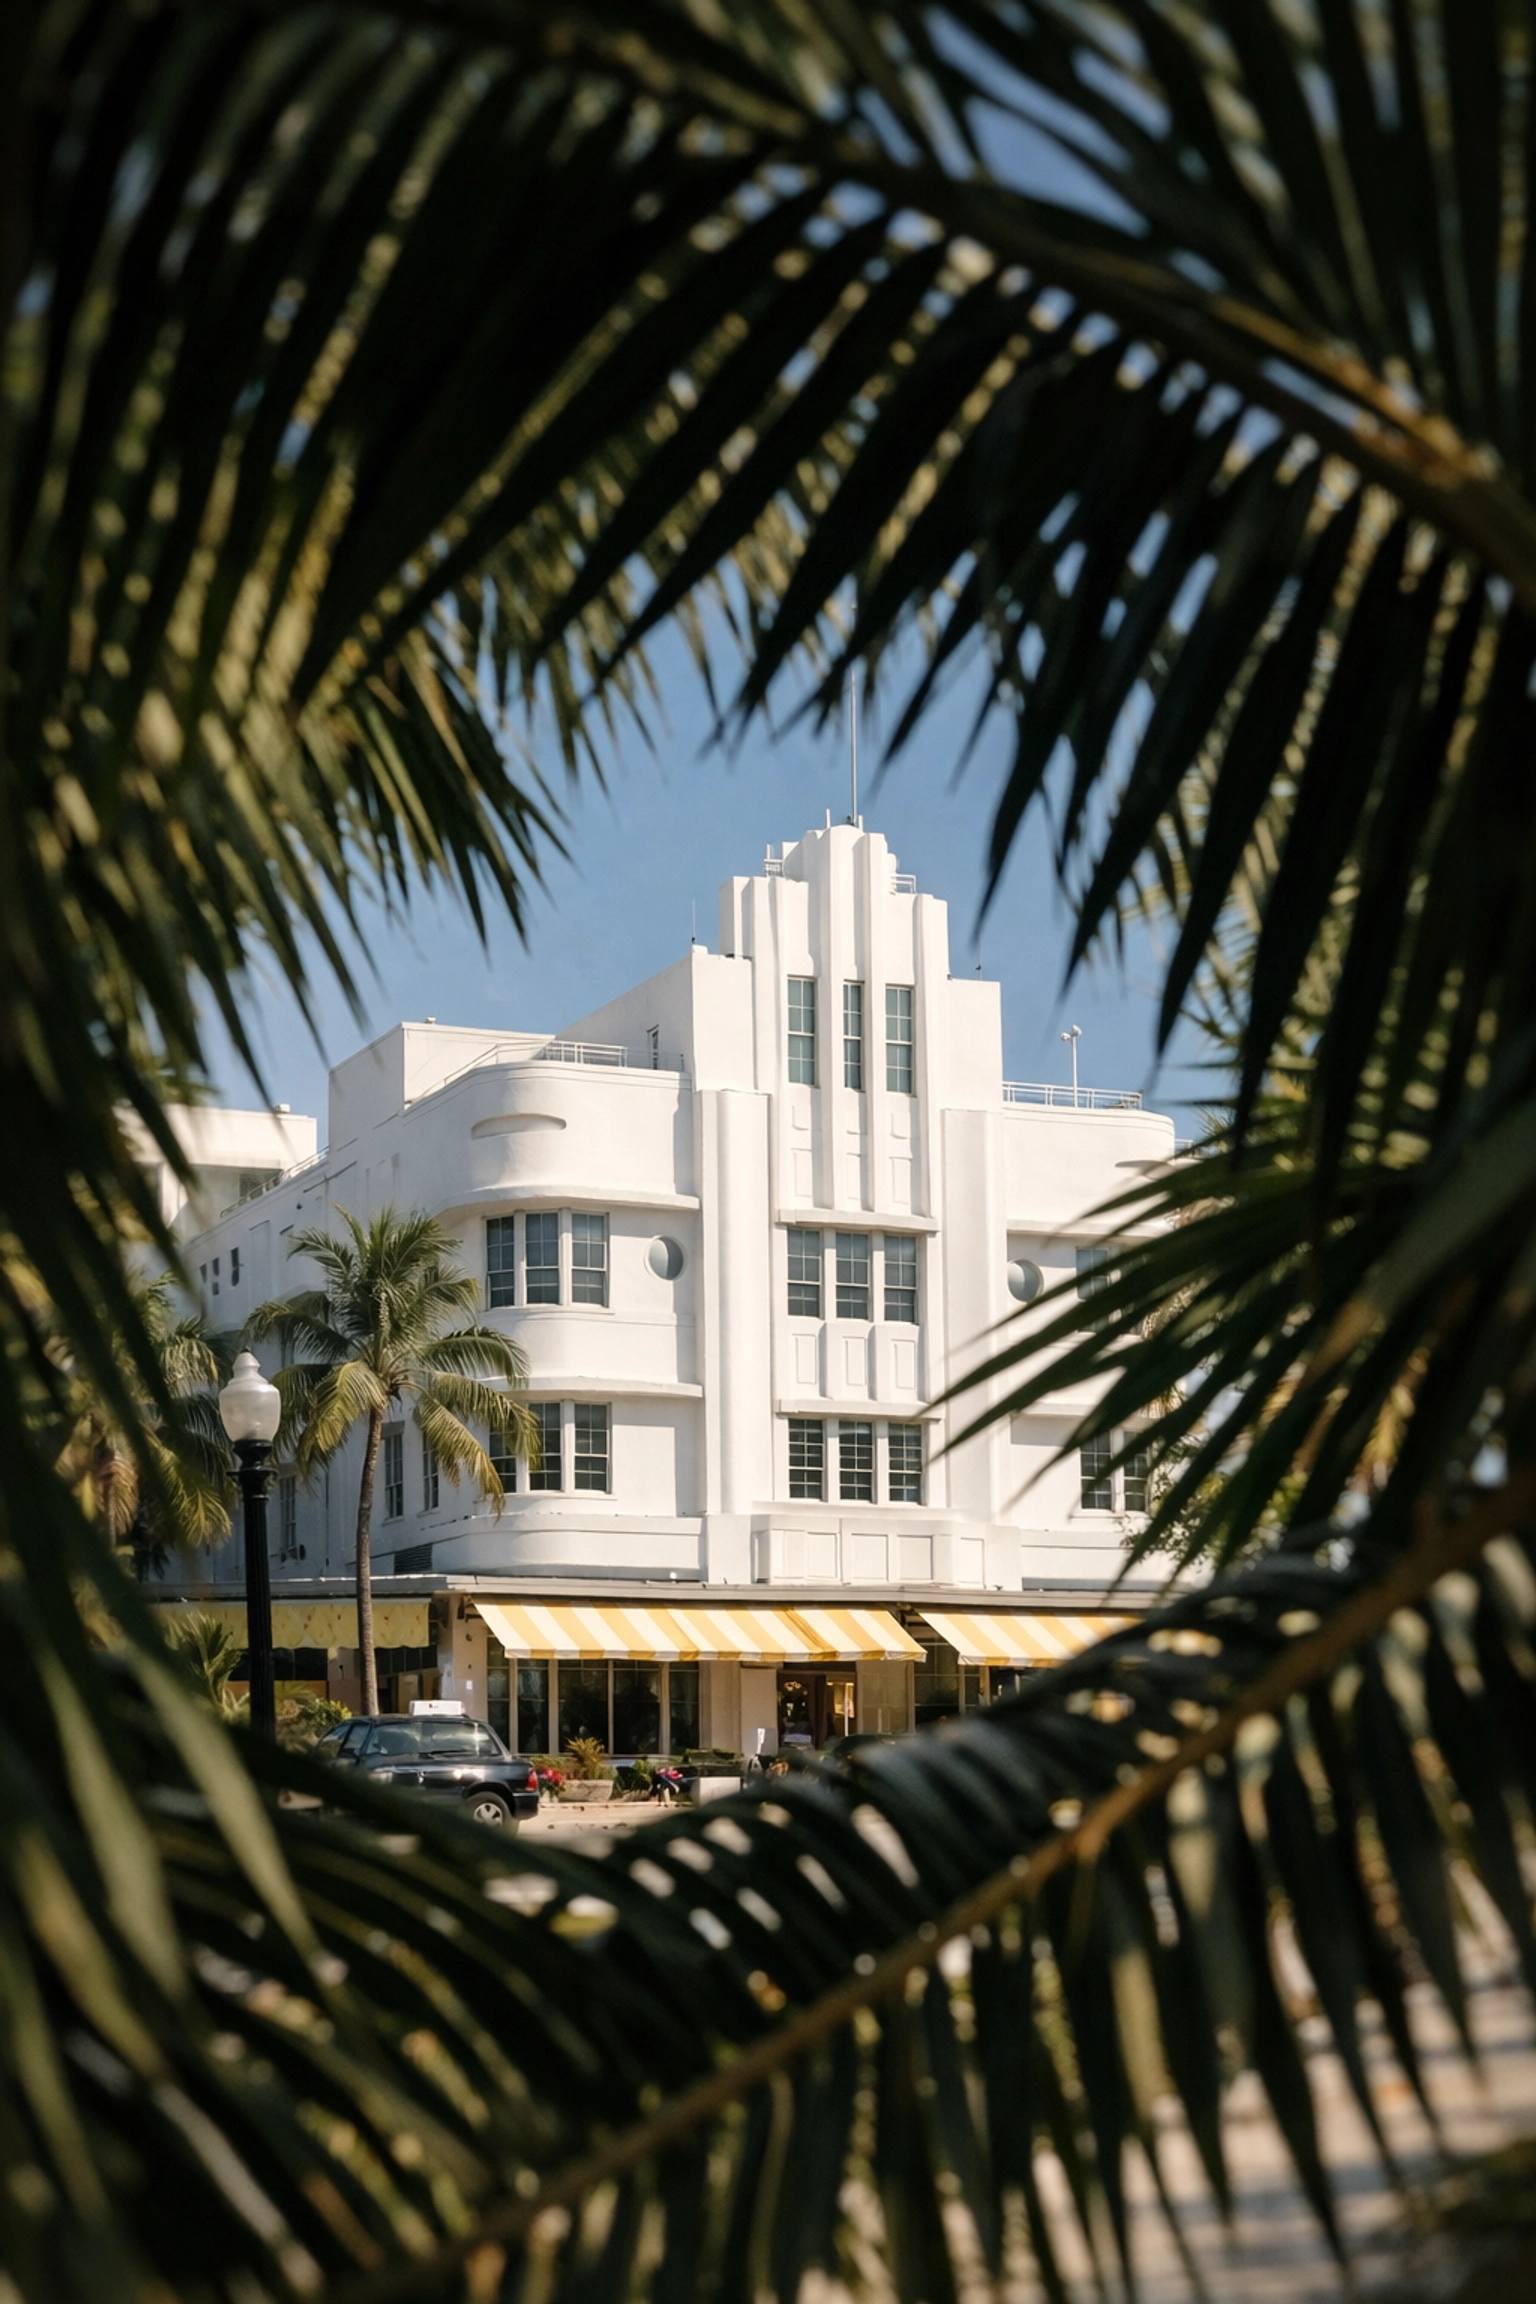
As you step onto the sun-drenched pavement of Ocean Drive, you are immediately transported into a world of pastel hues, neon glows, and geometric precision. Many photographers visit Miami hoping to capture that iconic "Magic City" vibe, but without a plan, you might find yourself overwhelmed by the sheer volume of architectural eye candy. South Beach isn't just a beach; it’s the largest concentration of Art Deco architecture in the world, and mastering it requires more than just pointing and clicking.
Whether you are a seasoned professional or a hobbyist looking to level up your portfolio, understanding the nuances of the Art Deco District is essential. This guide provides the insider knowledge you need to navigate the best miami photography locations and ensures you walk away with gallery-quality shots. To truly master these streets with a professional by your side, you should consider booking a Private Miami Photography Tour to get tailored instruction and exclusive access to the best angles.
Why South Beach is a Photographer's Paradise
Just as a master painter selects their palette with care, the architects of the 1920s and 30s crafted South Beach with a specific aesthetic in mind. Known as "Tropical Deco," this style incorporates floral motifs, nautical themes, and vibrant colors that pop against the Florida sky. When you explore these streets, you aren't just looking for buildings; you are looking for symmetry, light, and shadow.
The Art Deco District, stretching from 5th to 23rd Streets, contains over 800 historic buildings. This density makes it one of the best places to take pictures in miami because you can capture dozens of unique subjects within a short walking distance. At Edin Chavez Photography, we believe that great photography is about more than just the subject: it’s about how you interpret the environment.
Top Photography Spots in the Art Deco District
To maximize your time, you need to know exactly where the "hero shots" are located. While every corner has potential, some buildings are simply more photogenic than others.
| Building Name |
Location |
Why You Should Shoot It |
| Colony Hotel |
736 Ocean Drive |
The most photographed hotel in Miami; features iconic blue neon and perfect symmetry. |
| The Breakwater |
940 Ocean Drive |
Known for its bold central spire and vibrant evening lighting. |
| The McAlpin |
1424 Ocean Drive |
Offers a classic pastel pink and white facade with perfect "eyebrow" windows. |
| U.S. Post Office |
1300 Washington Ave |
A hidden gem with a stunning starburst ceiling and brass detailing. |
| The Wolfsonian |
1001 Washington Ave |
Features the "frozen fountain" and intricate stone carvings. |
Mastering the Architectural Details
When you are hunting for the perfect miami photo spots, you must train your eye to look beyond the "whole" and focus on the "parts." Art Deco is defined by specific elements that, when isolated, create stunning abstract compositions.
1. The "Eyebrows"
In the days before air conditioning, architects designed concrete overhangs above windows to provide shade. These "eyebrows" create deep, dramatic shadows during the day and are often highlighted by neon at night. Using these as leading lines in your composition elevates your work from a standard snapshot to a professional architectural study.
2. Porthole Windows and Nautical Curves
Miami’s version of Art Deco heavily features nautical themes. You will find round windows resembling ship portholes and curved corners that look like the hull of a luxury liner. When you frame your shot, try to emphasize these curves against the sharp, vertical lines of the building’s central spire.
3. Terrazzo Floors and Intricate Lobbies
Don't just stay on the sidewalk. Many of these hotels have beautifully preserved lobbies with terrazzo flooring featuring intricate geometric patterns. Stepping into the National Hotel or the Delano allows you to capture interior shots that most tourists miss. For more tips on finding these hidden interiors, check out our latest posts at our blog.
The Best Time to Shoot: Lighting is Everything
Your success on a miami photography tour depends heavily on your understanding of light. South Beach transforms completely depending on the position of the sun.
The Golden Hour (Sunrise)
While sunset is popular, sunrise is the "secret weapon" for pro photographers. Because South Beach faces east, the morning sun hits the facades of the Ocean Drive hotels directly. The light is soft, warm, and golden, and: most importantly: the streets are empty. You won't have to worry about delivery trucks or crowds of tourists blocking your view of the Colony Hotel.
The Blue Hour and Neon Nights
As the sun dips below the horizon, the neon lights flicker to life. This is when the district becomes a cinematic playground. The "Blue Hour" (the period of twilight when the sky is a deep blue) provides the perfect contrast to the warm orange and pink neon tubes. To capture this, you will need a tripod and a slow shutter speed to ensure the colors are rich and the image is sharp.
Essential Gear for Your Miami Photography Tour
To ensure you are prepared for every scenario, you need the right kit. While you can get great shots with a smartphone, a dedicated camera setup gives you the flexibility to handle the high-contrast environment of Miami Beach.
| Gear Item |
Recommended Use |
Benefit for the Reader |
| Wide-Angle Lens |
16mm to 35mm |
Allows you to capture entire buildings even from across the street. |
| Circular Polarizer |
Mid-day shooting |
Cuts through glare on glass and makes the pastel colors and blue sky "pop." |
| Tripod |
Night/Blue Hour |
Essential for sharp neon shots and long exposures. |
| Prime Lens (35mm or 50mm) |
Street photography |
Perfect for capturing the "vibe" and details without distortion. |
By integrating these tools, you ensure that your technical execution matches your creative vision. If you’re unsure how to use this gear effectively in the field, our Private Miami Photography Tour is designed to provide you with hands-on training so you can master your equipment in real-time.
Compositional Techniques for Art Deco
To make your photos stand out among the thousands of images tagged as miami photography locations, you need to apply advanced compositional rules.
- Symmetry and Centering: Art Deco is all about balance. Position yourself exactly in the center of a building’s facade to emphasize the "rule of odds" and vertical spires.
- Leading Lines: Use the sidewalk, the palm trees, or the rows of parked vintage cars to lead the viewer’s eye toward the main architectural subject.
- Frame Within a Frame: Use the foliage of Lummus Park to frame the hotels across the street. This adds depth and context to your image.
Why You Need a Private Miami Photography Tour
You could spend days wandering South Beach on your own, or you could spend three hours with a pro and get better results. A miami photography tour with Edin Chavez isn't just a walking tour; it’s an intensive masterclass in composition, lighting, and storytelling.
We know the exact spots where the light hits best at 7:00 AM. We know which hotel managers will let us step inside for a quick lobby shot. We know how to help you navigate the crowds to get that "clean" look you see in fine art galleries. Most importantly, we provide personalized feedback on your shots as you take them, ensuring that you leave Miami with a portfolio you are proud of.
Visit Edin Chavez Photography to see the caliber of work you can achieve, and then head over to the Private Miami Photography Tour page to book your session. We don't just show you where to stand; we teach you how to see.
Final Thoughts for Your Photo Journey
The Art Deco District is a living museum, a testament to a time when style and glamour were the top priorities. By focusing on the details, timing your shoots for the best light, and utilizing professional guidance, you transform a simple trip into a productive creative retreat.
Whether you are capturing the neon glow of the Breakwater or the morning shadows on the McAlpin, remember that your perspective is unique. Use the tools and locations mentioned in this guide to build a foundation, then push the boundaries of your creativity. For more inspiration on the best places to shoot in Florida, browse our extensive collection of guides at blog.edinchavez.com.
With these considerations in mind, you are now equipped to tackle South Beach like a pro. We look forward to seeing you on the streets of Miami!
Just as a master chef selects the finest organic ingredients to create a Michelin-star meal, a professional photographer chooses specific materials to ensure their work stands the test of time. When you step into the world of high-end art collecting, you aren’t just buying a "picture." You are investing in a piece of history. Whether you are a seasoned curator or someone looking to buy your first high-value piece, understanding the nuances of museum quality prints is the key to building a collection that retains its soul: and its value: for decades.
At Edin Chavez Photography, we believe that art should be more than a temporary decoration. It should be a legacy. In this guide, I’m going to walk you through everything you need to know about archival standards, limited editions, and why the right paper can make the difference between a fading memory and a timeless masterpiece.
What Exactly is a Museum Quality Print?
When you hear the term "museum quality," it isn’t just marketing fluff. It refers to a specific technical standard that ensures the artwork remains vibrant and structurally sound for over 100 years. Most standard prints you find at big-box retailers use dye-based inks on cheap wood-pulp paper. Within five to ten years, those colors will shift, the whites will yellow, and the image will lose its punch.
Archival prints, on the other hand, are engineered for longevity. They utilize two primary components: pigment-based inks and acid-free substrates. By choosing these materials, you are ensuring that the deep blacks, subtle shadows, and vibrant hues I captured in the field look exactly the same when your grandchildren inherit the piece as they do the day you hang it on your wall.
The Three Pillars of Archival Quality
To truly understand what you are adding to your collection, you need to look at these three factors:
- Archival Stability: This is the print's ability to resist fading, yellowing, and cracking. High-grade materials are chosen specifically for their resistance to light, humidity, and atmospheric pollutants.
- Color Fidelity: This ensures the print faithfully reproduces the original image's tones. We’re talking about smooth gradations in a Miami sunset and deep, rich textures in a black-and-white landscape.
- Premium Substrates: Whether it is 100% cotton rag paper, museum-grade canvas, or archival metal, the base material must be acid-free and lignin-free to prevent chemical degradation over time.
The Magic of Giclée: The Gold Standard
If you are looking to buy or learn how to sell fine art photography prints, you must become familiar with the term Giclée (pronounced "zhee-klay"). Derived from the French word meaning "to spray," this process involves high-resolution inkjet printers that apply millions of microscopic droplets of pigment-based ink with surgical precision.
Unlike mass-produced offset printing, Giclée printing allows for an incredible range of colors (gamut) and a level of detail that is virtually indistinguishable from the original digital file or film negative. When you view one of our prints at Edin Fine Art, you’ll notice the crisp edges and the absence of the "dot pattern" found in lower-quality reproductions.
| Feature |
Standard Print |
Museum Quality (Giclée) |
| Ink Type |
Dye-based (fades quickly) |
Pigment-based (archival) |
| Paper |
Wood pulp (acidic) |
100% Cotton Rag / Alpha Cellulose |
| Longevity |
5–15 years |
100–200+ years |
| Detail |
Lower resolution, visible dots |
High resolution (300 DPI+), smooth tones |
| Value |
Decorative/Disposable |
Collectible Investment |
Why Limited Edition Photography Prints Matter
For a collector, rarity is a primary driver of value. While open edition prints can be beautiful, limited edition photography prints are what truly build a high-value art collection. When an artist limits a run: say, to only 50 or 100 prints: they are creating scarcity. Once those 100 prints are sold, that’s it. No more will ever be produced in that size or format.
This scarcity propels the value of your investment. As an artist’s career grows and the "sold out" signs appear on certain editions, the secondary market value for those specific pieces often increases. If you’re browsing our latest collections, always look for the edition number. It tells you exactly where your piece sits in the lineage of that particular vision.
The Golden Ticket: Certificate of Authenticity for Art Prints
Never buy a high-value print without a certificate of authenticity for art prints (COA). Think of this as the title to your car or the deed to your house. A COA is a formal document signed by the artist (that’s me!) or the gallery, verifying that the work is genuine, stating the edition number, and detailing the archival materials used.
Your COA should include:
- The title of the artwork.
- The artist's name.
- The edition number (e.g., 5/50).
- The date of production.
- The specific paper and ink types used.
- The artist’s signature.
This document is essential if you ever decide to work with curators or sell your piece at auction. It provides the provenance and peace of mind that every serious art buyer requires. You can find more about how we handle these documents on our sitemap or by checking out our fine art categories.
Choosing the Right Substrate for Your Space
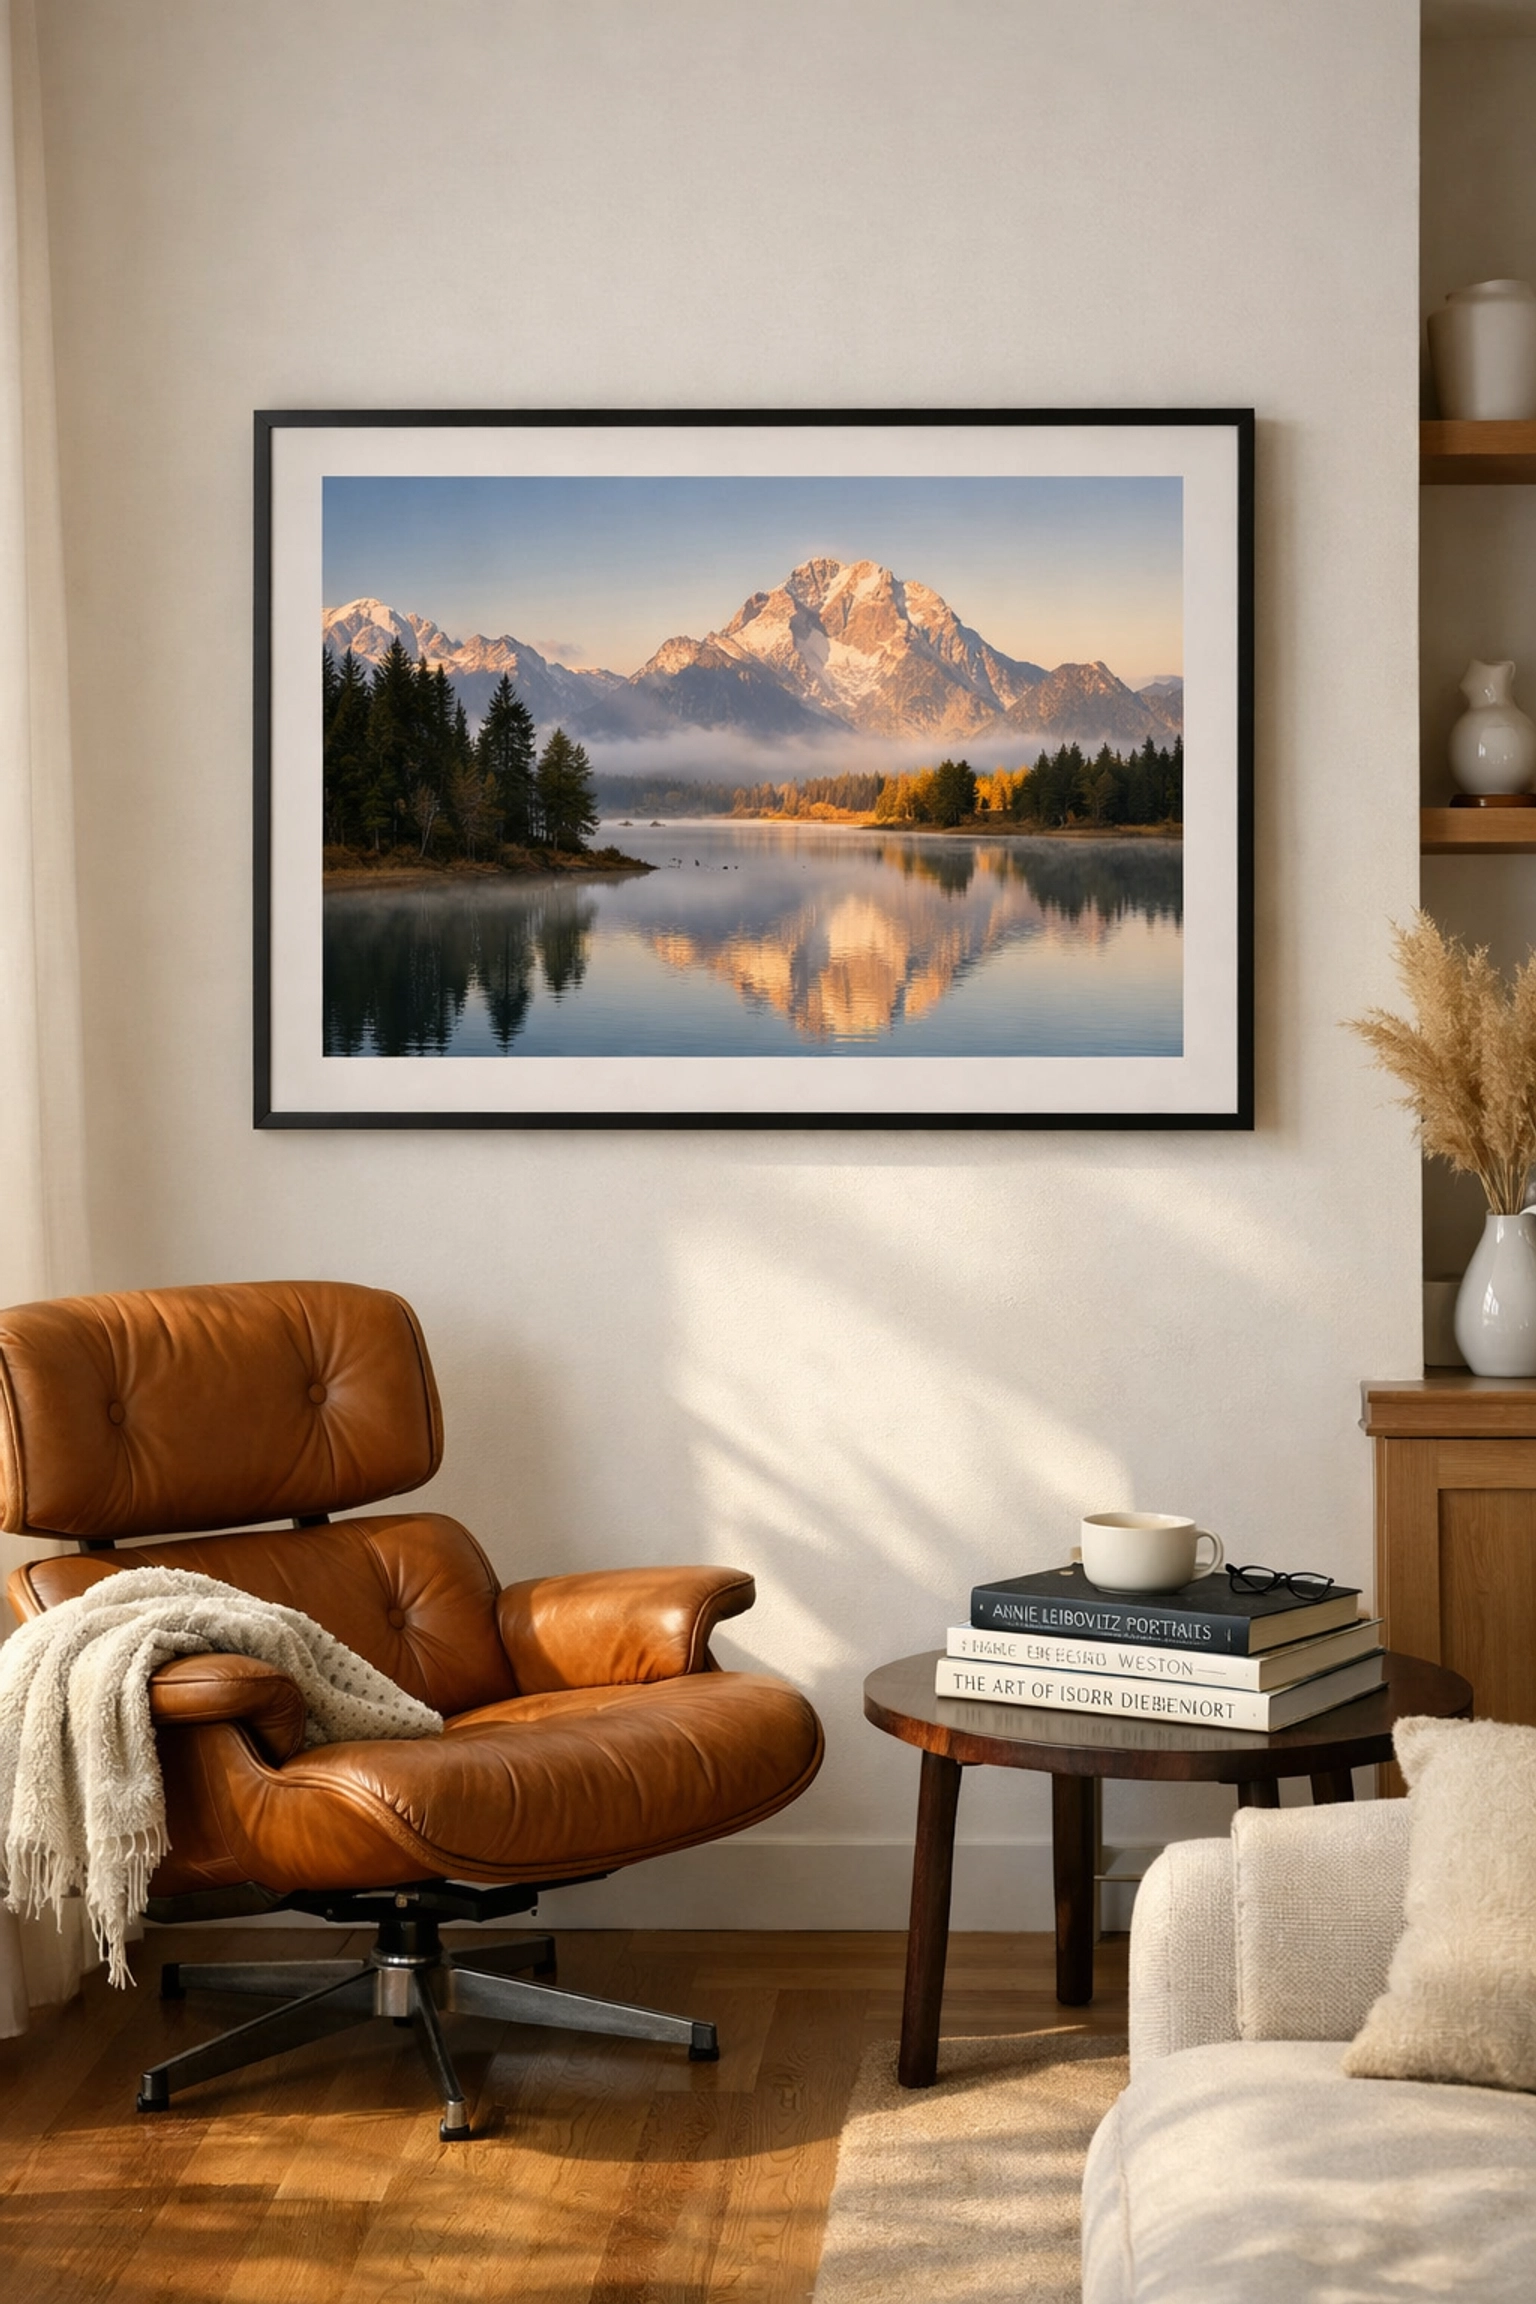
Not all museum quality prints are on paper. Depending on the vibe of your home or office, you might prefer different finishes. Here is how you can choose what fits your aesthetic:
- Cotton Rag Paper: This is the classic choice. It has a matte finish, a heavy weight (usually 300gsm or more), and a tactile texture that feels expensive. It’s perfect for detailed landscapes where you want the viewer to feel like they can step into the frame.
- Archival Metal (Sublimation): For a modern, sleek look, metal prints are unparalleled. The dyes are infused directly into a specially coated aluminum sheet. They are incredibly durable, easy to clean, and offer a vibrant, almost 3D depth.
- Acrylic Face-Mount: If you want the "wow" factor, this is it. The print is mounted behind a thick layer of gallery-grade acrylic, which enhances color and provides a stunning, high-gloss finish often seen in high-end galleries in Miami and New York.
If you are looking for inspiration on where to see these types of finishes in person, check out our guide on the best photography spots in Miami.
Protecting Your Investment
Once you have acquired a museum-quality piece, your job is to protect it. Even the best archival prints can be damaged by improper handling or poor environmental conditions. Here are a few "pro tips" for your collection:
- Avoid Direct Sunlight: Even with UV-protective glass, constant direct sunlight will eventually take a toll. Position your art on walls that receive indirect light.
- Use Museum Glass: If you are framing a paper print, ask for Tru Vue Museum Glass. It’s virtually invisible and blocks 99% of harmful UV rays.
- Control the Climate: Extreme shifts in humidity and temperature can cause paper to "ripple" (cockling). Keep your art in a stable, climate-controlled environment.
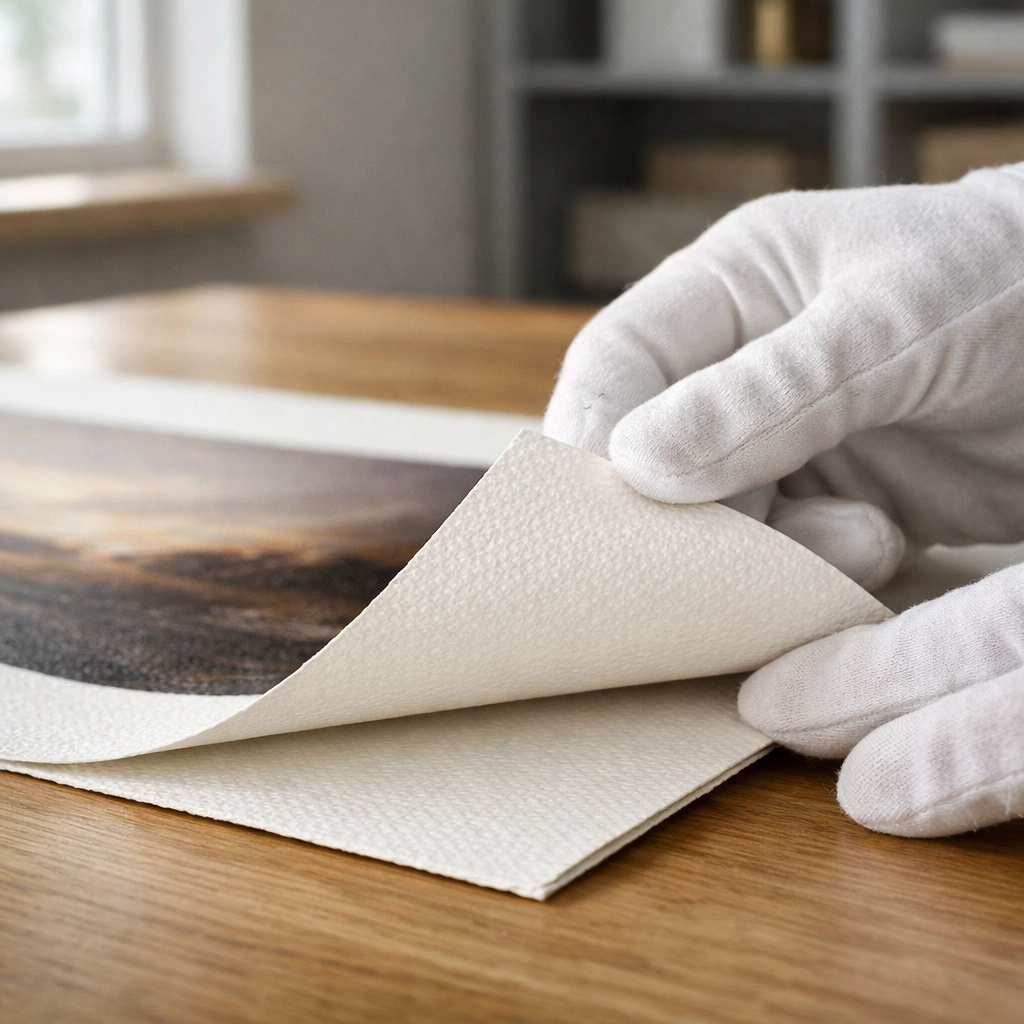
- Hands Off: The oils on your skin can actually damage fine art paper. Always handle your prints with white cotton gloves until they are safely behind glass.
How to Sell Fine Art Photography Prints (The Secondary Market)
If you’ve built a collection and are considering liquidating a few pieces, or if you’re an artist looking to break into the market, you need to understand the ecosystem. Selling high-value prints isn't about hitting "post" on social media; it’s about relationship-building and provenance.
To sell successfully, you must have all your documentation (the COA) and the print must be in pristine condition. Working with reputable galleries or platforms like Edin Chavez Photography ensures that your work is positioned in front of the right curators and collectors who value quality over a bargain.
Building Your Legacy
Collecting art is a journey that reflects your personal taste and your appreciation for the finer things in life. By focusing on museum quality prints, you aren’t just decorating a wall; you are curating an experience that will last for generations. From the technical precision of Giclée printing to the security of a certificate of authenticity, every detail matters.
Whether you are looking for a striking centerpiece for your living room or a strategic investment for your portfolio, always demand the best materials. Your art: and your legacy: deserve nothing less.
Explore our latest limited editions and start your collection today at Edin Fine Art or dive deeper into the world of photography on our blog.
With these considerations in mind, you are now equipped to navigate the art world like a pro. Happy collecting!


