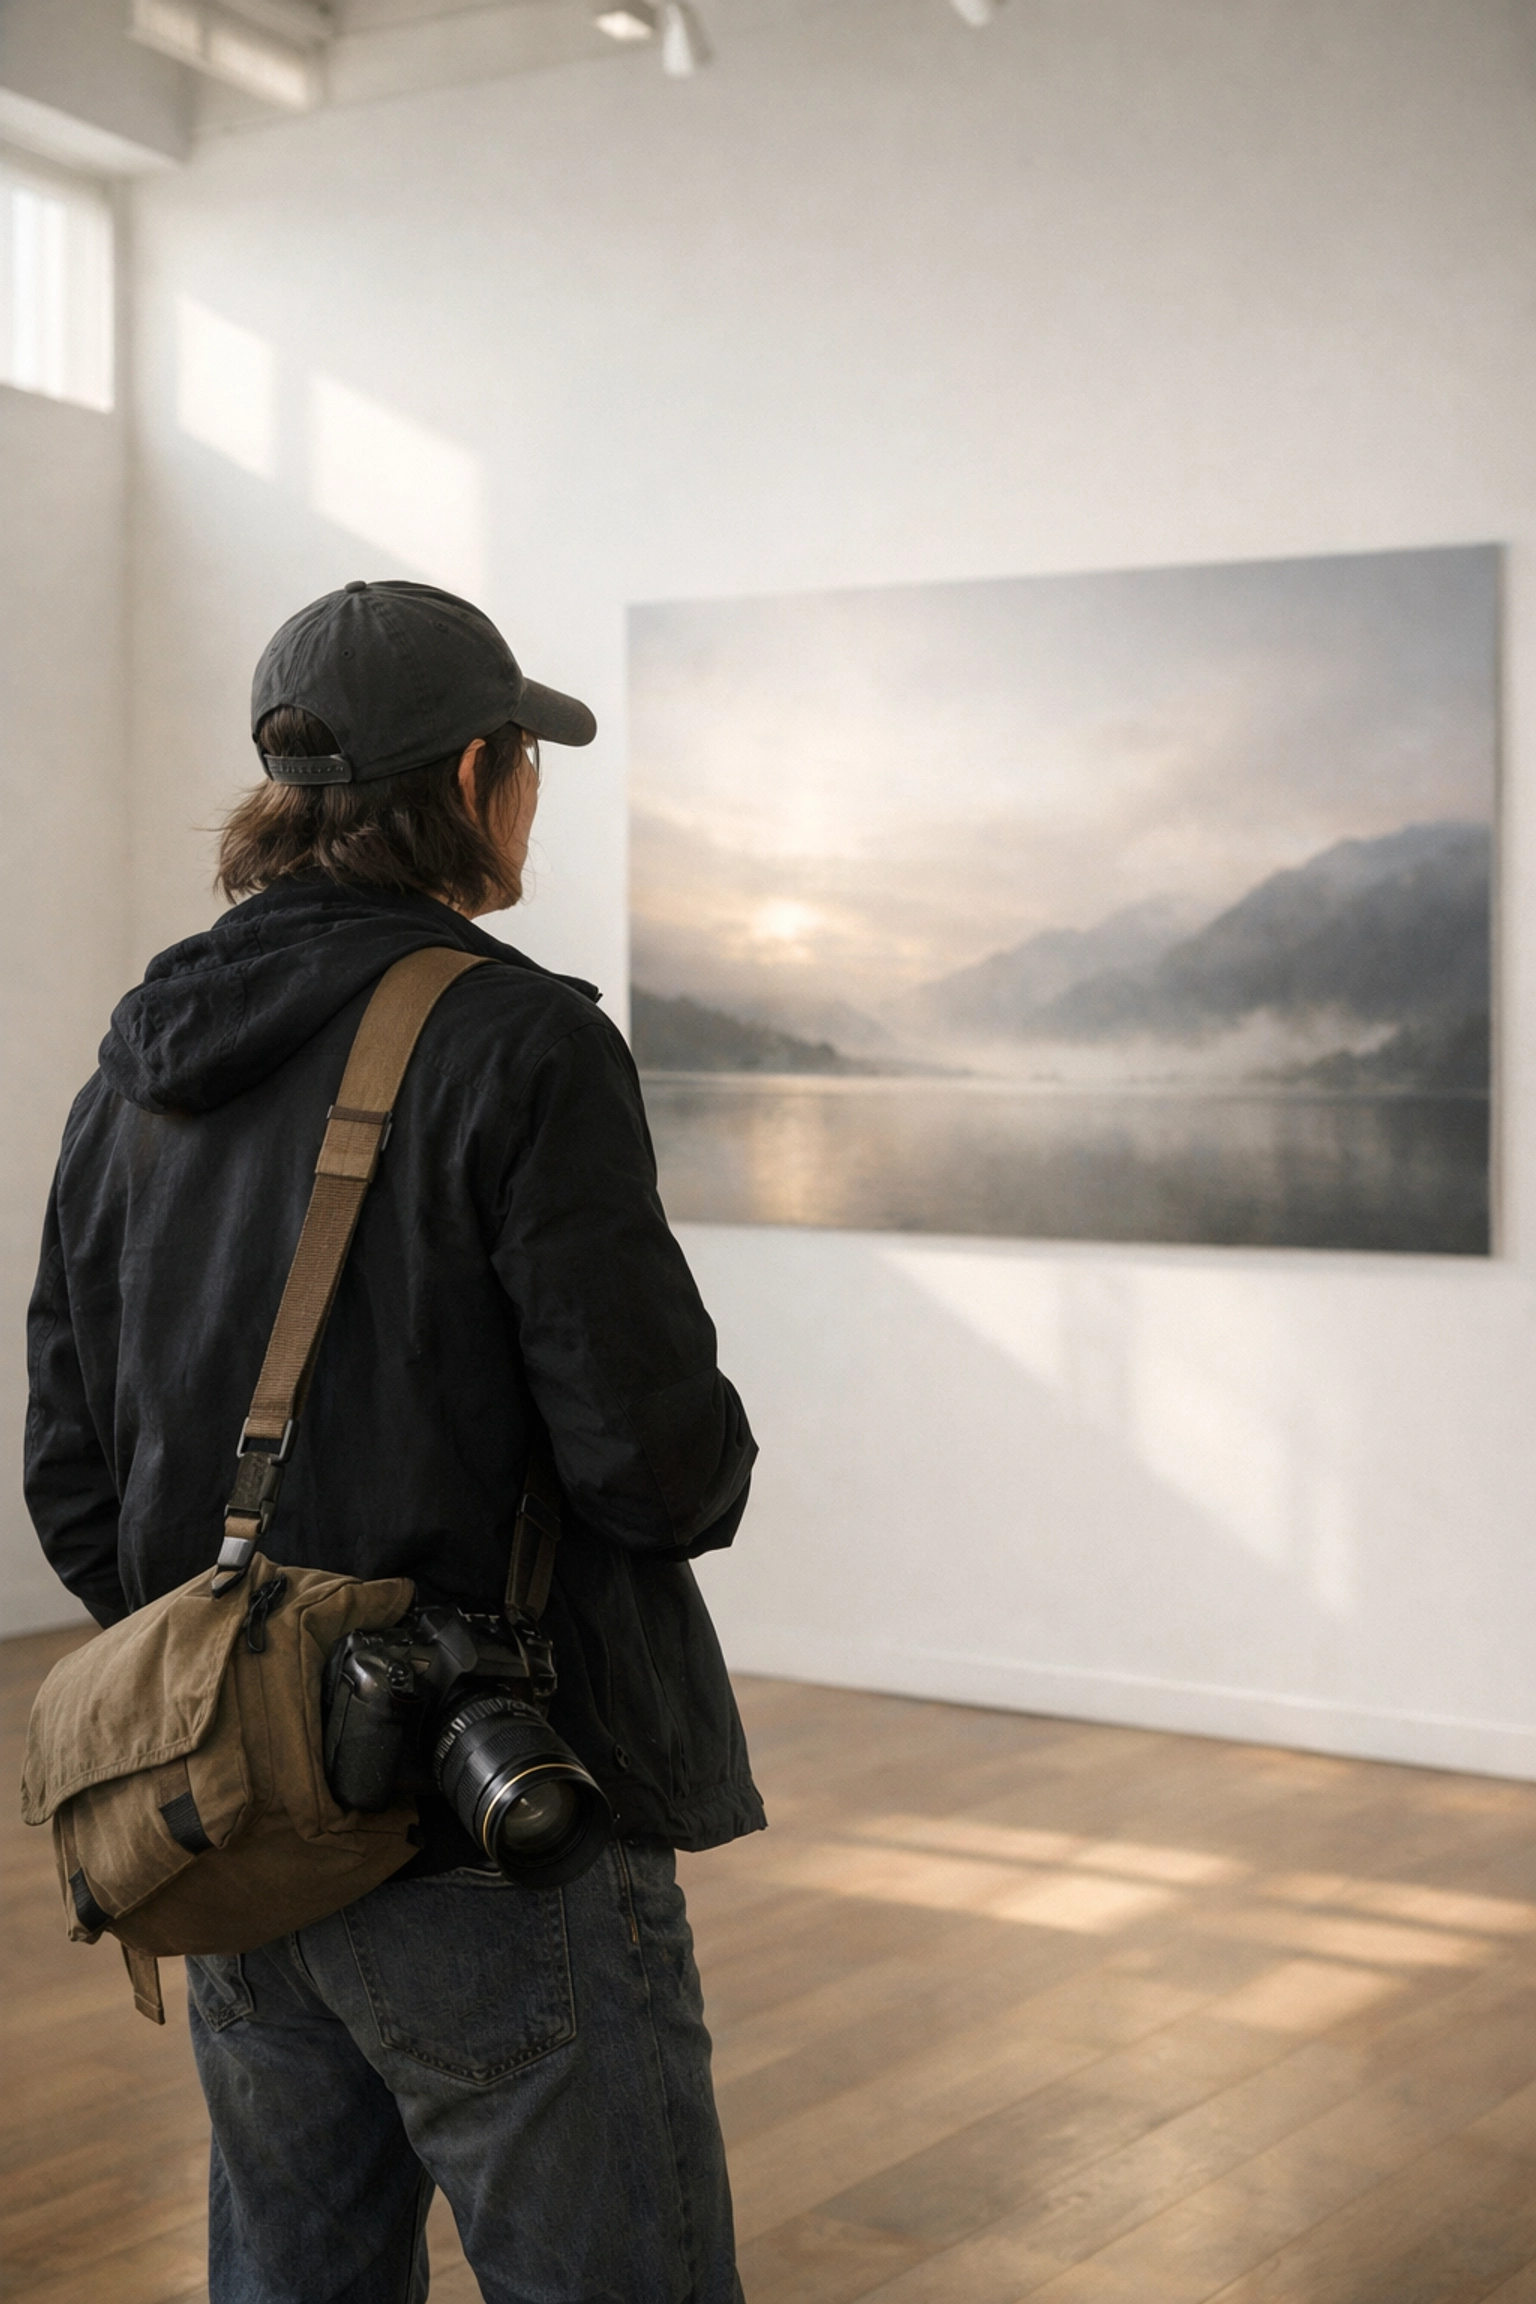
Just as a painter faces a blank canvas with a specific vision, your journey into fine art photography begins long before you press the shutter button. You aren't just documenting a scene; you are creating an emotional narrative. At Edin Chavez Photography, we believe that mastering this craft requires a blend of technical precision and a willingness to break the traditional rules of "correct" exposure to find something more profound.
If you have ever looked at a photograph and felt like you were stepping into a dream, you have experienced ethereal photography. It is a style characterized by soft light, muted colors, and a sense of weightlessness. To achieve this, you must transition from being a photographer who takes pictures to an artist who makes them. Your perspective is your most valuable tool, and this guide provides the roadmap to elevating your work to a gallery-ready standard.
Defining Your Artistic Vision
Before you worry about your camera settings, you must define your conceptual framework. Fine art photography is distinguished from snapshots by its intent. You are communicating a message, an emotion, or a concept. Ask yourself: what story are you trying to tell?
When you browse the collections at Edin Fine Art, you will notice that every piece has a cohesive "soul." This consistency is what separates a hobbyist from a professional. Your vision propels the craft. You might find inspiration in the way light hits a building in New York or the mist over a coastal sunrise. The key is to start with a "why" before you decide on the "how."
Technical Foundations for Ethereal Photography
To capture those airy, otherworldly images, you need to master your manual settings. Ethereal photography often relies on "high-key" lighting: where the image is bright and contains few dark shadows: and a shallow depth of field.
1. Mastering Aperture for Depth
To get that "glow," you need a wide aperture. Using an f-stop like f/1.4 or f/2.8 allows more light into your sensor and creates a creamy, blurred background (bokeh). This separation between your subject and the background is essential for making your images feel like they are floating in space.
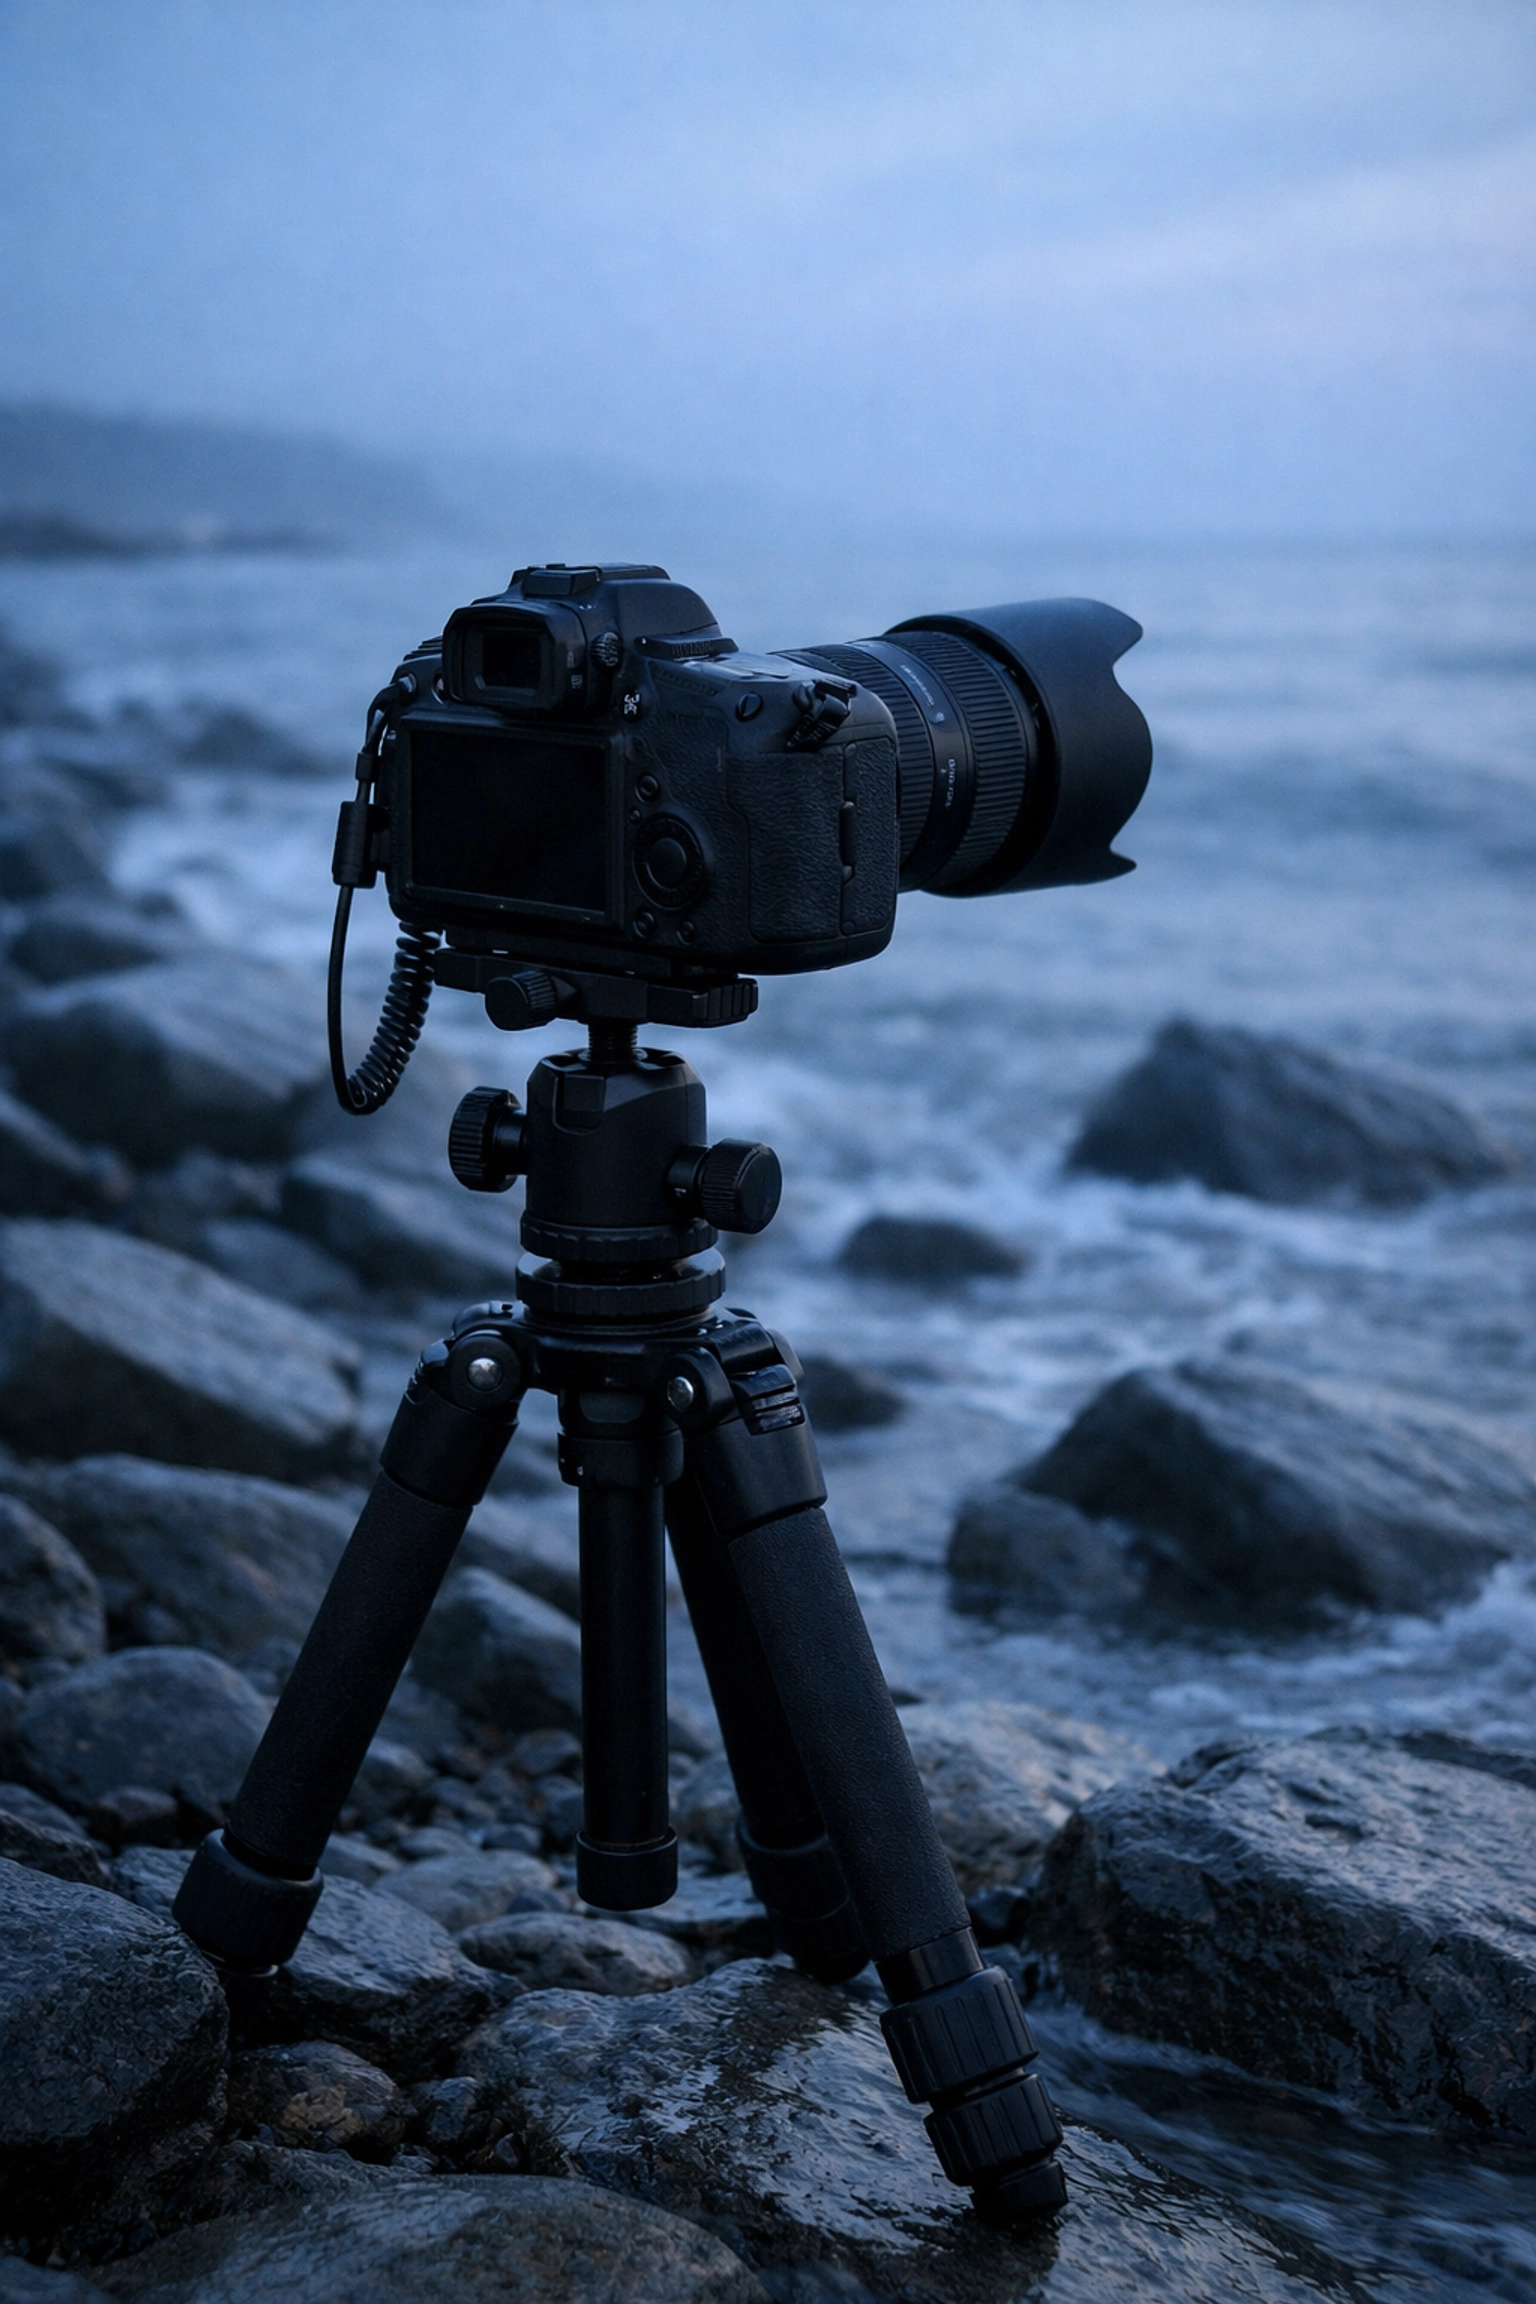
2. Shutter Speed and Motion Blur
While most photography guides tell you to keep your images sharp, fine art photography often encourages intentional motion blur. By using a slower shutter speed, you can turn crashing waves into a soft mist or moving clouds into a painterly streak. This technique adds a layer of surrealism that is central to the ethereal aesthetic.
3. The Power of Overexposure
Don't be afraid to push your exposure compensation to +1 or +2. In the world of dreamy photography, a slightly "blown out" highlight can actually enhance the mood, creating a halo effect around your subjects.
| Technical Element |
Ethereal Photography Effect |
Recommended Setting |
| Aperture |
Soft, blurred backgrounds and focus fall-off |
f/1.2 to f/2.8 |
| Shutter Speed |
Smooths motion and creates a sense of time |
1/30s or slower (use a tripod) |
| ISO |
Keeps the image clean and free of digital noise |
ISO 100 – 400 |
| White Balance |
Adds a cool or warm "dreamy" cast |
Custom or Shade (for warmth) |
Essential Gear for the Fine Art Photographer
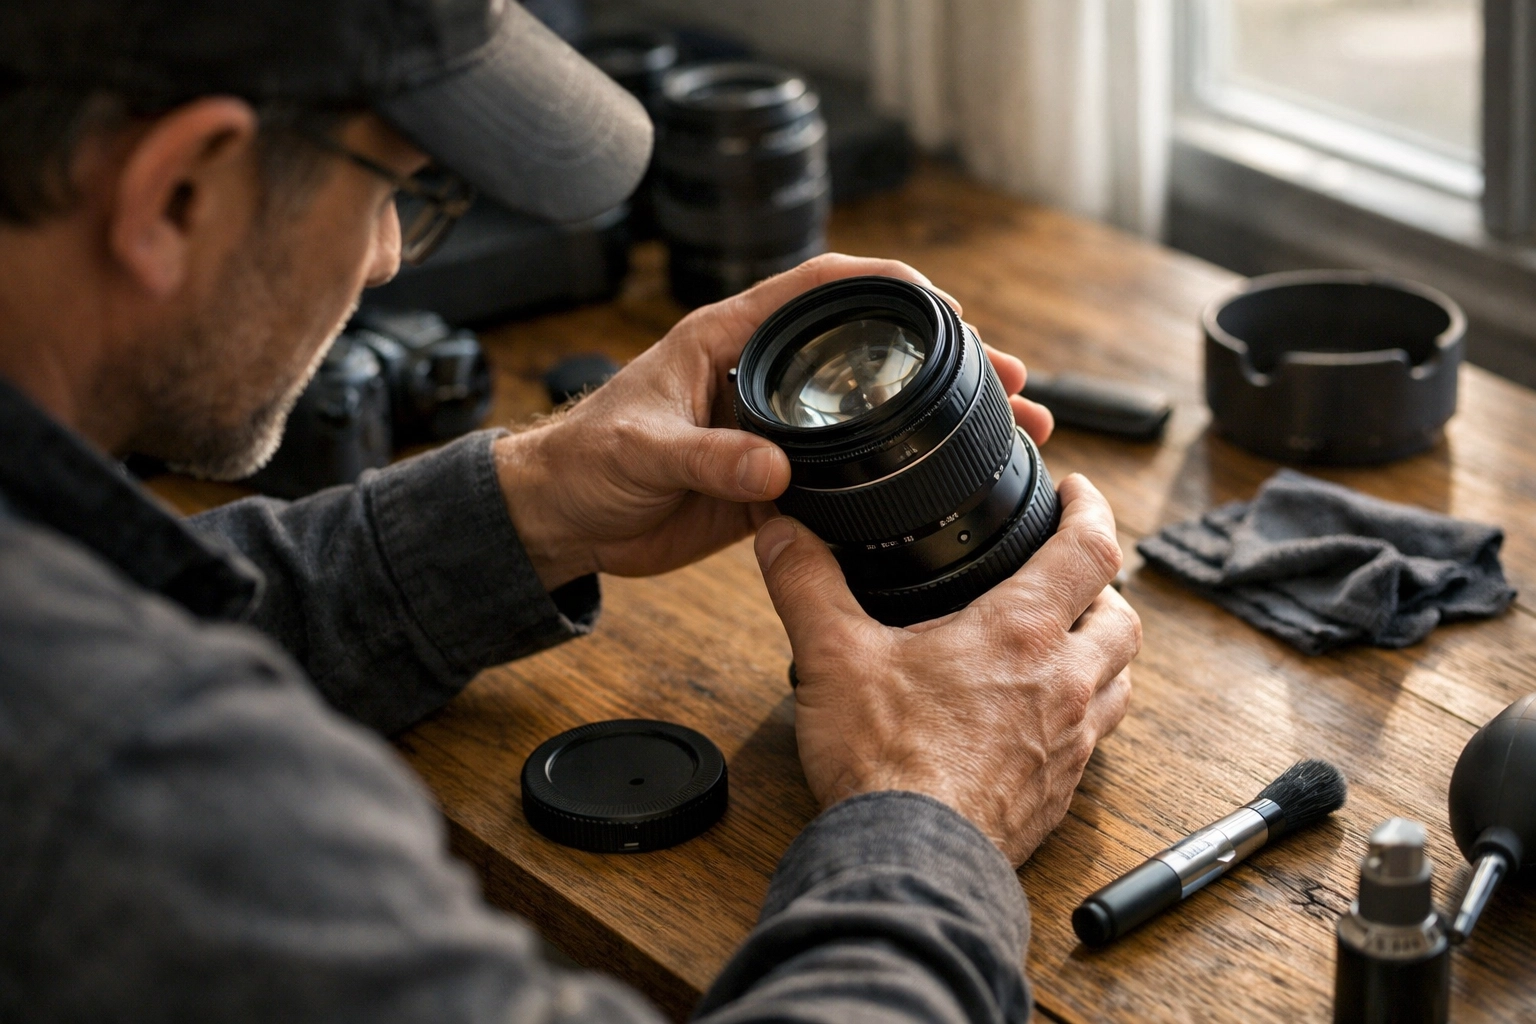
While your vision is paramount, your equipment acts as the conduit for that vision. You don't need the most expensive camera on the market, but you do need the right tools to execute specific techniques.
- A Solid Tripod: Essential for long exposures. If you are exploring the best photography spots in Miami, a tripod allows you to capture the Atlantic's movement with precision.
- Prime Lenses: Lenses with a fixed focal length (like a 35mm or 50mm) often offer wider apertures than zoom lenses, which is vital for achieving that ethereal bokeh.
- Neutral Density (ND) Filters: These act like sunglasses for your lens, allowing you to use slow shutter speeds even in broad daylight.
If you are just starting and want to see how these tools work in the field, I highly recommend looking into a private Miami photography tour. Seeing a professional work through these settings in real-time will accelerate your learning curve.
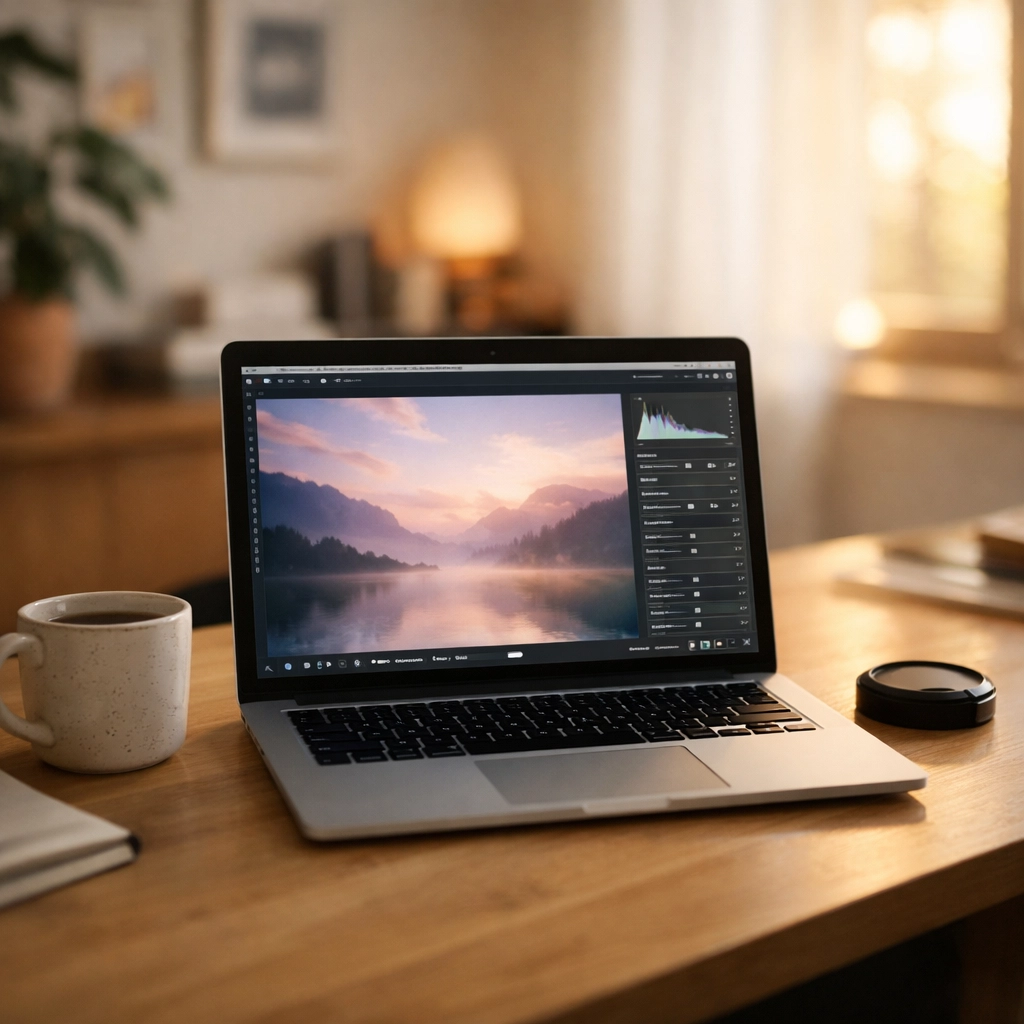
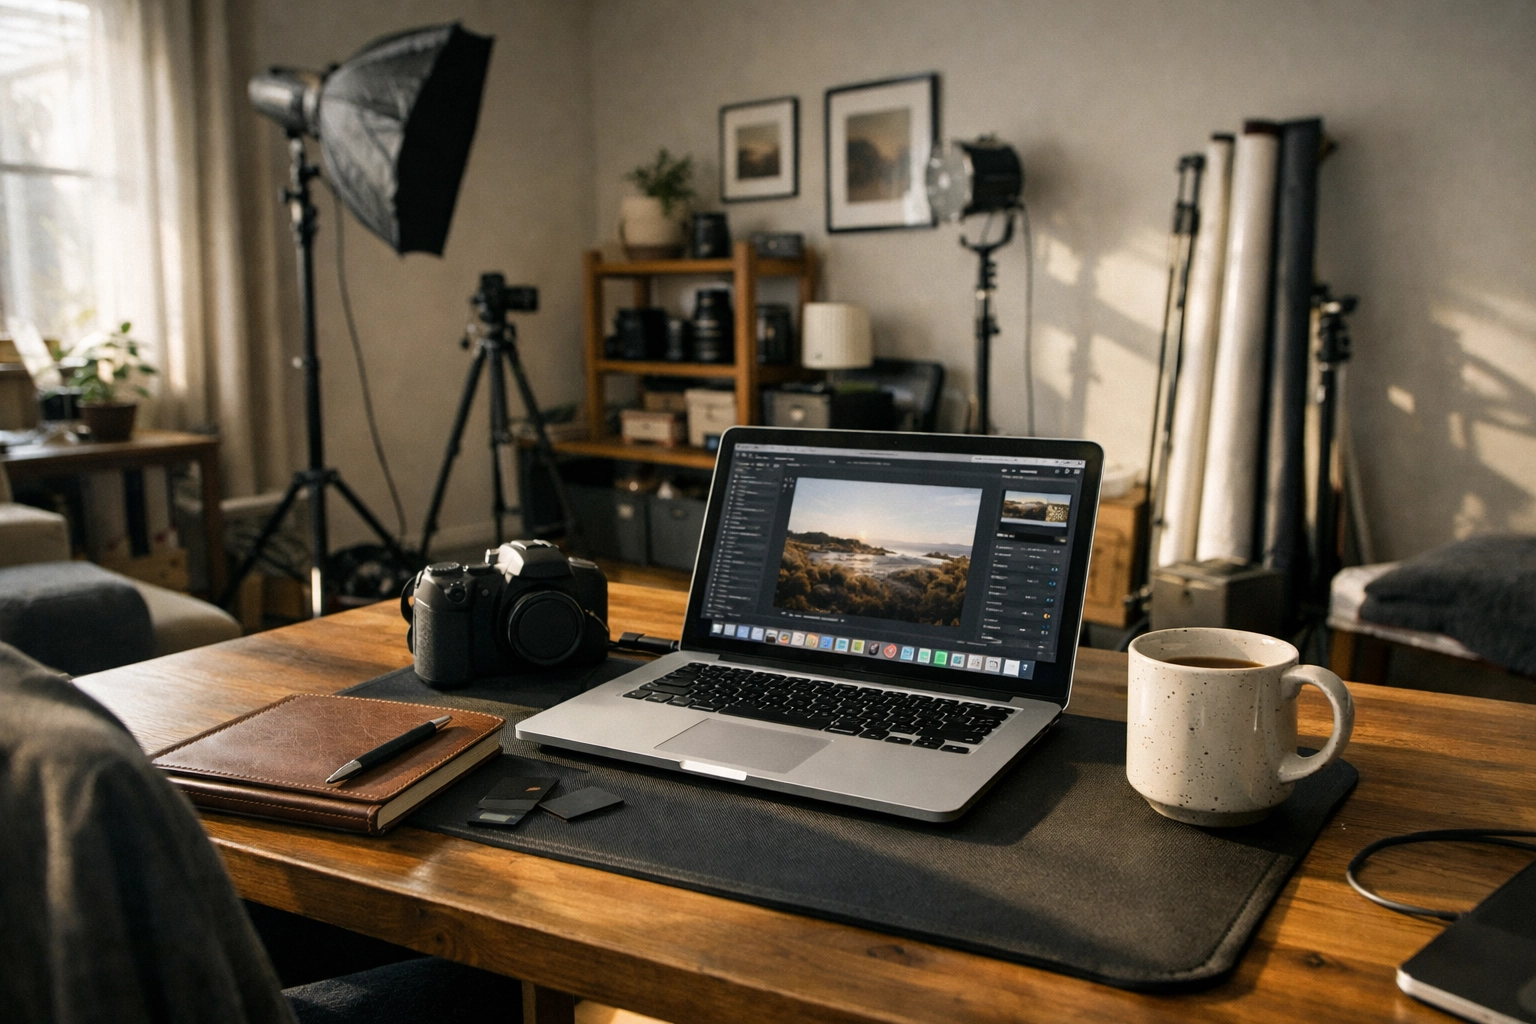
Dreamy Photography Editing: The Secret Sauce
The magic of fine art photography often happens during post-processing. Your RAW file is just the beginning; the "dream" is built in Lightroom or Photoshop. Dreamy photography editing isn't about slapping on a filter; it's about delicate adjustments to light and color.
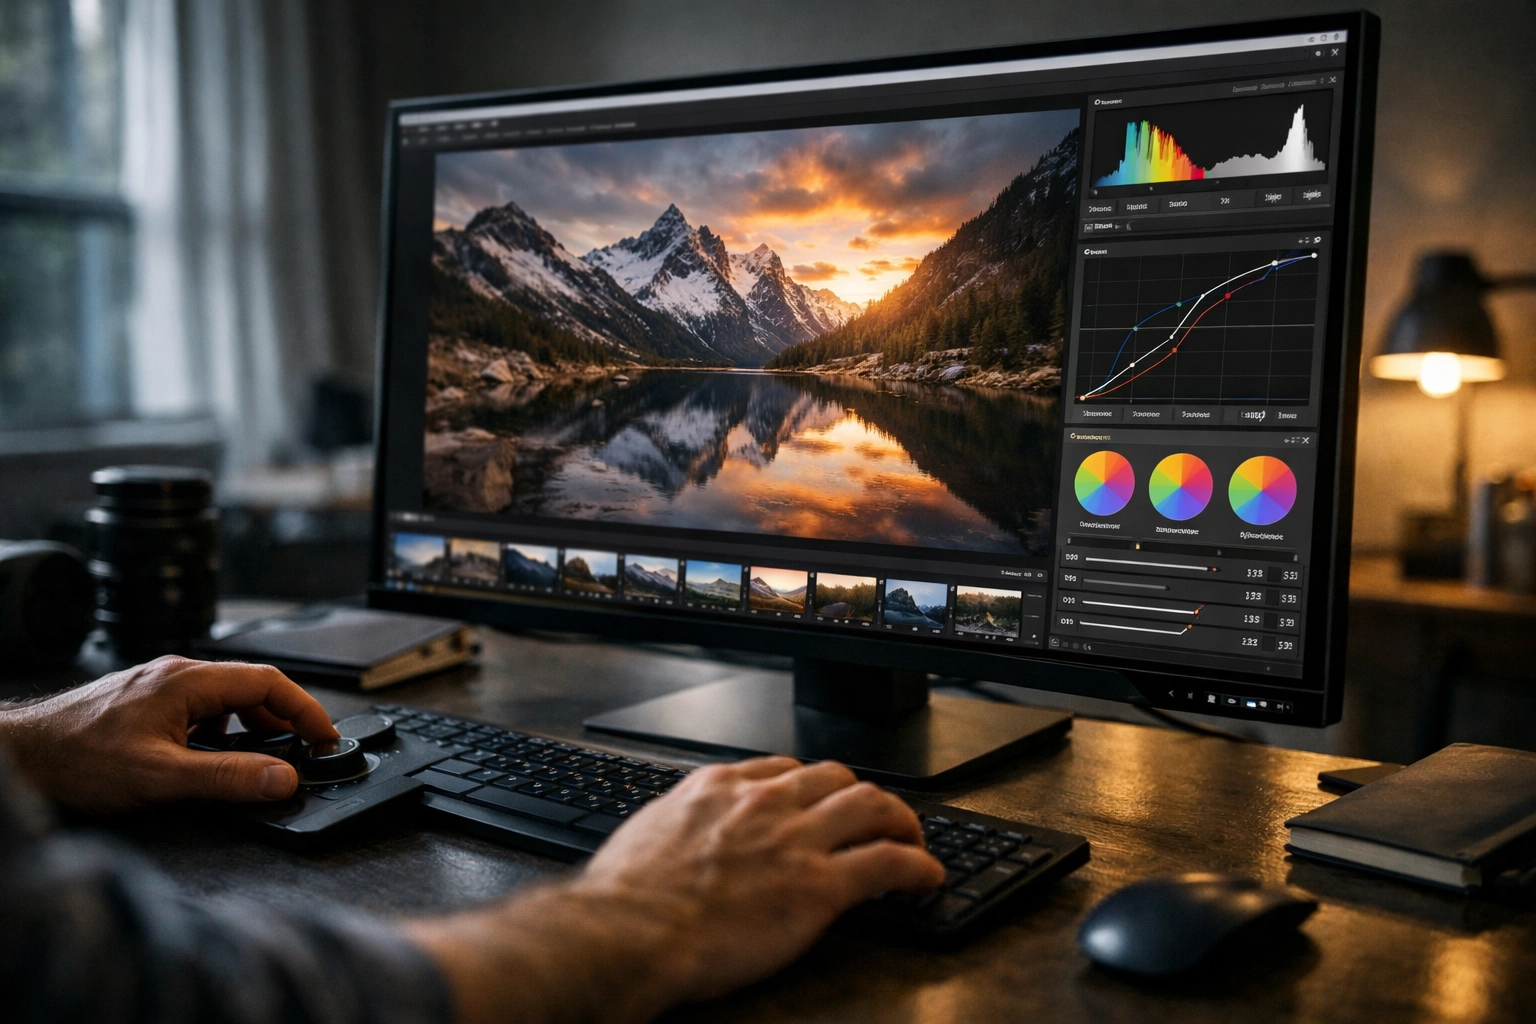
To achieve a professional ethereal look, focus on these three pillars:
- Reduce Contrast and Clarity: Lowering the "Clarity" and "Dehaze" sliders in Lightroom creates a soft, foggy look. It smooths out skin tones and architectural edges, giving the image a romantic feel.
- Color Grading: Ethereal shots often favor a limited color palette. Think pastels: pinks, soft blues, and mint greens. Use the HSL (Hue, Saturation, Luminance) panel to desaturate harsh colors and shift them toward more harmonious tones.
- The "Orton Effect": This is a classic fine art technique that involves layering a sharp version of an image with a blurred, overexposed version. The result is a photograph that seems to glow from within.
If you want to achieve these results instantly, you should use the Ultimate Lightroom Preset Collection. It’s designed specifically to give your images that polished, high-end fine art look without the hours of manual tweaking.
Case Study: Ethereal Coastal Landscapes
Miami provides the perfect backdrop for practicing these skills. Between the turquoise waters and the neon-lit Art Deco architecture, you have endless opportunities to experiment. If you are planning a shoot, grab our Miami self-driving photography guide to find the most secluded spots where you can set up your tripod and wait for the perfect light.
Imagine shooting at South Beach during the blue hour. By using a 30-second exposure and a soft color grade, you can transform a busy beach into a silent, hauntingly beautiful landscape. This is the essence of ethereal photography: taking the reality everyone sees and turning it into a world only you can imagine.
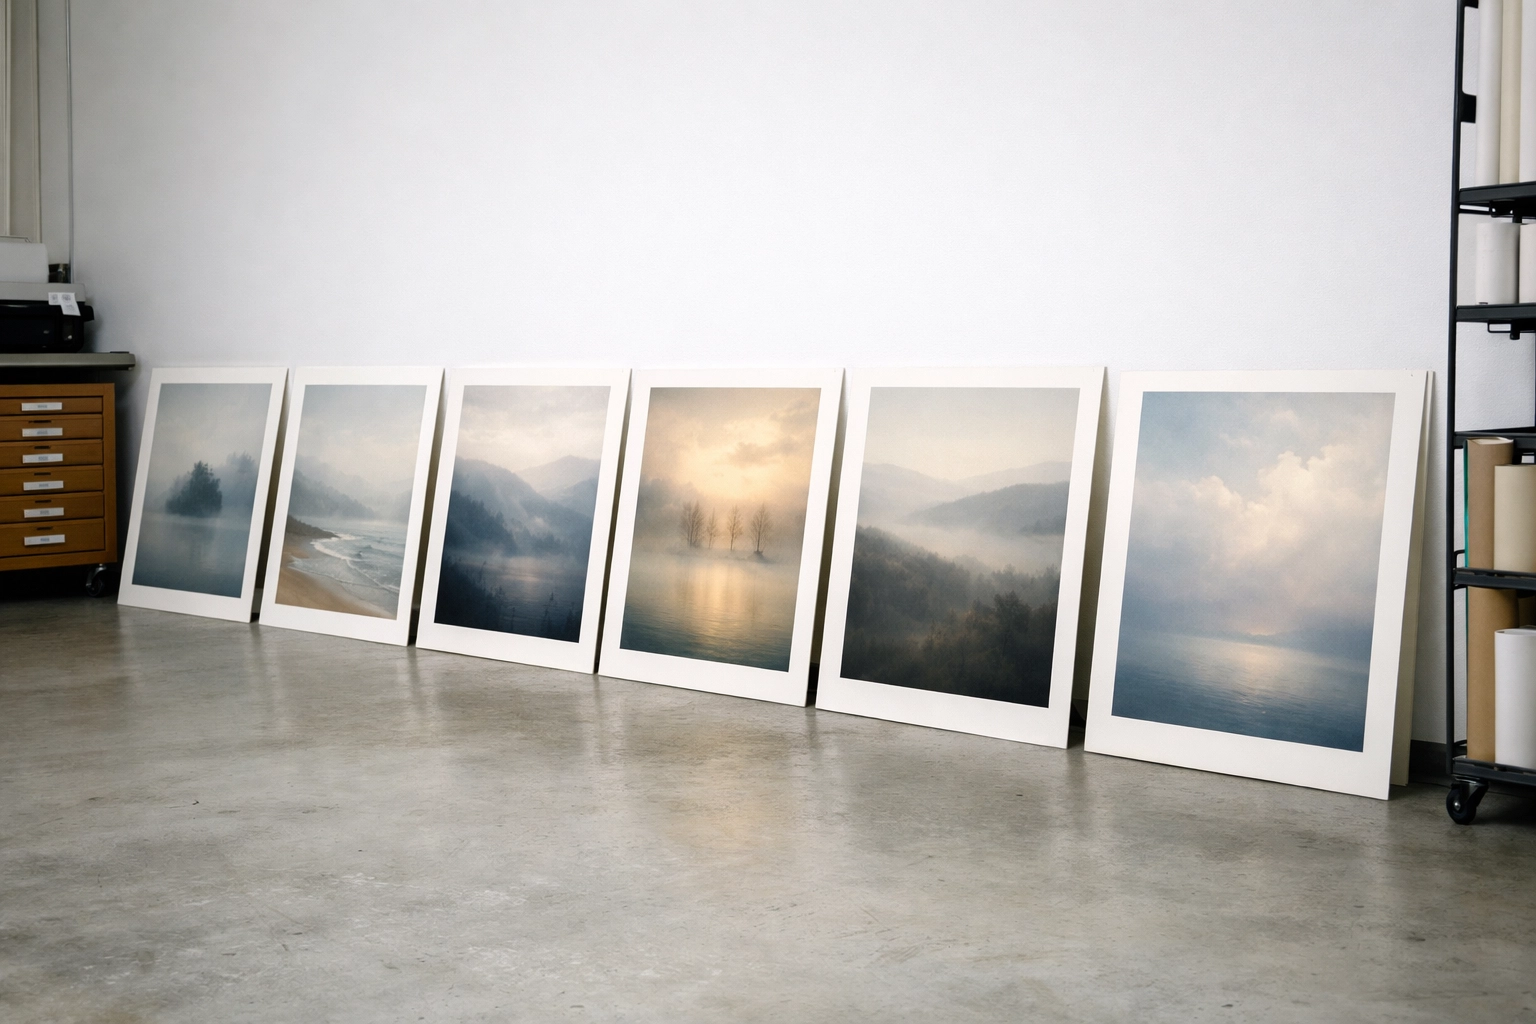
Building a Cohesive Body of Work
One of the biggest mistakes beginners make is producing a portfolio of unrelated "great shots." In the professional fine art world, curators and collectors look for a series. This means your images should look like they belong together.
Consistency is key. Whether it’s your choice of lighting, your specific style of dreamy photography editing, or your subject matter, there should be a thread that connects every photo. This is why many artists spend years on a single project, like documenting the changing light of the Florida Everglades. If you're heading that way, don't forget to check out our Everglades photography guide to help you navigate that unique environment.
Advanced Tips for Growth
- Study the Masters: Don't just look at other photographers. Look at Impressionist painters like Monet. See how they used light and color to suggest form rather than defining it with harsh lines.
- Print Your Work: You haven't truly seen your photography until it’s on paper. Printing your work reveals flaws you won't see on a screen and helps you understand the texture of your images. Check out the Edin Studios resources for more on the professional side of the industry.
- Shoot in "Bad" Weather: Fog, rain, and mist are your best friends for ethereal photography. They provide natural diffusion that no software can perfectly replicate.
Conclusion: Your Journey Starts Here
Mastering fine art photography is a lifelong pursuit of learning how to see. It’s about more than just gear; it’s about the courage to express your unique perspective through your lens. By focusing on technical skills like long exposures and wide apertures, and refining your eye through dreamy photography editing, you empower yourself to create work that truly resonates.
Whether you are exploring the streets of a new city with our New York City photography guide or capturing the serene beauty of Lake Tahoe, remember that every shot is an opportunity to refine your voice. Keep experimenting, keep breaking the rules, and most importantly, keep creating.
For more tutorials, gear reviews, and inspiration, stay tuned to the Edin Chavez Photography Blog. Your evolution from a beginner to a master of the ethereal starts with the very next frame you capture.
As the landscape of professional photography evolves in 2026, the methods you use to secure new clients must evolve with it. Just as you wouldn't show up to a high-end commercial shoot with a point-and-shoot camera, you shouldn't be hunting for jobs for photographers on outdated, generic gig boards that don't respect your craft. You need a dedicated ecosystem designed by people who understand the shutter-speed of business.
Finding consistent work has traditionally been the hardest part of being a freelancer. You spend hours marketing, emailing, and cold-calling, often for very little return. This is exactly where Proshoot.io enters the frame. It isn't just another job site; it is a specialized marketplace built to bridge the gap between high-quality creators and the clients who actually value them. Whether you are a veteran looking to fill your calendar or a rising star ready to go pro, understanding how this platform works will change your career trajectory.
At Edin Chavez Photography, we believe in empowering the community with the right tools. If you are serious about your growth, you need to know these five essential things about Proshoot.io.
1. Professional Vetting Establishes Your Immediate Credibility
The biggest hurdle you face when meeting a new client is trust. They don't know if you’ll show up on time, if you have the right gear, or if your "portfolio" is just a collection of lucky shots. Proshoot.io solves this by implementing a rigorous vetting process for every photographer on the platform.
When you join the community of over 2,500 professionals, you aren't just filling out a profile; you are undergoing a portfolio review and background check. This process ensures that every person on the platform meets a high standard of excellence. Once you pass, you carry a badge of legitimacy that acts as a shortcut to trust.
| Feature |
Impact on Your Business |
| Portfolio Review |
Ensures only high-caliber talent competes for jobs, preventing a "race to the bottom." |
| Background Checks |
Provides clients with peace of mind, making them more likely to book higher-priced jobs. |
| Verified Badge |
Increases your conversion rate by signaling professional-grade reliability instantly. |
By being part of a vetted marketplace, you are no longer competing with hobbyists who are willing to shoot a wedding for $200. You are in a curated space where your expertise is the primary currency. If you want to see how a professional portfolio should look, you can always browse the galleries at the Edin Chavez blog for inspiration.
2. Transparent Bidding Levels the Playing Field
Many job platforms operate in a "black box" where you have no idea why you didn't get a job or how much others are charging. This lack of transparency forces you to guess your value, which often leads to undercharging just to stay competitive. Proshoot.io flips this script by using a transparent bidding system that empowers you to set rates based on value.
When a client posts a job, the requirements are laid out with crystal clarity. You see exactly what they need: whether it’s real estate photography, editorial work, or event coverage. You then place a bid that reflects your skills and the quality of your gear. This system ensures that you are rewarded for your expertise rather than being punished by hidden fees or non-transparent pricing structures.
This transparent approach ensures that you stay in control of your income. You aren't just a cog in a machine; you are a business owner making strategic decisions. To make sure your images look their absolute best before you submit them to a client, using tools like the Ultimate Lightroom Preset Collection can give your work that polished, high-end look that wins bids.
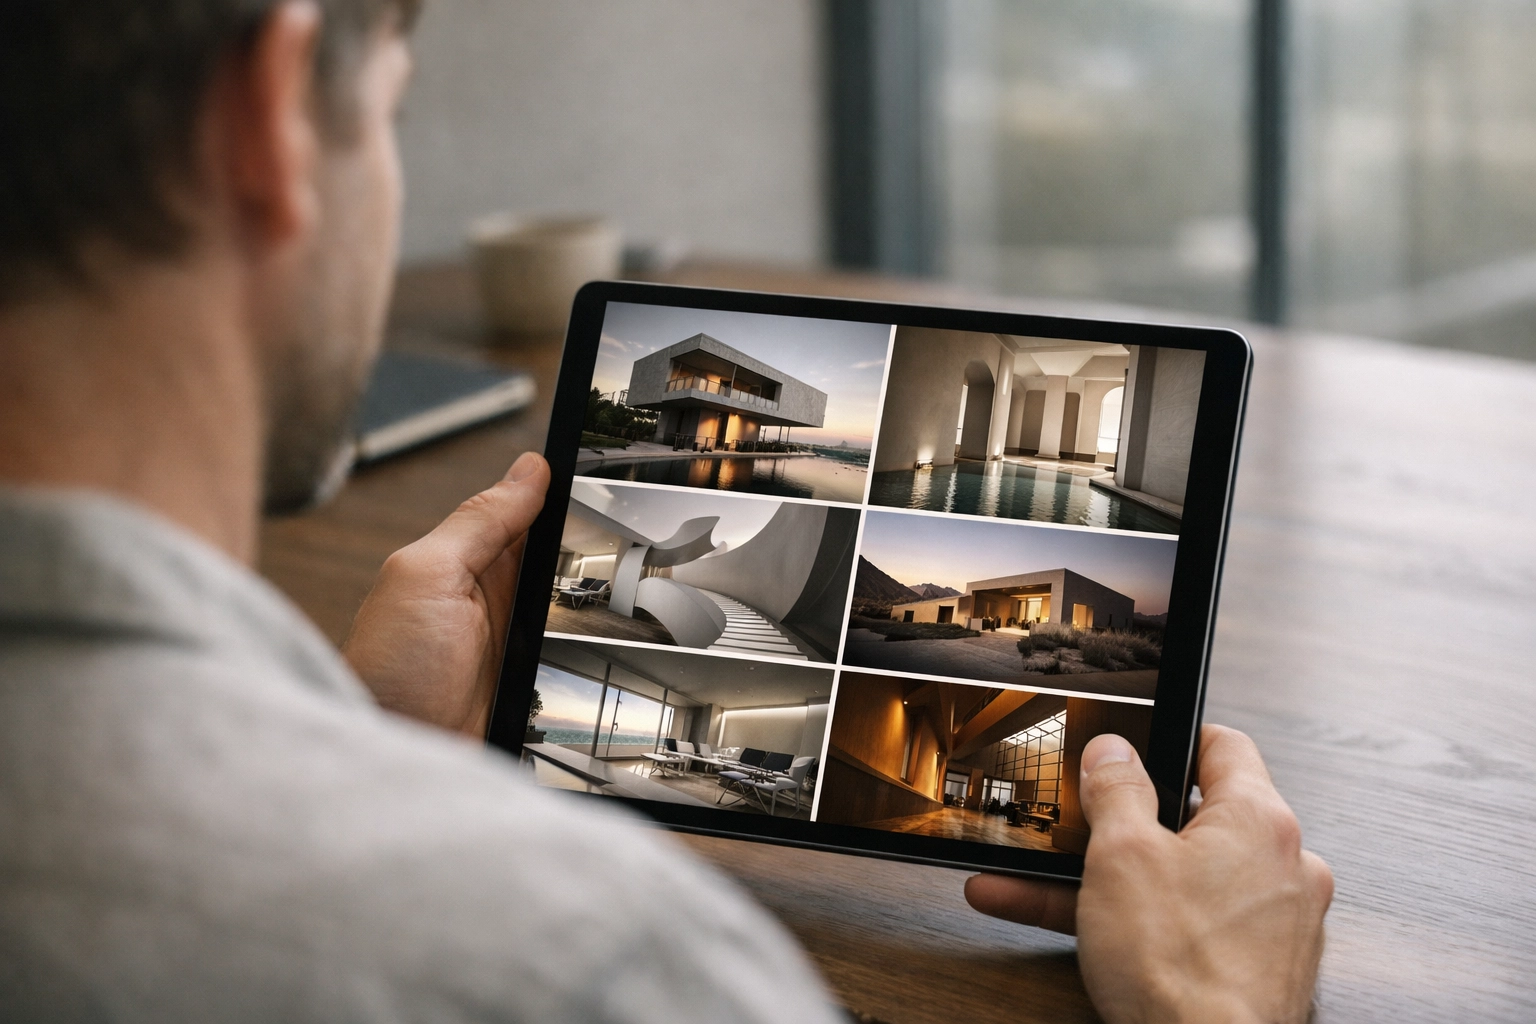
3. Your Portfolio Functions as a High-Conversion Sales Tool
On most social media platforms, your work is buried under algorithms and cat videos. On Proshoot.io, your portfolio is a dedicated sales engine. The platform is designed to highlight specialized skills, allowing you to categorize your work so the right clients find you at the right time.
If you specialize in drone videography or high-fashion editorial, the platform makes it easy for clients searching for those specific niches to see your best work first. This specialization is key to finding the best jobs for photographers. Clients on this platform aren't just looking for "someone with a camera"; they are looking for a specialist who can execute a vision.
Why Specialization Matters:
- Higher Rates: Specialists always command higher fees than generalists.
- Better Clients: Clients who know what they want are usually easier to work with and have better budgets.
- Efficient Workflow: When you shoot what you love and what you're good at, your productivity skyrockets.
By hosting your portfolio in a marketplace where clients are actively looking to hire, you turn your art into an active asset. It’s about working smarter, not harder.
4. A Low Barrier to Entry Focused on Talent, Not Fees
One of the most frustrating aspects of the modern gig economy is the "pay-to-play" model. Many platforms require you to pay steep monthly subscription fees just to see job listings, with no guarantee that you will ever book a gig. This creates a financial burden on photographers who are just trying to get their footing.
Proshoot.io takes a different approach. The barrier to entry isn't your wallet: it’s your talent. The signup process is straightforward:
- Register: Create your account and set up your profile.
- Vetting: Submit your portfolio for review to prove your skills.
- Bid: Start applying for jobs that match your expertise.
- Get Paid: Complete the work and receive secure payments through the platform.
This model ensures that the platform's success is tied to your success. It fosters a community of motivated professionals who are focused on delivering great work rather than just worrying about their next subscription payment. This commitment to a talent-first ecosystem is why we recommend it to anyone looking to scale their photography business.
5. Clients Are Actively Seeking You Out
In the traditional freelance model, you are the hunter. You spend a massive amount of time searching for leads, sending cold DMs, and hoping someone bites. On Proshoot.io, the roles are often reversed. Because the platform is a known hub for verified professionals, clients come to the marketplace with "ready-to-shoot" jobs.
These aren't "maybe" leads; these are active opportunities. Clients post specific job details, including dates, locations, and budgets. Your job is simply to show up, showcase your relevant work, and respond to the opportunities that align with your brand.
This shift in dynamic saves you dozens of hours every month. Imagine what you could do with that extra time. You could spend it on a personal project, like exploring the New York City Photography Guide to sharpen your street photography skills, or you could simply take on more jobs and increase your annual revenue.
Elevating Your Professional Game
While Proshoot.io provides the jobs, you still have to provide the excellence. Finding jobs for photographers is only the first step; keeping those clients requires a commitment to quality that goes beyond the click of a shutter.
Your post-processing is a massive part of that quality. When you land a job through a premium marketplace, you need to deliver images that look like they belong in a gallery. This is why we advocate for a streamlined, professional workflow. Using the Ultimate Lightroom Preset Collection allows you to maintain a consistent, high-end look across all your client work, ensuring they come back to you time and time again.
Final Thoughts on Proshoot.io
The photography industry is more competitive than ever, but the opportunities have also never been greater for those who know where to look. Proshoot.io represents a significant shift in how photographers connect with the world. By focusing on vetting, transparency, and a talent-first approach, it provides a stable foundation for your freelance career.
If you are tired of the "hustle" and want to move into a more structured, professional way of working, Proshoot.io is the platform you've been waiting for. It removes the noise and lets you focus on what you do best: capturing incredible images.
Hence, with these considerations in mind, your next step is clear. Head over to Proshoot.io and start the vetting process today. Your next big career-defining job is likely already waiting for you on the other side. And remember, for more tips on how to master the art and business of photography, keep an eye on Edin Chavez Photography and our latest guides at the Edin Chavez blog.
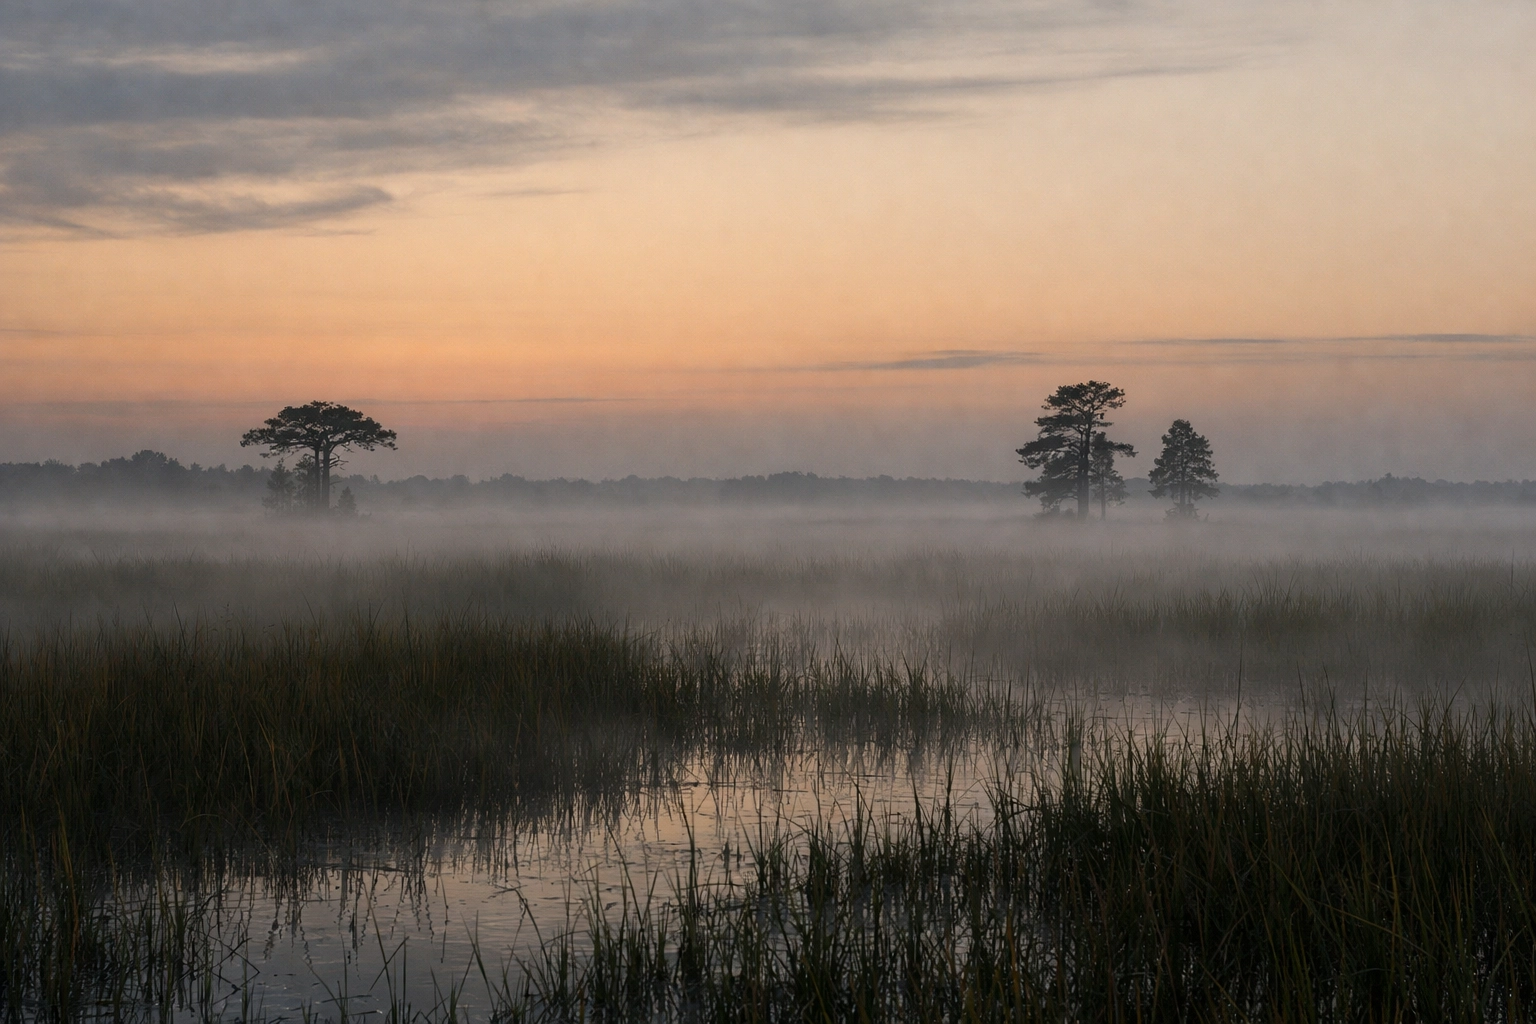
Just as the first light of dawn begins to pierce through the thick Florida humidity, you realize that the Everglades is not just a swamp: it is a living, breathing gallery of fine art. Whether you are a seasoned pro or picking up a camera for the first time, capturing the "River of Grass" requires more than just showing up. It demands a strategy, an understanding of the ecosystem, and a knowledge of the specific pockets where the magic happens.
As you plan your journey into this prehistoric landscape, you need to know exactly where to point your lens to avoid the tourist traps and find the soul of the wetlands. This guide provides the blueprint for your success, ensuring your wildlife photography in the Everglades stands out from the crowd.
Why the Everglades is a Photographer’s Paradise
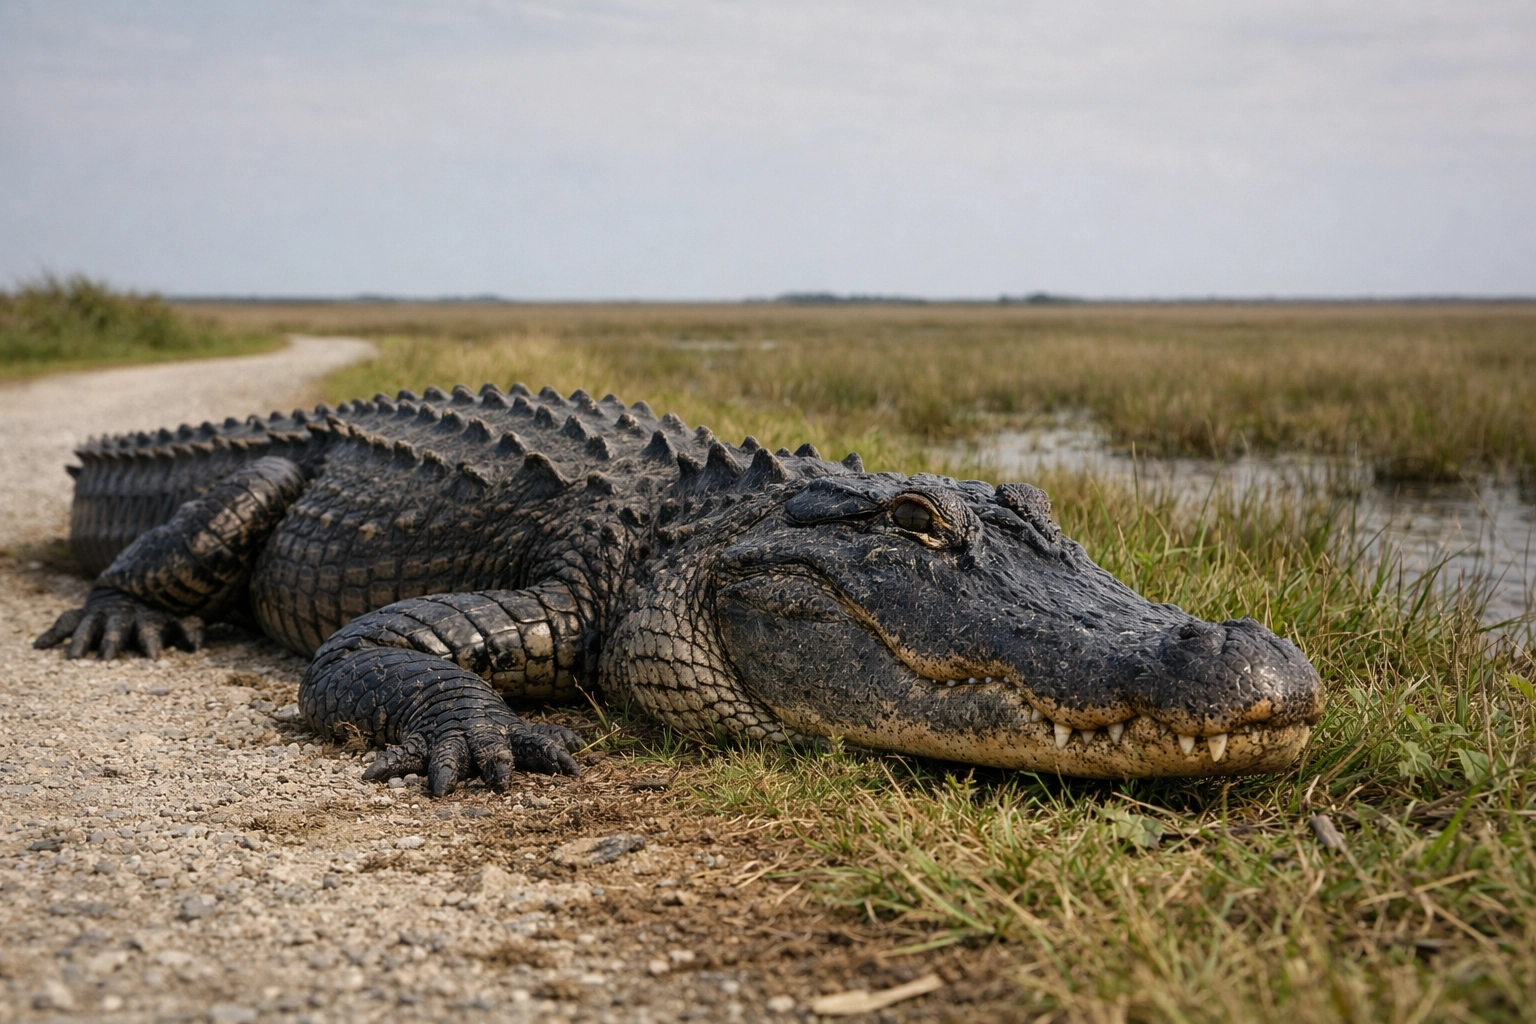
The Everglades offers a diversity of subjects that is unmatched anywhere else in the world. With over 360 species of birds, iconic reptiles like the American alligator and the elusive crocodile, and landscapes ranging from sawgrass prairies to eerie cypress domes, your portfolio will benefit from a wealth of textures and colors.
To truly master landscape photography in the Everglades, you must embrace the subtlety of the environment. This is not the Grand Canyon; there are no towering peaks. Instead, you find beauty in the reflections of a glass-calm pond and the silhouette of a lone cypress tree against a fiery sunset.
1. Anhinga Trail: The Wildlife Hub
If you want guaranteed results, your first stop must be the Anhinga Trail at the Royal Palm Visitor Center. This is arguably the most famous spot for Everglades photography locations, and for good reason. The boardwalk takes you right over the sawgrass marsh, putting you at eye level with anhingas, herons, and egrets.
During the winter months: specifically February and March: you will find anhingas nesting. This gives you the unparalleled opportunity to capture intimate shots of chicks and parental behavior. Because the wildlife here is accustomed to humans, you can often use a shorter telephoto lens, like a 70-200mm, to get stunningly detailed portraits.
Pro Tip: Arrive at sunrise. The mist rising off the water combined with the golden hour light creates a "smooth as butter" background for your bird portraits.
2. Shark Valley: Wide Vistas and Alligators
Located along the Tamiami Trail, Shark Valley offers a 15-mile loop that propels you into the heart of the glades. While many visitors take the tram, you should consider walking or biking a portion of the trail to maintain full control over your compositions.
The observation tower at the end of the loop provides a panoramic view that is essential for your landscape photography in the Everglades. From this height, you can capture the vastness of the sawgrass plains. On the ground level, alligators frequently lounge right beside the path. This allows you to experiment with wide-angle "environmental portraits" of these ancient reptiles, showcasing them within their habitat rather than just a tight headshot.
3. Mahogany Hammock: The Barred Owl Sanctuary
For a change of pace, you should head to Mahogany Hammock. This location features a short boardwalk through a dense hardwood forest, offering a completely different aesthetic than the open marshes. The primary draw for you here is the barred owl.
Because the canopy is thick, the light is often low and moody. This is where your gear’s technical capabilities come into play. You will likely need to bump your ISO to 2,500 or higher to maintain a fast enough shutter speed for handheld shooting. By using the Ultimate Lightroom Preset Collection, you can easily manage the digital noise and enhance the rich greens and browns of the hammock in post-processing.
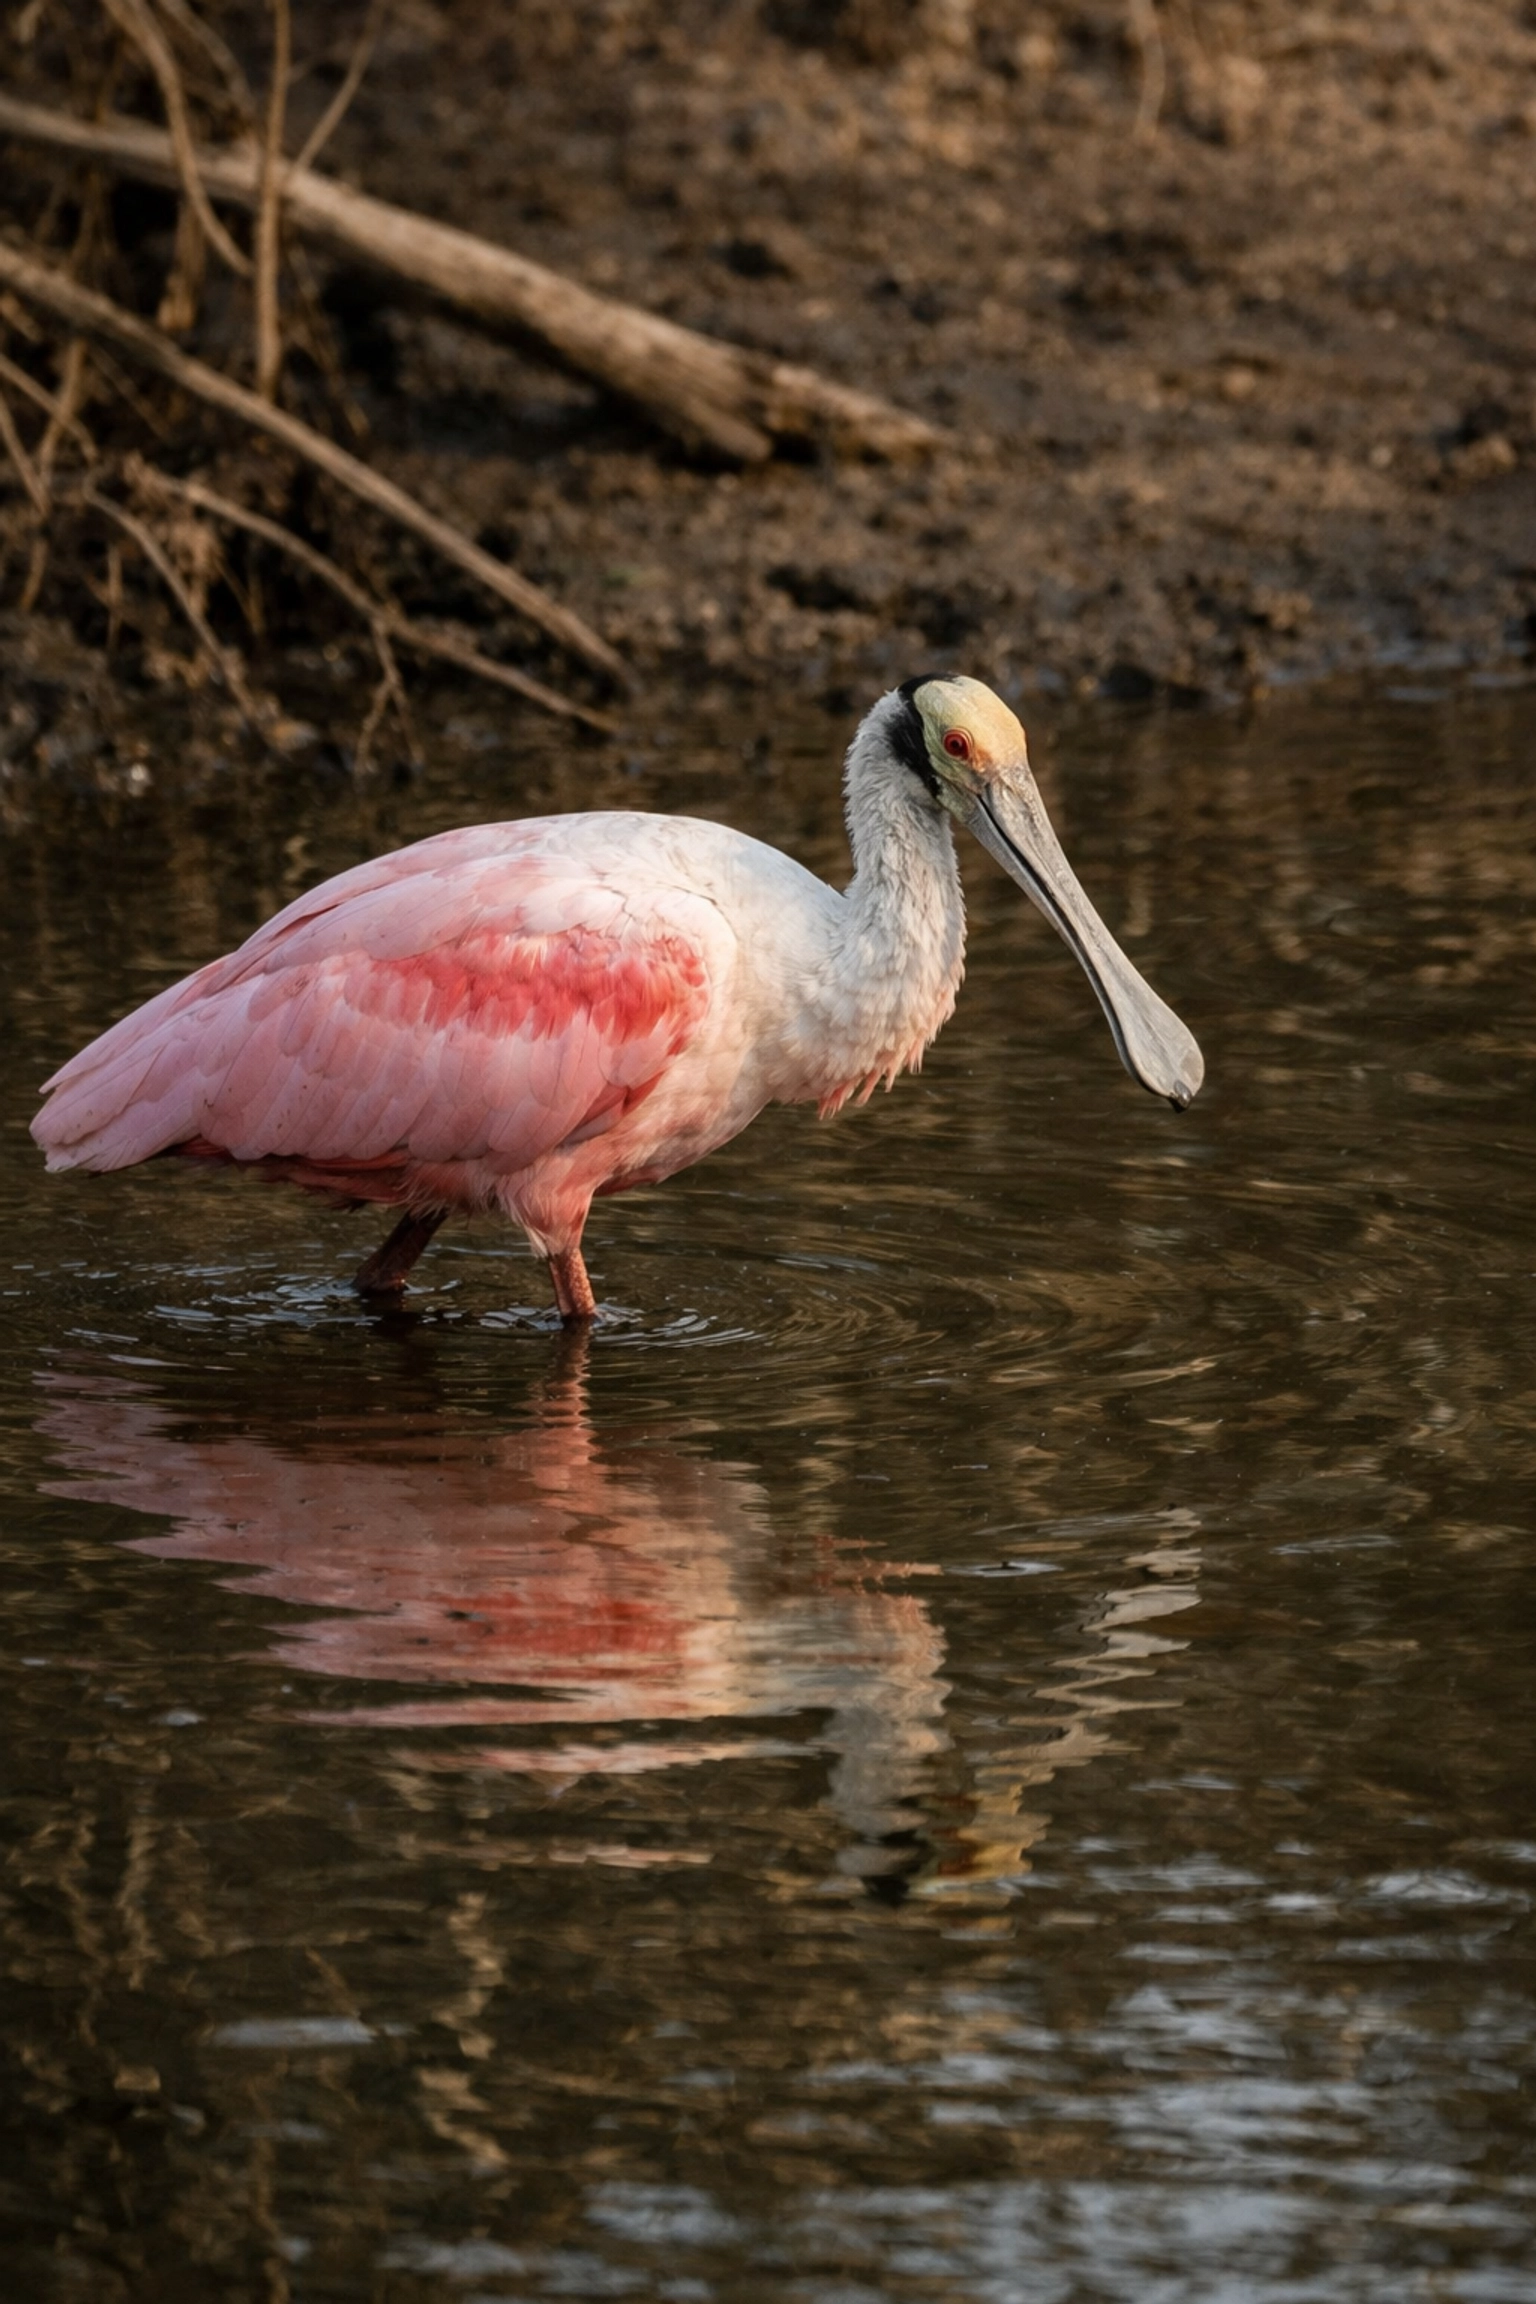
4. Mrazek and Eco Pond: The Wading Bird Spectacle
When water levels drop during the dry season (late February to mid-March), Mrazek Pond becomes a literal feeding frenzy. As a photographer, you will find a staggering amount of wading birds: roseate spoonbills, wood storks, and great blue herons: all competing for the remaining fish in the shrinking pools.
Eco Pond, located near Flamingo, is your best bet for sunset silhouettes. Position yourself so the sun sets behind the pond, and you can capture the elegant shapes of black-necked stilts as they forage in the shallows. This ensures your shots have that high-end, fine-art feel that collectors look for at Edin Studios.
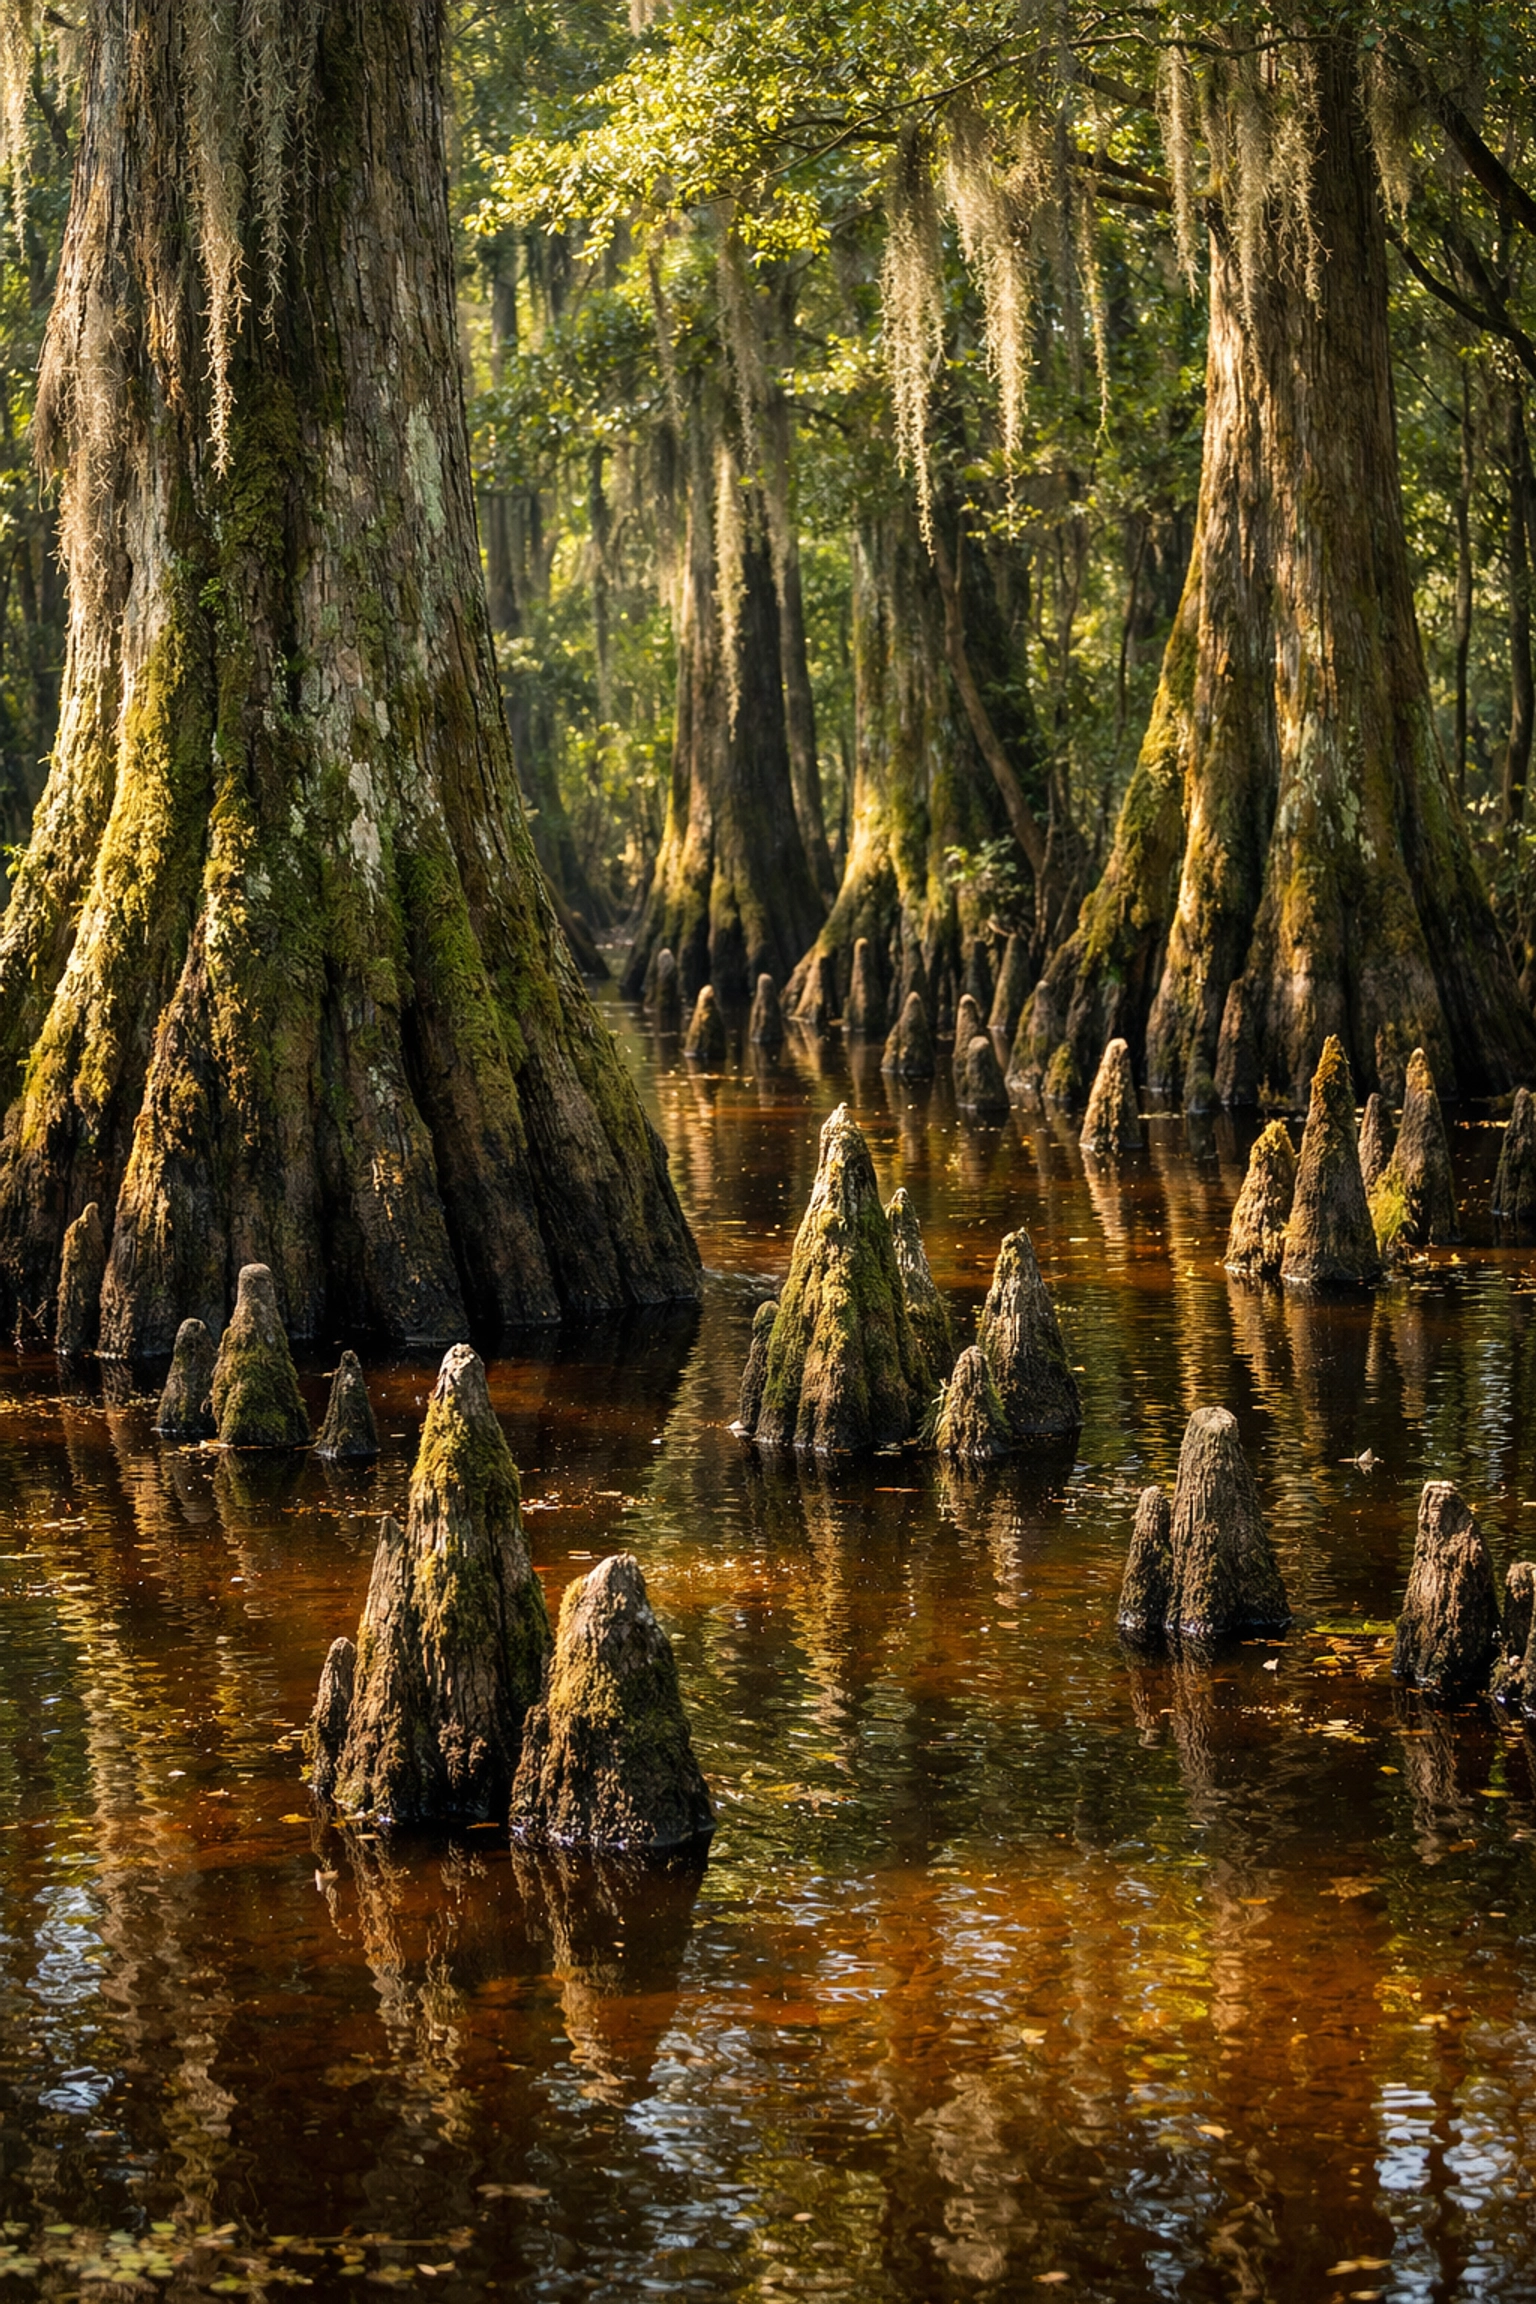
5. Big Cypress National Preserve: The Rugged Frontier
Just north of the official park boundaries lies Big Cypress National Preserve. If you are looking for a more rugged, less "manicured" experience, this is your destination. The Loop Road is a 24-mile dirt track that offers some of the best wildlife photography in the Everglades without the boardwalk crowds.
In Big Cypress, you can find cypress domes: circular clusters of trees that look like islands in the swamp. These are perfect for long-exposure photography, especially if you have a polarizing filter to cut the glare off the water and reveal the submerged roots.
Essential Gear for Your Success
To make the most of your trip, you need to be prepared for the unique conditions of the Florida wetlands. Here is a breakdown of the equipment that will elevate your work:
| Gear Item |
Purpose |
Why You Need It |
| 300mm+ Lens |
Wildlife |
Essential for capturing birds without disturbing them. |
| Polarizing Filter |
Landscapes |
Cuts water glare and saturates the deep blues of the sky. |
| Sturdy Tripod |
Stability |
Necessary for low-light shots in cypress domes and hammocks. |
| Dry Bag |
Protection |
The Everglades is humid and prone to sudden rain; keep your gear safe. |
| Macro Lens |
Details |
Don't overlook the orchids and insects that inhabit the hammocks. |
By integrating these tools into your workflow, you ensure that every shutter click brings you closer to a masterpiece. If you want a comprehensive guide that you can take into the field, you should check out the Everglades Photography Guide.
Technical Tips for Fine Art Results
Your success in the Everglades isn't just about where you go; it's about how you shoot. To achieve a professional fine-art look, focus on these three elements:
- Master the Mid-Tones: The Everglades is full of mid-tone greens and browns. To prevent your images from looking flat, look for "leading lines" in the sawgrass or use the reflection of the sky to add contrast and depth.
- Focus on the Eye: When shooting wildlife, your focus must be tack-sharp on the animal's eye. Even if the rest of the bird is slightly soft, a sharp eye creates an immediate connection with the viewer.
- Use High ISO Confidently: Modern mirrorless cameras handle high ISO beautifully. Don't be afraid to push your settings to capture the action in the dark shade of a cypress swamp. You can always refine the texture later using resources found on the Edin Chavez Blog.
The Best Time to Visit
Timing is everything. To witness the Everglades at its peak, you should plan your visit between December and April. This dry season concentrates the wildlife into smaller bodies of water, making them easier to find and photograph. Furthermore, the mosquitoes are significantly less aggressive during these cooler months, allowing you to focus on your art rather than the pests.
Early morning remains the "golden window." Not only is the light superior, but the animals are most active during the first two hours after sunrise. This commitment to an early start ensures you capture the raw, untamed essence of the Florida wilderness.
Take Your Photography to the Next Level
Capturing the Everglades is a rewarding challenge that will push your creative boundaries. By following this guide, you are already ahead of the curve, but there is always more to learn about lighting, composition, and the secret spots that only locals know.
If you are serious about coming home with world-class images, you need a field resource that goes deeper into the logistics and "secret spots" of the park. You can find everything you need to succeed in the Everglades Photography Guide. It is designed to empower you to make the most of every minute you spend in the field.
With these considerations in mind, grab your gear, head south, and start capturing the incredible beauty of the Everglades today. Your next fine-art masterpiece is waiting just around the next bend in the trail.
As a photographer, you know that your environment is just as important as your equipment. Miami is a city that doesn't just sit still; it vibrates with a mix of Art Deco charm, tropical lushness, and cutting-edge urban design. Whether you are a seasoned pro or just starting your journey, finding the best places to take pictures in miami can feel overwhelming because the city offers so many diverse "looks" within a few square miles.
In this guide, you will discover the most iconic miami photography locations and learn exactly how to capture them. From the neon glow of Ocean Drive to the hidden architectural gems of the Design District, your portfolio is about to get a major upgrade. If you want to skip the guesswork and go straight to the best shots with an expert by your side, check out the Private Miami Photography Tour to ensure your trip is a success.
The Neon Heart: Ocean Drive and South Beach
Your Miami experience isn't complete without visiting South Beach. This is the quintessential Miami: colorful, loud, and incredibly photogenic. To get the best out of these miami photo spots, you need to understand the rhythm of the light.
The Art Deco District
When you walk down Ocean Drive, you are essentially walking through a living museum. The Beacon Hotel and the surrounding Art Deco buildings are world-famous for their pastel palettes and geometric shapes.
- Pro Tip: While these look great during the day, they truly come alive at blue hour. The neon lights provide a cinematic glow that is "smooth as butter" for long exposures.
- The Versace Villa: Located at 1116 Ocean Drive, this spot offers a luxurious, high-fashion aesthetic. The white walls and ornate fountains provide a sophisticated backdrop that elevates any lifestyle shoot.
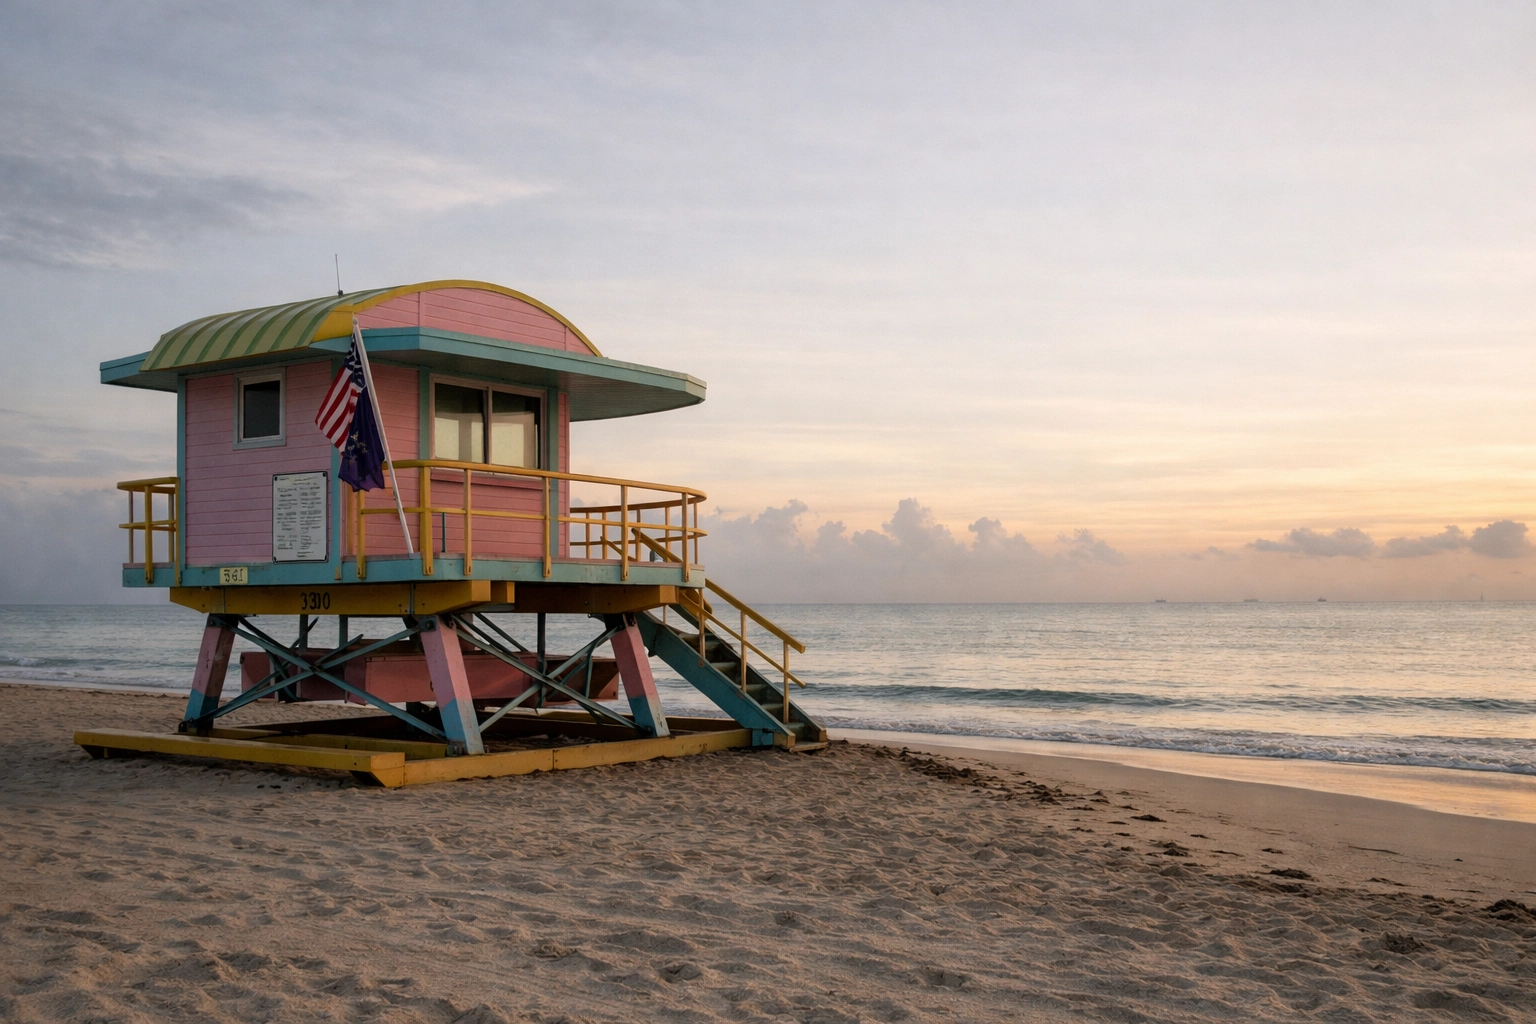
The Iconic Lifeguard Stands
Stretching from 1st to 87th Street, these colorful structures are a photographer's dream. Each stand has a unique design and color scheme. You should aim for sunrise here; the sun peeks over the Atlantic, casting a warm, golden glow on the stands while the beach is still relatively empty of tourists. This is a primary stop in our miami self-driving photography guide, which helps you navigate these spots at your own pace.
Urban Sophistication: Design District and Wynwood
If you prefer clean lines, modern art, and street culture, the urban centers of Miami are where you’ll find your inspiration. These areas offer some of the most versatile miami photography locations in the world.
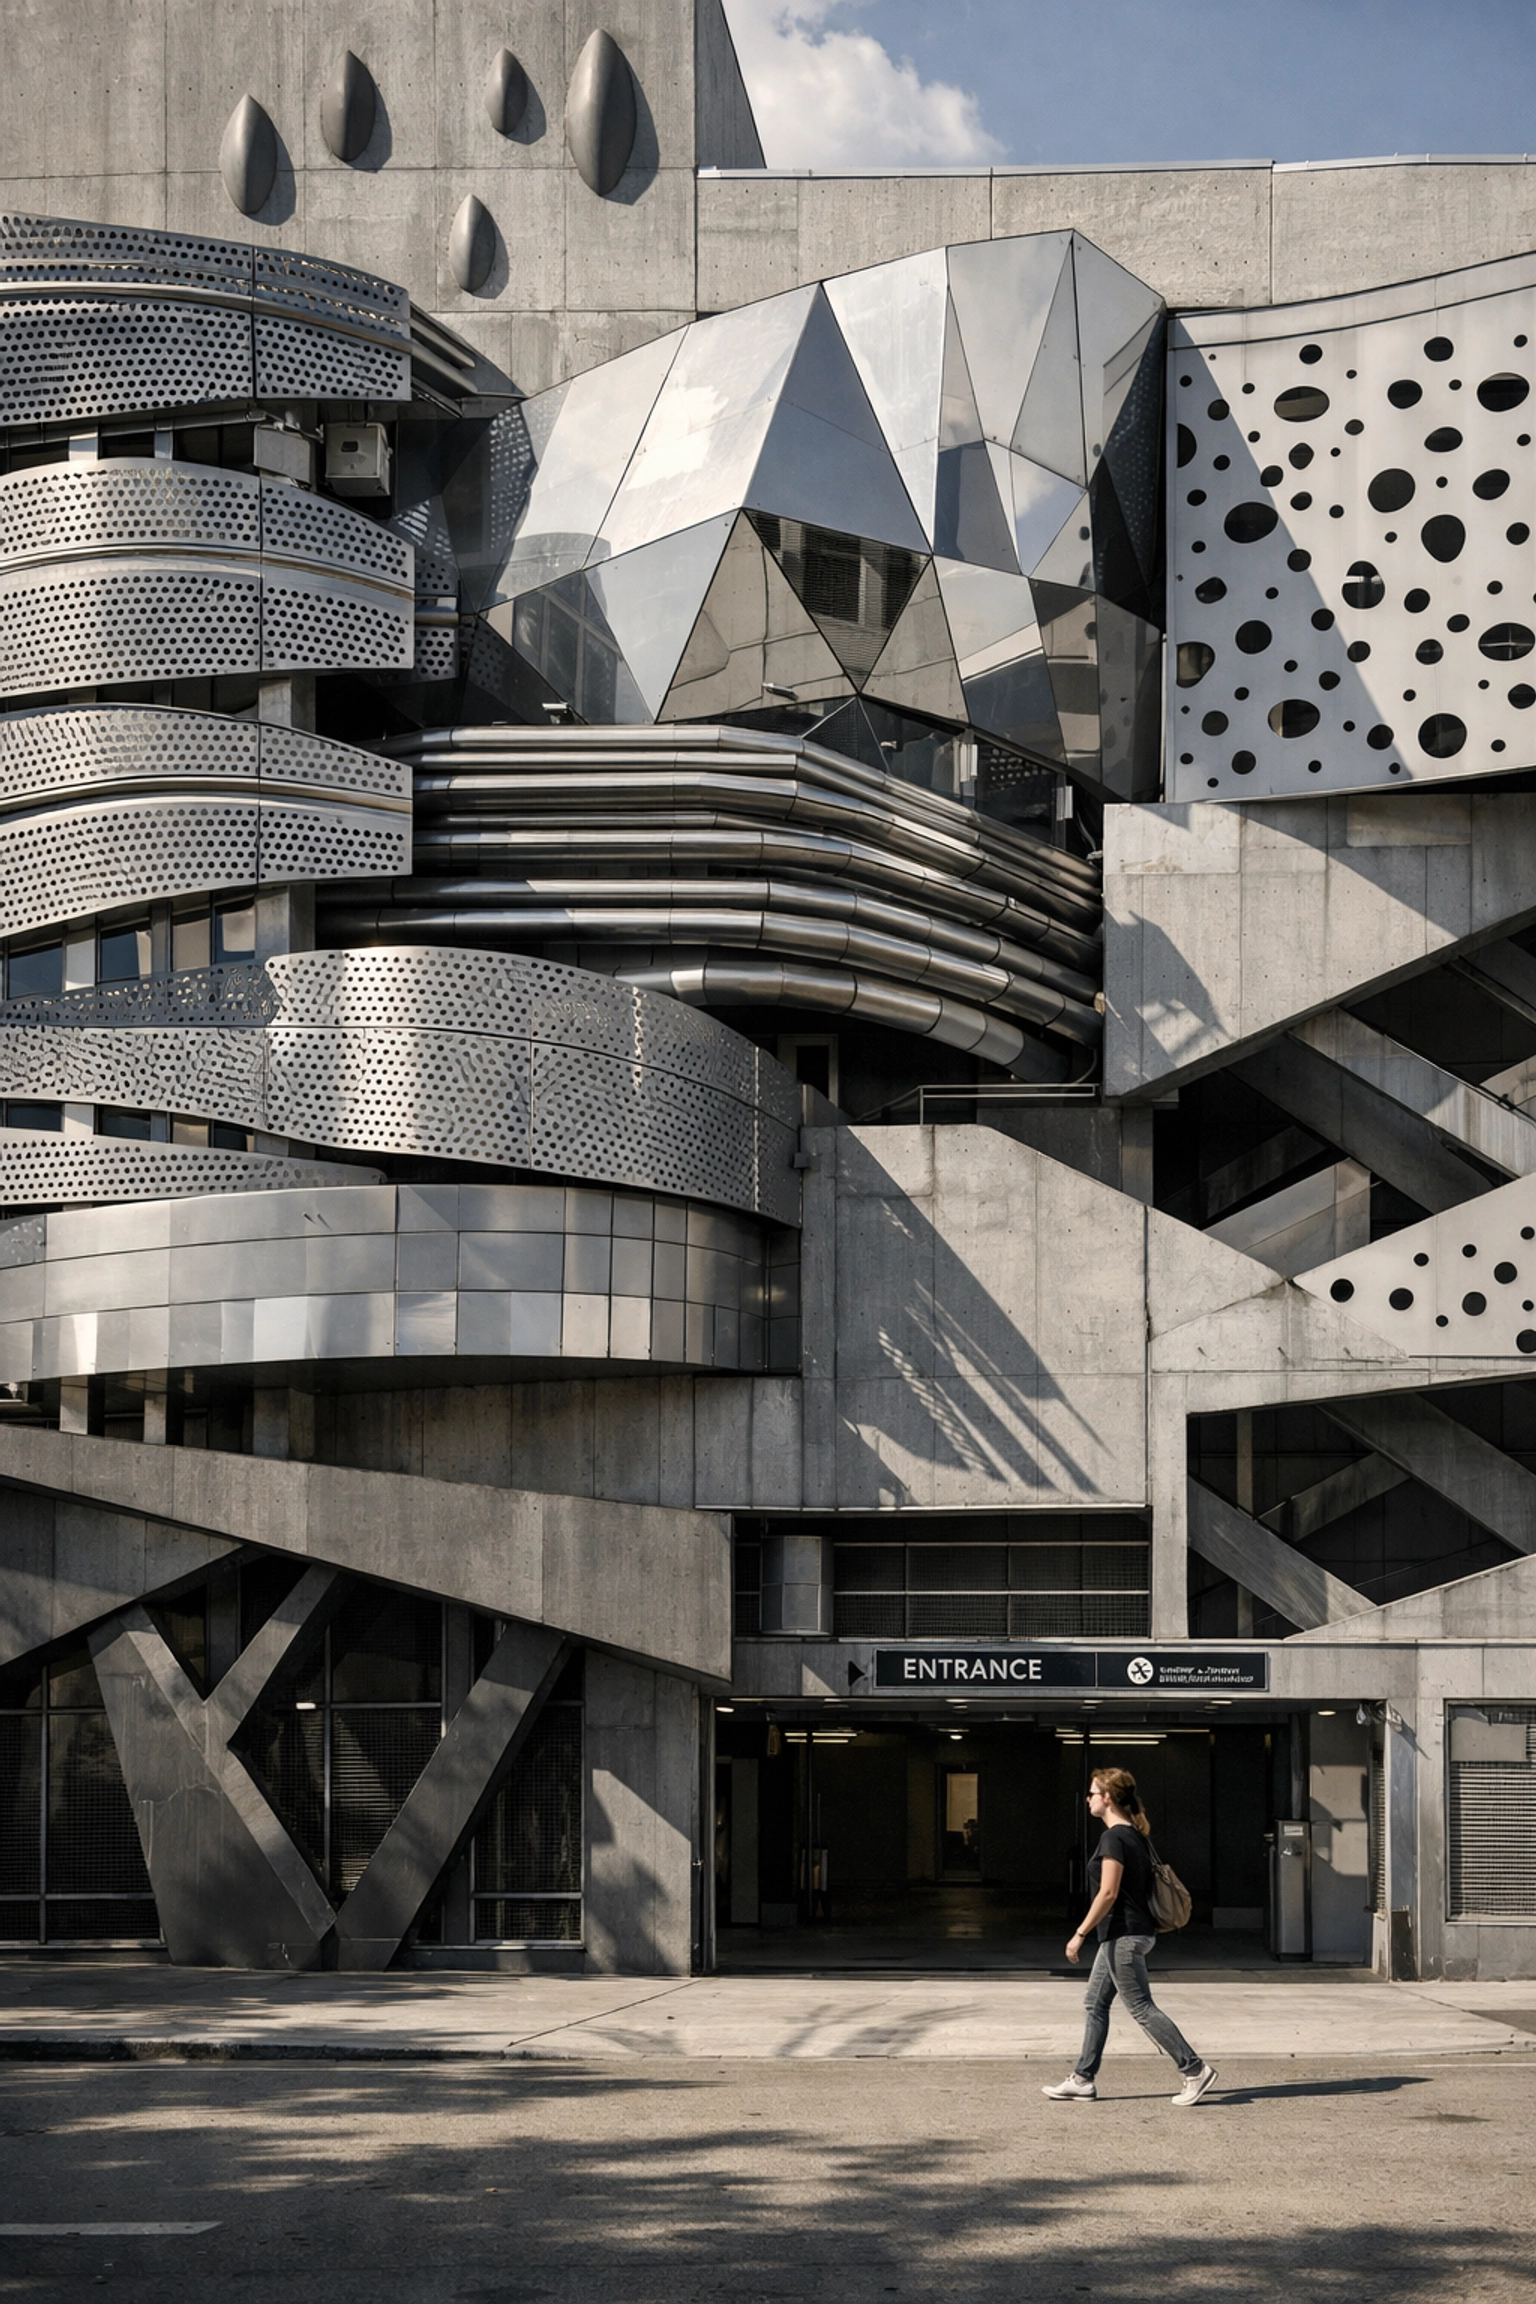
The Miami Design District
The Design District is one big photo op. It’s where high fashion meets high architecture. You’ll find the Museum Garage, an architectural marvel that looks different from every angle, and The Betsy Orb, a large spherical structure that adds a surreal, "funky" vibe to your shots.
- The Dior Cafe: Perfect for that high-end lifestyle aesthetic.
- Fendi Colonnade: Provides incredible symmetry and shadow play during the mid-afternoon.
Wynwood Walls
Wynwood is the epicenter of street art. The murals here are created by world-renowned artists and change frequently, meaning your shots will always feel fresh. Because this is one of the most popular miami photo spots, you should arrive early in the morning before the crowds descend. The contrast between the grit of the industrial buildings and the vibrant colors of the paint ensures your images will pop.
Timeless Elegance: Vizcaya and Fairchild Gardens
Sometimes, you need to step away from the neon and concrete. Miami offers European-style elegance that feels like stepping into a different century.
Vizcaya Museum & Gardens
Imagine 10 acres of formal gardens, Italian Renaissance architecture, and a stunning view of Biscayne Bay. Vizcaya is the premier location for portraits, engagement shoots, and fine art photography. The stone bridges, hidden grottos, and the iconic "stone barge" in the water provide a romantic, "cottage-core" aesthetic that is unparalleled in Florida.
Fairchild Tropical Botanical Garden
For those who love nature and macro photography, Fairchild is a must. With its lush tropical greenery and rare plant species, it provides a deep, rich background that makes your subjects stand out. Keep in mind that a photo permit is required for professional shoots here, but the results are worth every penny.
Strategic Planning: When and Where to Shoot
To succeed in Miami, you have to master the timing. The Florida sun is harsh, and the weather can be unpredictable. Use the table below to plan your miami photography tour logistics effectively.
| Location |
Best Time to Shoot |
Lighting Quality |
Vibe |
| South Pointe Park & Pier |
Sunrise |
Golden, soft, directional |
Coastal & Serene |
| 1111 Lincoln Road |
Night |
Artificial, dramatic, urban |
Architectural & High-Contrast |
| Wynwood Walls |
Early Morning |
Even, soft shadows |
Gritty & Vibrant |
| Venetian Causeway |
Sunset |
Pastel skies, silhouettes |
Romantic & Underrated |
| Brickell City Centre |
Mid-Day |
Filtered through "Climate Ribbon" |
Modern & Industrial |
Hidden Gems and Nightscapes
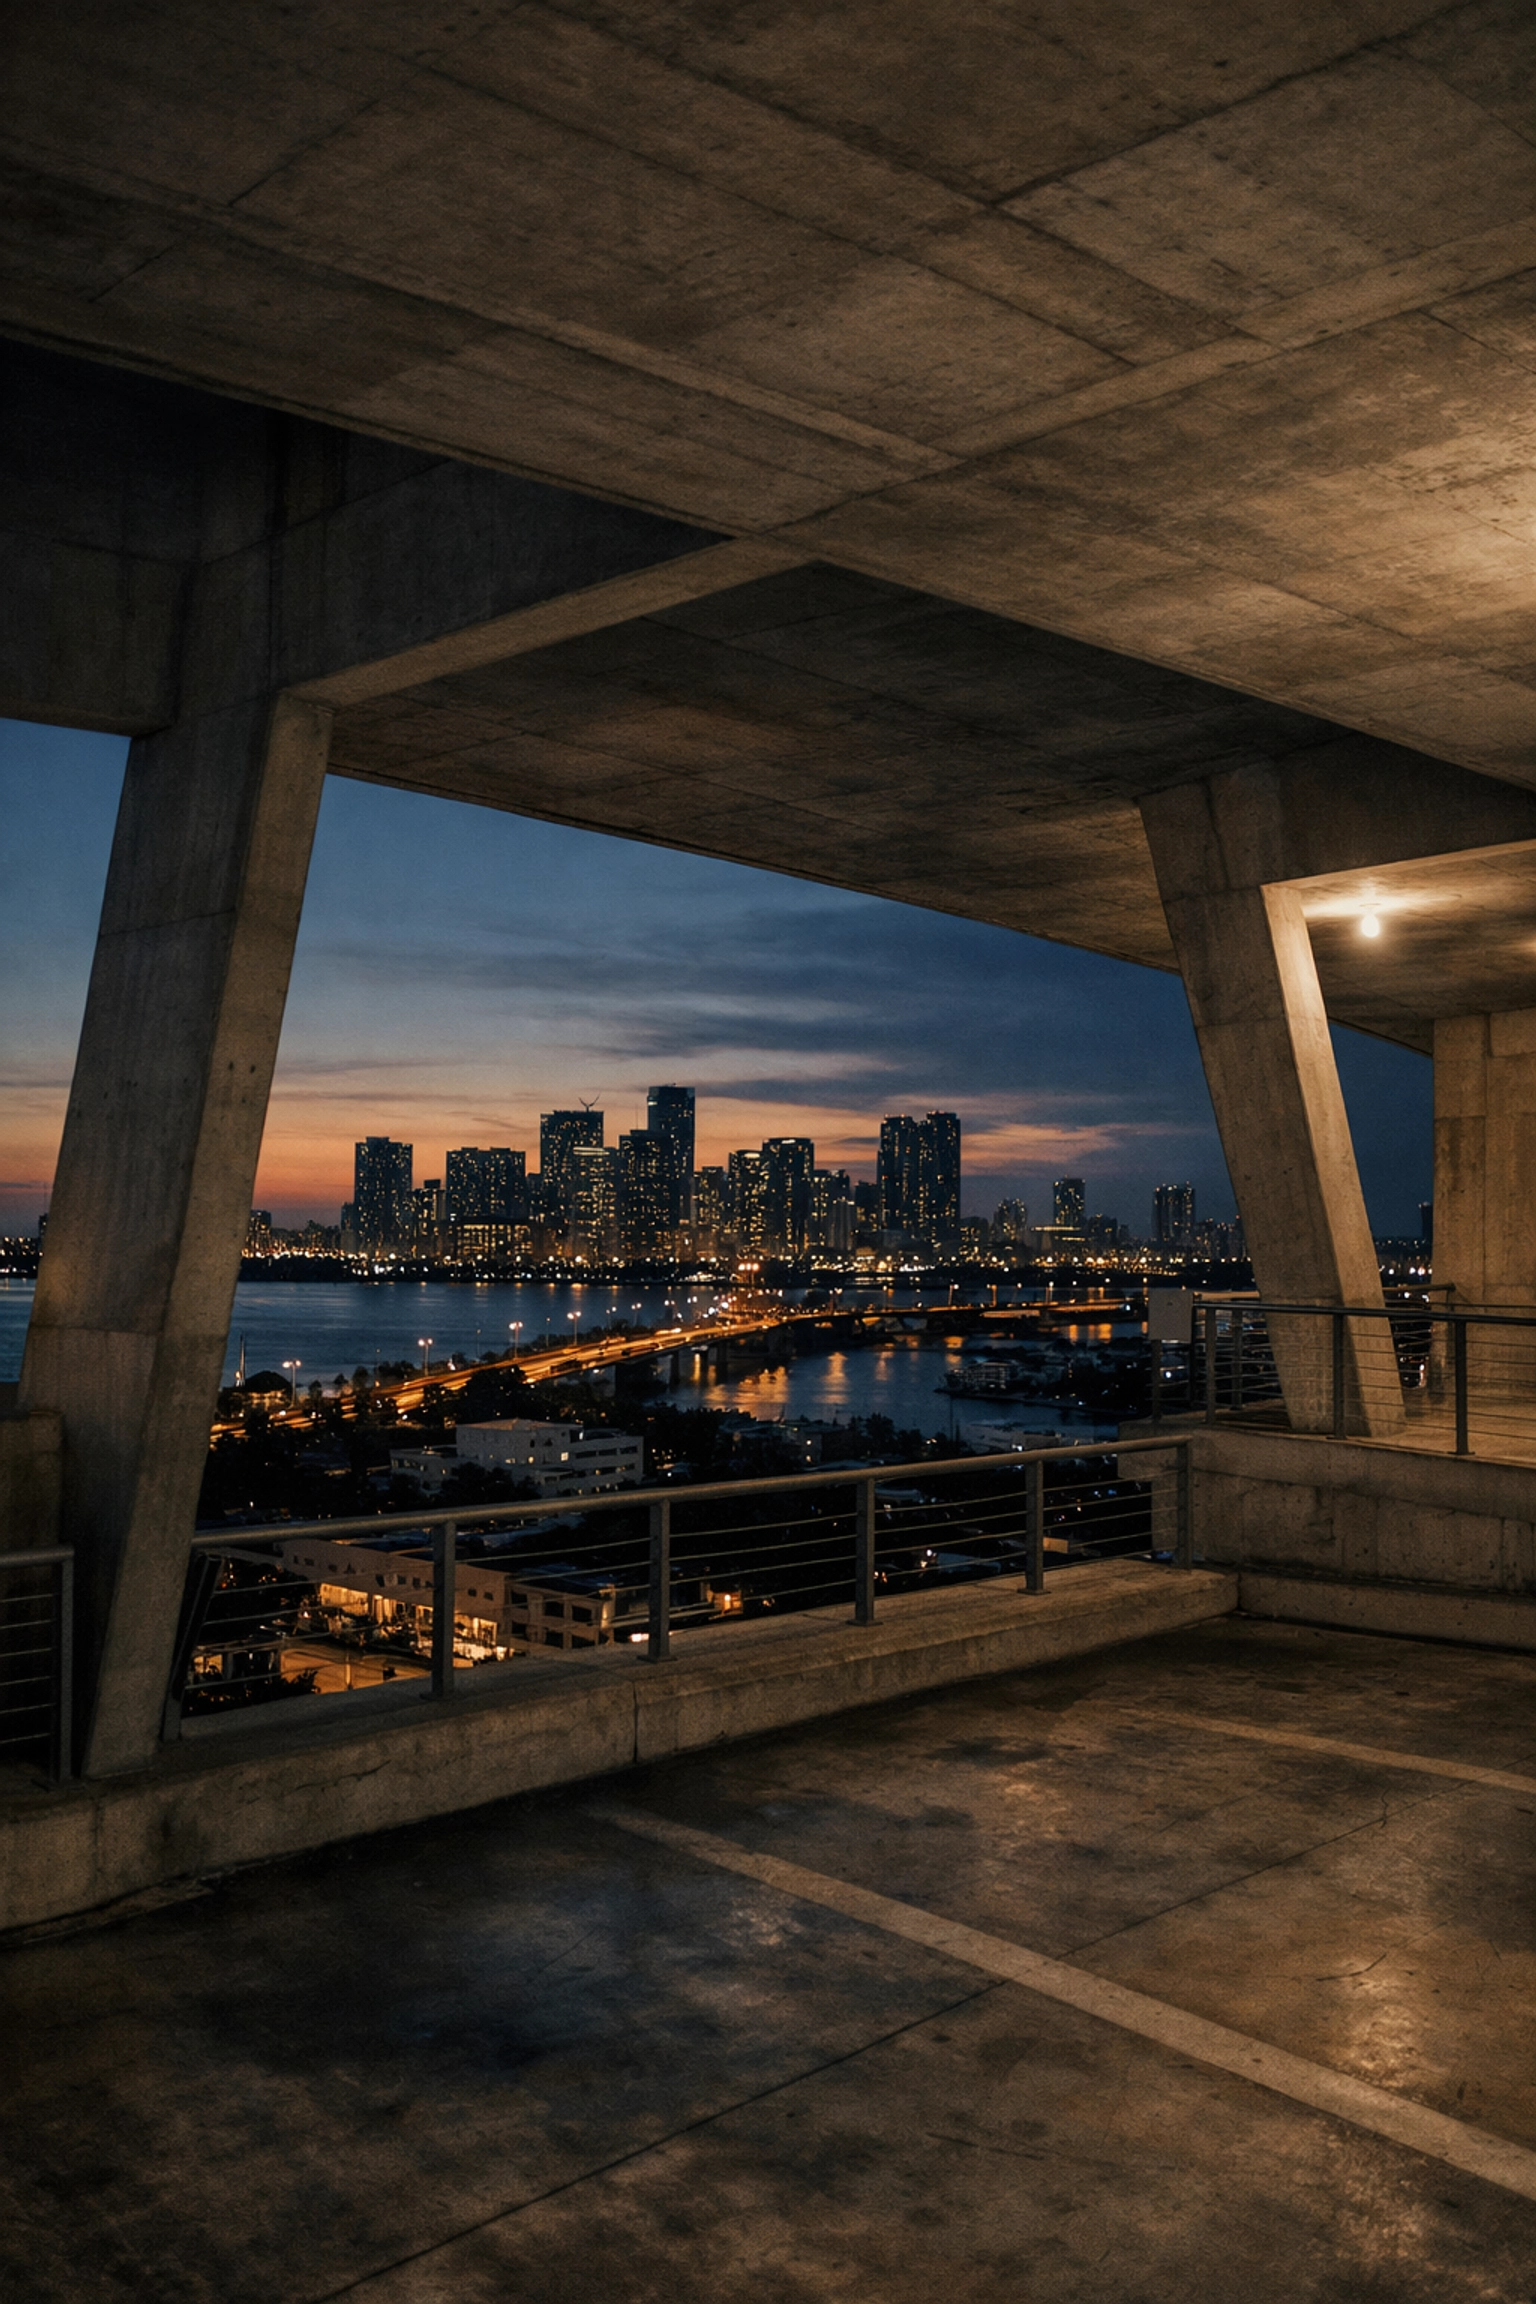
While everyone goes to South Beach, you can set your work apart by visiting the "underrated" spots. The Venetian Causeway offers a long, unobstructed view of the Miami skyline that is best captured at night.
Another secret is 1111 Lincoln Road. Most people see it as just a parking garage, but for a photographer, it is a masterclass in concrete and light. From the top floor, you get a 360-degree view of the city that is unmatched. If you are looking for that "Blade Runner" feel, this is your spot.
Why a Private Tour Changes the Game
You can spend days researching locations, checking parking permits, and guessing the best times for lighting. Or, you can have a professional guide you directly to the spots that matter. Our Private Miami Photography Tour is designed for photographers who value their time and want to ensure every shot is a keeper.
When you book a tour with Edin Chavez Photography, you aren't just getting a driver; you’re getting a mentor who knows the hidden angles, the security guards, and the exact minute the light hits the side of the Versace Villa. We handle the logistics so you can focus on your art. Whether you're building a professional portfolio or just want incredible memories, this tour is your shortcut to excellence.
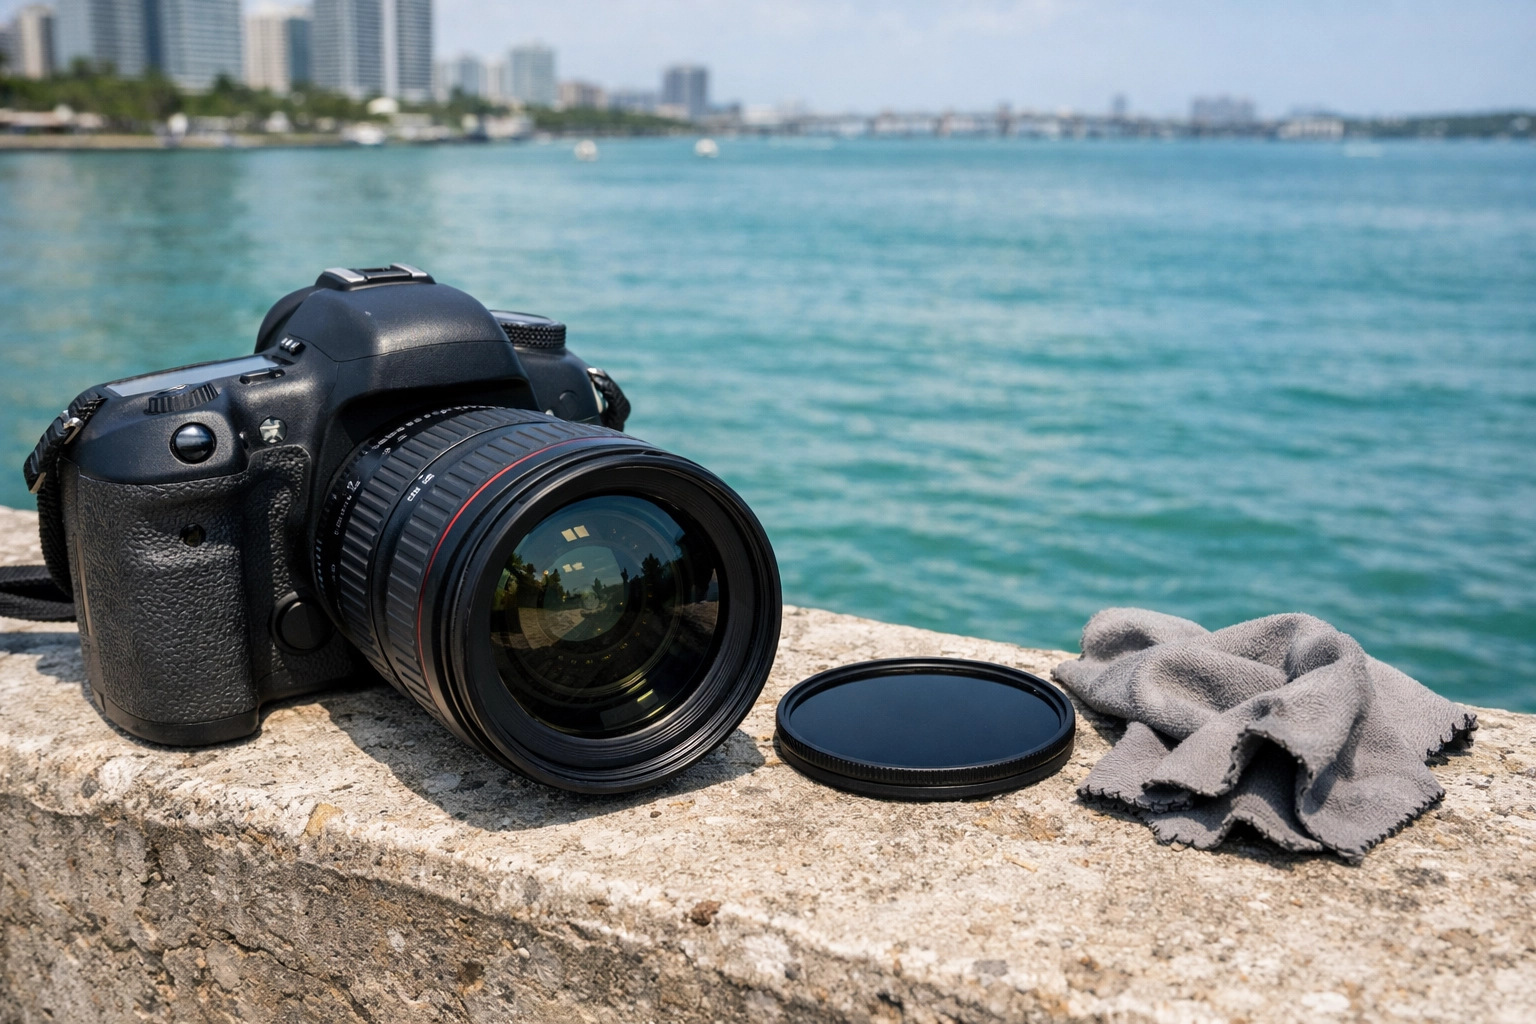
Technical Essentials for Miami
The humidity and light in Miami require a specific approach. Here is how you ensure your gear performs:
- Circular Polarizer: This is non-negotiable. It helps you cut through the glare on the water and makes the turquoise of the Atlantic really sing.
- ND Filters: If you want those smooth-as-butter water shots at South Pointe Pier during the day, a 6-stop or 10-stop ND filter is your best friend.
- Lens Cloths: The humidity can fog your lens the moment you step out of an air-conditioned car. Keep your cloths handy.
- Wide Angle Lens: Essential for capturing the scale of the architecture in the Design District and the expansive murals in Wynwood.
Final Thoughts on Your Miami Journey
Miami is a city of layers. On the surface, it’s all sun and parties, but through your lens, it can be a place of deep shadows, intricate textures, and historical narratives. By visiting these miami photography locations, you are doing more than just taking pictures; you are documenting the soul of a city that is constantly reinventing itself.
Don't leave your success to chance. Between the resources at our blog and the hands-on experience of our Private Miami Photography Tour, you have everything you need to create world-class imagery.
With these considerations in mind, grab your camera, check your batteries, and get ready to capture the magic of the 305. Whether you are following our miami self-driving photography guide or joining us in person, the perfect shot is waiting for you. For more inspiration and fine art prints, feel free to explore Edin Studios.


