
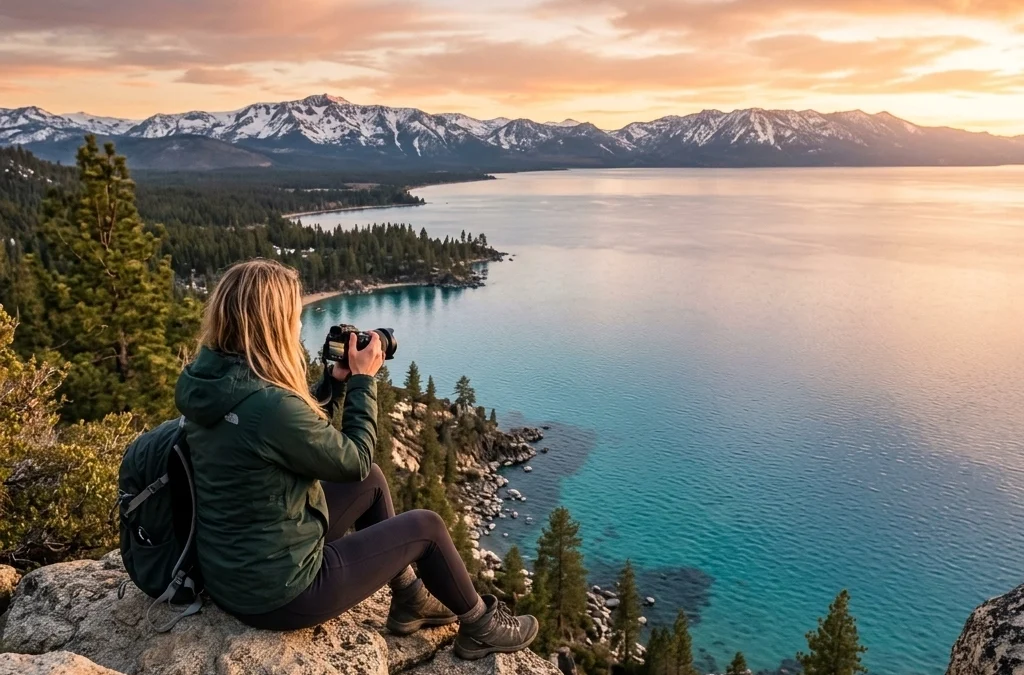
Many photographers show up to Tahoe, shoot the same two overlooks, grab a coffee, and call it a day. You’re not here for that. You’re here for Lake Tahoe photography locations that feel like you discovered them, places where the water looks like liquid turquoise glass, granite boulders glow like they’re lit from inside, and your tripod legs crunch into pine needles while the world stays quiet for one more shutter click.
This list gives you 10 best photo spots Lake Tahoe visitors routinely skip, plus how to shoot each one like you mean it. And if you want the exact pullouts, parking notes, best times by season, and a “don’t-waste-your-sunrise” game plan, your fastest path is the Lake Tahoe Photography Guide: https://blog.edinchavez.com/product/lake-tahoe-photography-guide/
Your quick-hit game plan (so you don’t burn the good light)
Before you sprint toward the shoreline like a caffeinated golden retriever, use this table to match your vibe to the right location.
| Your goal | Go here | What you’ll nail |
|---|---|---|
| Turquoise water + boulders | Bonsai Rock / Secret Cove | Minimalist compositions, crystal water, big granite shapes |
| Iconic-but-still-fresh | Emerald Bay (sunrise angles) | Classic scene with cleaner framing and better light |
| Cliffside drama | Cave Rock / Flume Trail views | 180° panoramas, bold foregrounds, punchy sunsets |
| Reflections + mountain presence | Fallen Leaf Lake | Mount Tallac dominance, calm water, clean lines |
| Leading lines | Valhalla Pier | Pier-to-mountain alignment, sunrise symmetry |
| All-day shoreline access | Zephyr Cove / Rubicon Trail coves | Easy scouting, consistent compositions, flexible light |
With these mapped, you’ll stop guessing and start stacking keepers.
1) Flume Trail + Monkey Rock (for the “I earned this view” flex)
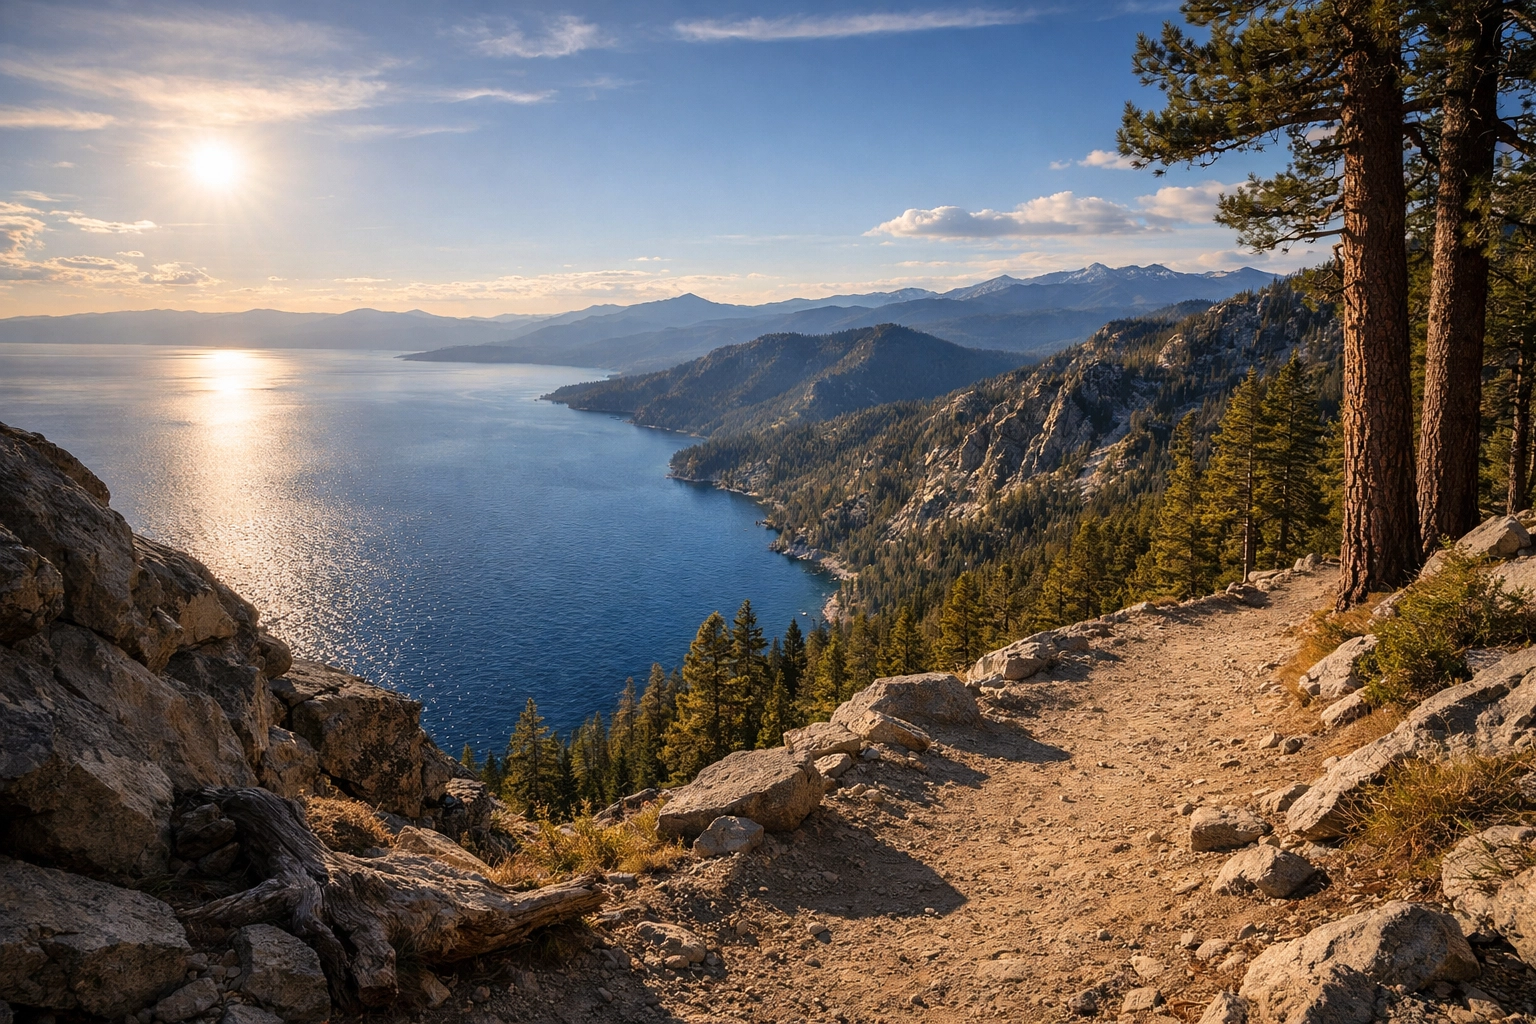
If you want your landscape photography Lake Tahoe shots to scream “wide-open freedom,” the Flume Trail delivers. You hike into a high perch where the lake stretches out like a giant teal mirror, framed by ridgelines that stack into the distance in clean, readable layers.
What you’ll see: A long, airy overlook with huge south-facing views, plus the famous Monkey Rock (yes, it looks like a monkey if you squint the right way). The real win is the trail’s cliffside perspective, your foreground drops away, and the lake becomes your subject.
How you shoot it (fast + clean):
- Go wide (16–24mm) and build your frame with the trail edge as a leading line.
- For punchy depth, shoot f/8–f/11 and focus about a third into the scene.
- If wind is ripping, go faster shutter and let the lake texture add energy.
Best light: Late afternoon into sunset, when the lake turns metallic and the ridges go purple-gray.
2) Bonsai Rock (minimalism, but make it Tahoe)
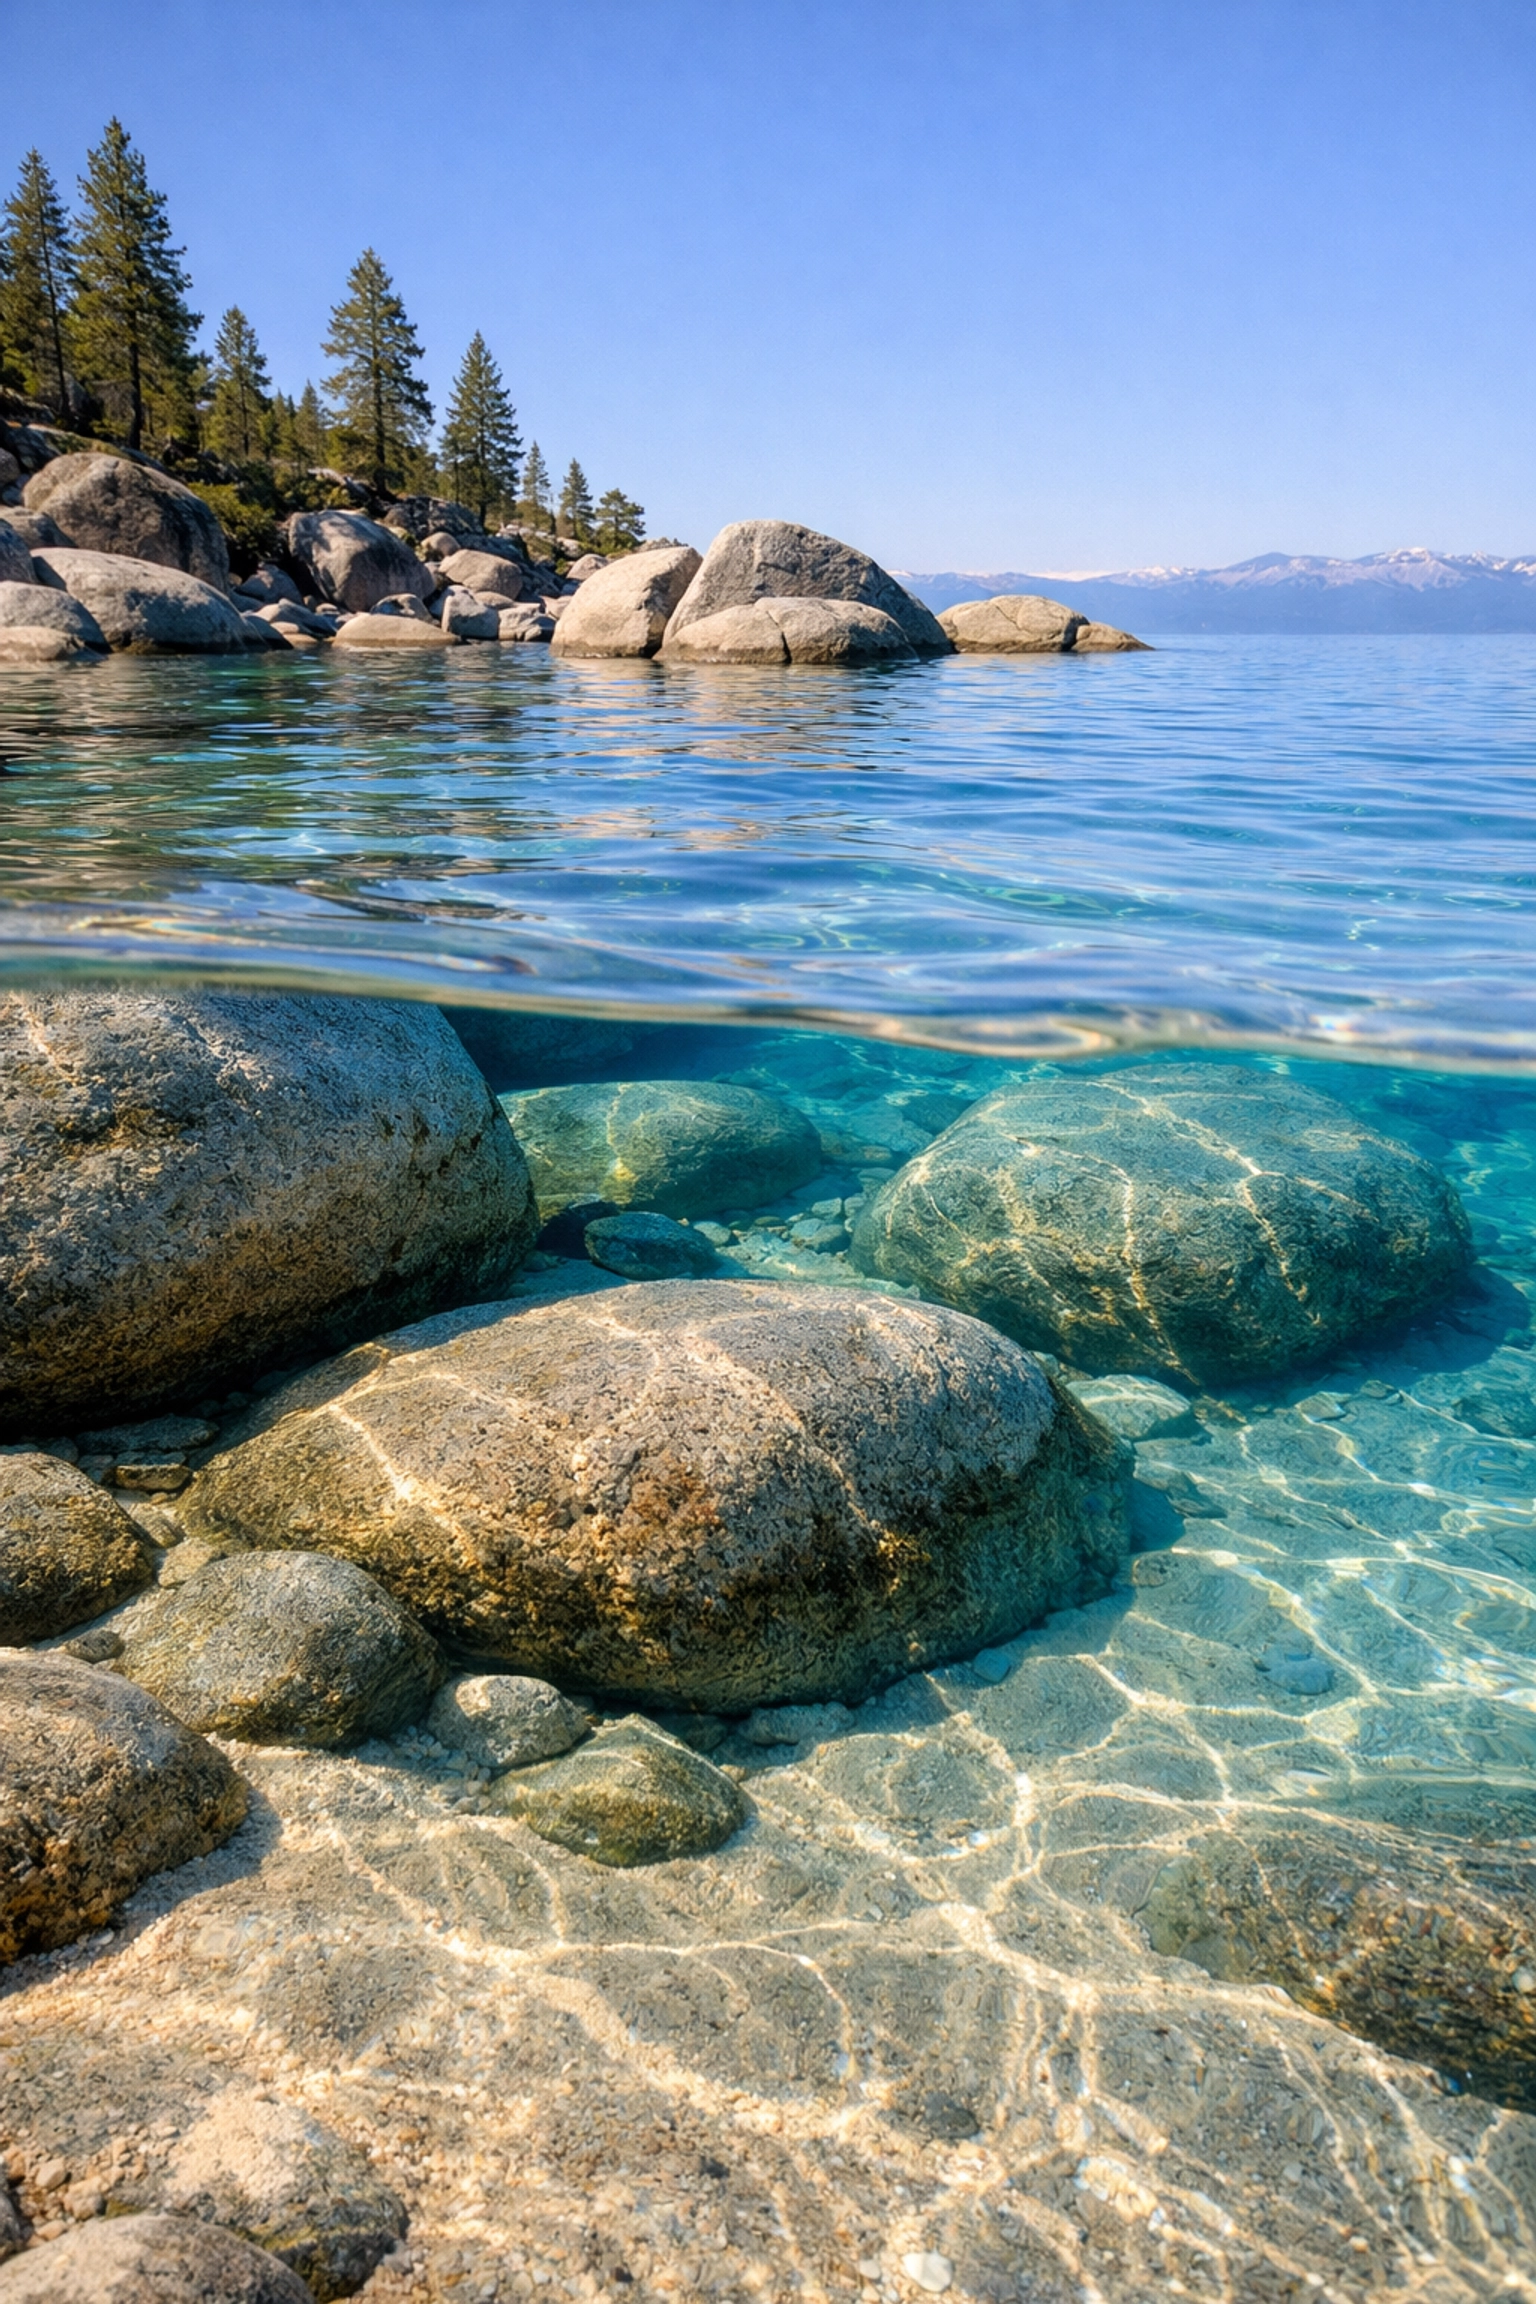
Bonsai Rock is one of the most recognizable Lake Tahoe photography locations for a reason: it’s basically a ready-made fine art composition. A boulder sits offshore like a stage, topped with small trees that look impossibly stubborn, in the best way.
What you’ll see: Water so clear it feels fake, granite shapes that catch hard side-light, and a foreground that naturally simplifies your scene. When the lake is calm, reflections get buttery-smooth. When there’s wind, you get motion and sparkle.
How you shoot it (to avoid the “everyone did this” shot):
- Shoot lower than you think, knees in the sand, lens near the waterline.
- Use a long exposure (1–4 seconds) to turn ripples into silky texture while keeping the rock crisp.
- Try a telephoto (70–200mm) to compress the trees against distant mountains for a more graphic look.
Best light: Early morning for calmer water; late day for warm highlights on the rock.
3) Secret Cove (your turquoise-water treasure chest)
Secret Cove earns the “hidden gem” label because it forces you to commit a little. You hike in, you descend toward the shoreline, and suddenly the lake shifts into that unreal Caribbean-meets-granite palette Tahoe is famous for.
What you’ll see: Boulder clusters, glassy coves, and water that transitions from pale aqua to deep cobalt in a single frame. It’s also known as a clothing-optional area, so you’ll keep your eyes on your composition and your zoom lens on a short leash.
How you shoot it (for maximum wow):
- Use boulders to create a foreground frame and let the cove open behind it.
- Polarizer ON for midday, your polarizer cuts glare and reveals underwater rocks.
- For abstract detail shots, isolate the waterline patterns where waves lace around stones.
Best light: Shoulder season mornings, fewer people, cleaner scenes, calmer vibe.
4) Rubicon Trail (D.L. Bliss to Emerald Bay) , the coves everyone walks past
If you want variety without constantly relocating your car, the Rubicon Trail is your cheat code. You get secluded beaches, cliff edges, granite slabs, and peekaboo lake views that keep changing every few minutes.
What you’ll see: A rotating set of compositions, mini coves with teal water, sunlit rock shelves, and shaded pockets where the lake goes dark and moody.
How you shoot it (like a location scout):
- Treat it like a series: wide establishing shot → mid-range shoreline → tight textures.
- Look for S-curves where the trail bends above the water.
- Use people sparingly for scale, one hiker can turn a pretty view into a story.
Best light: Early or late to dodge crowds and get directional light on the rock.
5) Bayview Trail Overlook (big view, small effort, huge payoff)
When you want an alpine punch without donating your entire day to the hiking gods, Bayview is your move. The overlook near the start delivers a clean view toward Emerald Bay territory, fast.
What you’ll see: A sweeping lake angle with rock features that sit perfectly in the foreground. The scene reads instantly, which makes it ideal when you’re building a portfolio of strong “first impression” frames.
How you shoot it (to keep it from feeling postcard-y):
- Anchor the frame with a foreground rock and keep the horizon level (Tahoe punishes lazy horizons).
- Try a vertical panorama (3–5 frames) to emphasize depth from rock to lake to sky.
- If clouds are moving, shoot a timelapse burst for later frame selection.
Best light: Sunrise through early morning for cleaner color and softer contrast.
6) Emerald Bay (iconic, so you need a smarter angle)
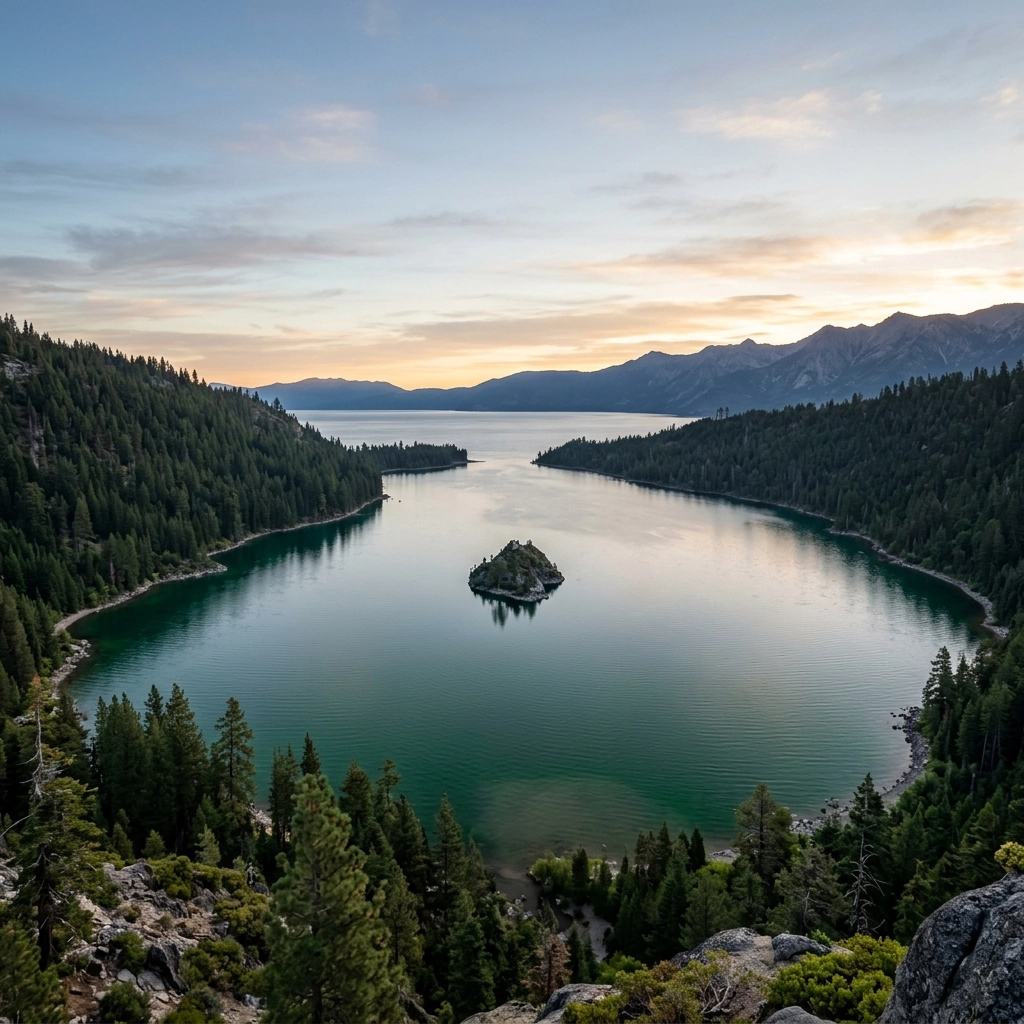
Emerald Bay is famous, but your shot doesn’t have to look like every other one. When you time it right, the bay glows emerald-green, the surrounding pines go inky, and Fannette Island sits perfectly like a punctuation mark.
What you’ll see: The bay’s curved shoreline, layered mountains, and that unreal water color that looks like someone cranked the saturation slider, except it’s real.
How you shoot it (to stand out):
- Shoot sunrise for smoother water and fewer distractions in the scene.
- Use a longer focal length (50–135mm) to isolate the island and compress the shoreline curve.
- Bracket exposures if the sky is bright, Tahoe sun hits like it owns the place.
Best light: Sunrise, no contest.
If you want the exact pullouts, the best seasonal sunrise alignment, and the “where do I stand so the island lands perfectly?” notes, grab the Lake Tahoe Photography Guide: https://blog.edinchavez.com/product/lake-tahoe-photography-guide/
7) Cave Rock (the easiest “wow” view in South Tahoe)
Cave Rock is the kind of spot that makes you feel like you’re cheating: in a good way. A short hike gives you a high, clean vista with 180-degree views over the lake.
What you’ll see: Big sky, open water, and distant peaks that catch late light. It’s simple, bold, and built for wide-angle drama.
How you shoot it (for drama, not chaos):
- Keep your composition clean: one strong foreground rock is enough.
- Go wide, but don’t overdo it: 20–24mm keeps shapes natural.
- At sunset, expose for highlights and let the foreground drop into silhouette for a graphic look.
Best light: Sunset through blue hour.
8) Fallen Leaf Lake (Mount Tallac’s best side)
Fallen Leaf Lake gives you that “quiet Tahoe” feeling: less shiny-tourist energy, more pine-scented calm. And it frames Mount Tallac like it’s posing for you.
What you’ll see: A flatter shoreline, reflective water in the morning, and Tallac looming with serious presence. When the light hits the mountain, you get a crisp separation between granite, snow (seasonal), and sky.
How you shoot it (for fine art vibes):
- Shoot early morning for glassy reflections.
- Use a mid telephoto (70–120mm) to keep Tallac dominant without too much empty foreground.
- If the water isn’t calm, shoot tighter: focus on repeating wave patterns against the shoreline.
Best light: Sunrise and the first hour after.
9) Valhalla Pier (leading lines that never fail you)
A pier is basically photography on easy mode: if you use it well. Valhalla Pier is one of the best because it’s public, photogenic, and aligns beautifully with the lake and mountains.
What you’ll see: Strong linear perspective, posts that create rhythm, and a scene that looks polished even before you edit.
How you shoot it (for symmetry and impact):
- Put your tripod dead center and commit to symmetry.
- Use f/11 to keep pier and background sharp.
- For extra mood, shoot a long exposure so the lake surface turns into a smooth plate of steel-blue.
Best light: Sunrise, when the pier is quiet and the colors go peach-to-gold.
10) Zephyr Cove (sunset color with zero excuses)
When you want a guaranteed win with minimal logistics, Zephyr Cove delivers. You step out, walk to the water, and you’re shooting within minutes.
What you’ll see: Close mountain views, an open shoreline, and sunsets that paint the sky in layers: warm orange near the horizon, fading into lavender, then deepening into navy.
How you shoot it (for that “Tahoe glow”):
- Shoot into the light and let the mountains become a bold silhouette.
- Use a graduated approach: expose for the sky, then lift shadows slightly in post.
- If waves are rolling, time your frames for when the water pulls back and leaves reflective wet sand.
Best light: Sunset into blue hour.
The “show up and win” settings + gear checklist
Because you want more keepers and fewer “why is this soft?” moments, use this quick table as your baseline.
| Situation | Settings that ensure sharp, clean files | Extra move that elevates it |
|---|---|---|
| Sunrise overlooks | ISO 100–400, f/8–f/11, tripod | Bracket 3–5 frames for dynamic range |
| Turquoise midday coves | ISO 100, f/8, 1/250+ | Polarizer to cut glare and deepen water color |
| Sunset silhouettes | ISO 100–800, f/8, expose for highlights | Underexpose -0.7 to -1.3 for richer sky |
| Long exposures on shore | ISO 100, f/11, 1–10 sec | ND filter + stable tripod stance in sand |
To keep your edits consistent across different light and water colors, you’ll move faster with a solid preset foundation. Your cleanest shortcut is the Ultimate Lightroom Preset Collection: https://blog.edinchavez.com/product/ultimate-lightrooom-preset-collection/
How your Lake Tahoe Photography Guide makes these spots ridiculously easy
As your shooting days stack up, what slows you down isn’t creativity: it’s logistics. You waste light on parking mistakes, wrong trailheads, and “wait…is this the pullout?” confusion. That’s exactly what the Lake Tahoe Photography Guide eliminates for you with a streamlined, photographer-first plan.
You get a clear system for:
- Finding the right access points (fast, legal, and stress-free)
- Timing each location so your light matches the scene
- Building variety (wide hero shots, mid-range layers, tight details) without running all over the lake
Grab it here and start shooting like you’ve lived in Tahoe for years:
https://blog.edinchavez.com/product/lake-tahoe-photography-guide/
If you also want to see the fine art side of what you’re building toward, you’ll love browsing https://www.edinfineart.com/: it keeps your creative compass pointed at polished, gallery-ready results.
And when you’re ready to bring that same intentionality into professional work, you can see more of our commercial world at https://edinstudios.com/.
For more insights on how to elevate your work, explore our site for a deep dive into hundreds of tutorials and guides: https://blog.edinchavez.com/


