
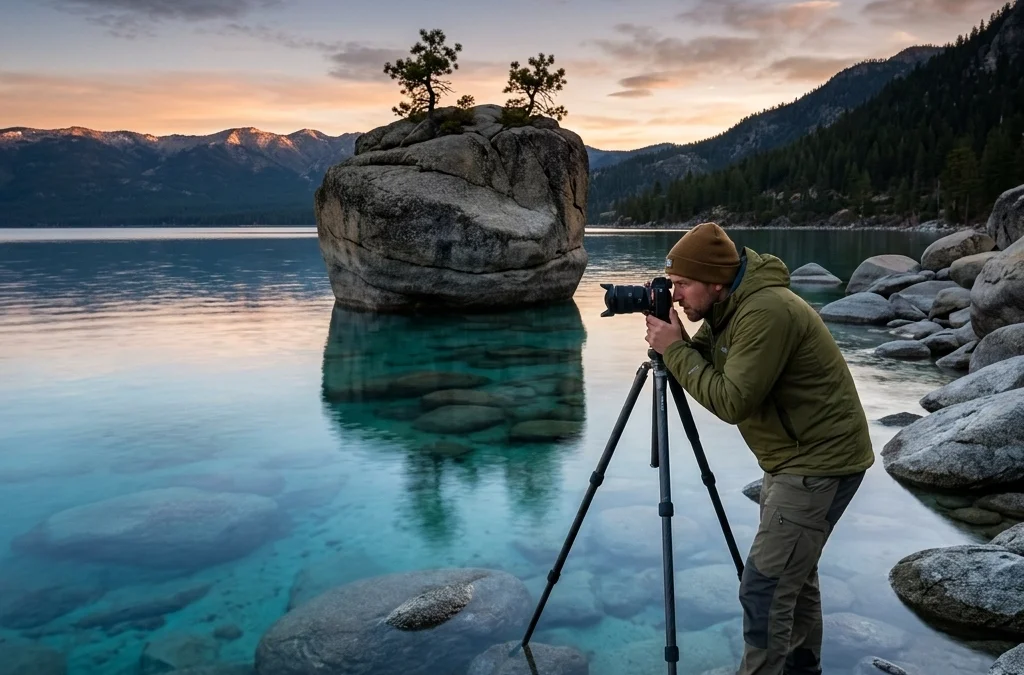
Many photographers arrive at the shores of Lake Tahoe with dreams of capturing that perfect, glass-like reflection or the neon glow of a Sierra Nevada sunset, only to leave with a memory card full of "almost" shots. You know the ones: the horizon is slightly tilted, the highlights are blown out like a nuclear blast, or the focus is just soft enough to break your heart. Lake Tahoe is one of the most stunning Lake Tahoe photography locations on the planet, but its high-altitude light and complex geography can be unforgiving if you aren't prepared.
As you stand on the granite boulders of Bonsai Rock or look down at the iconic Fannette Island in Emerald Bay, you aren't just taking a picture; you are attempting to translate a three-dimensional masterpiece into a two-dimensional frame. To do that successfully, you need more than just a nice camera. You need a strategy. This guide is designed to highlight the pitfalls you’re likely facing and provide the professional fixes that will elevate your work from amateur snapshots to fine-art quality.
1. Shooting the Wrong Shore at the Wrong Time
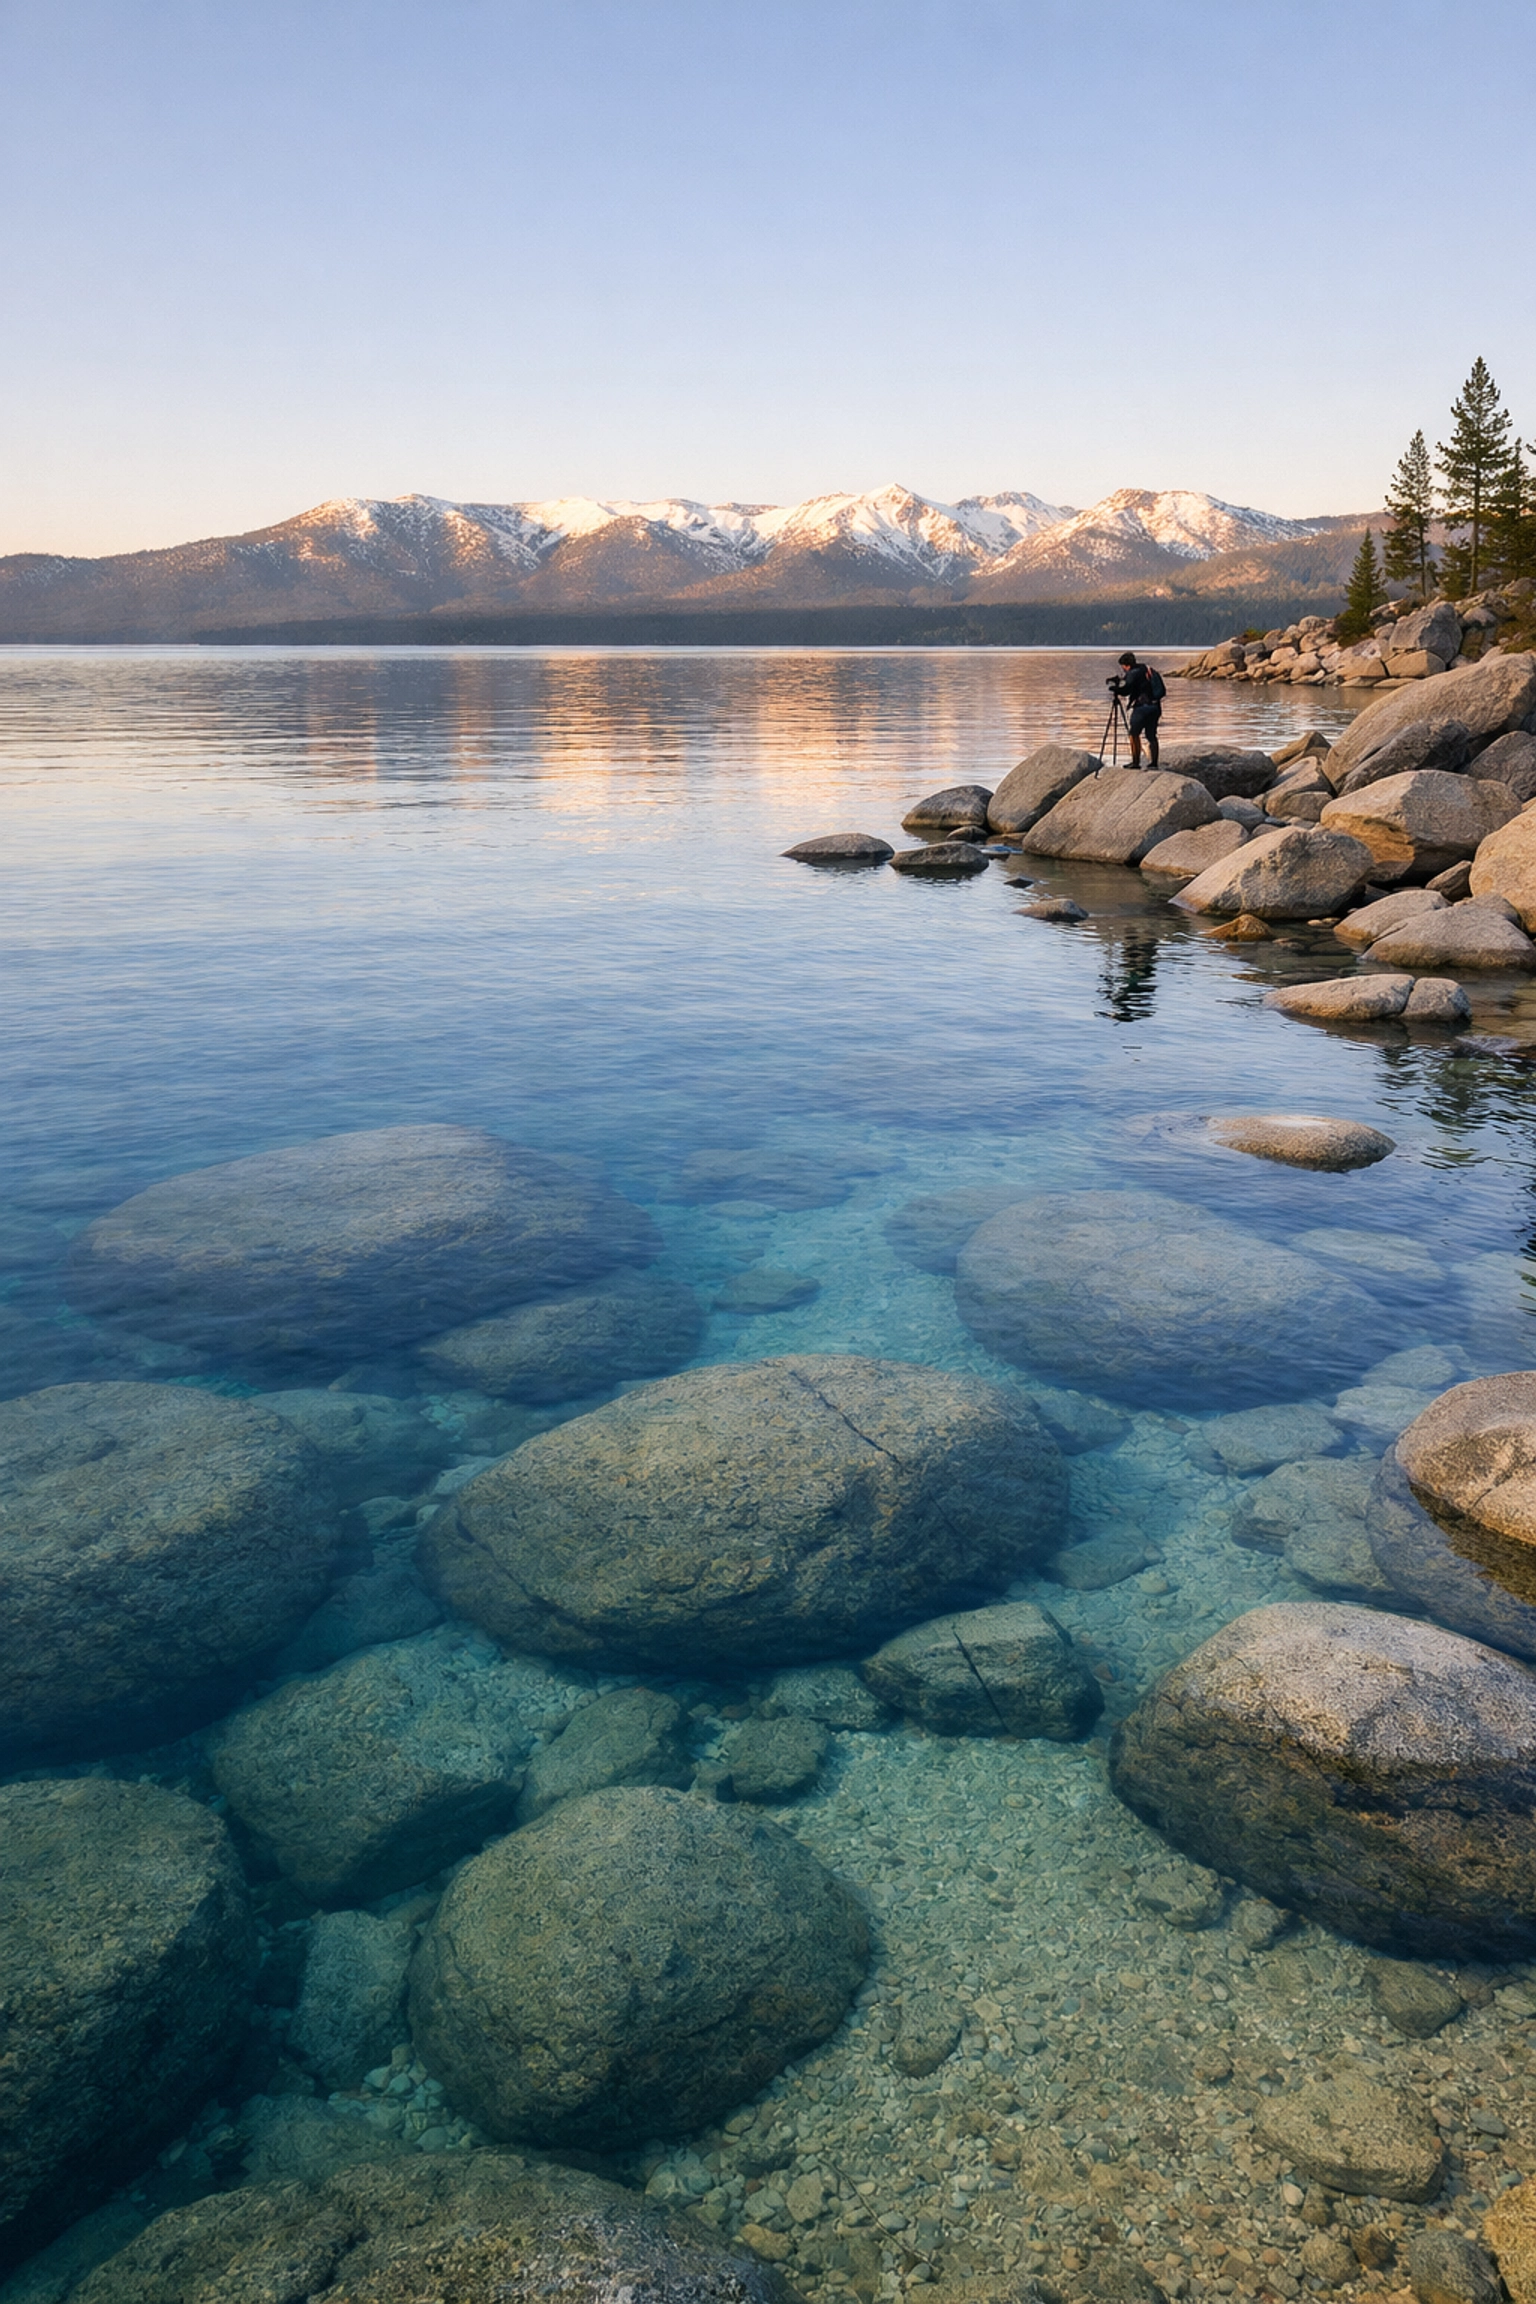
One of the most common errors you’re making is fighting the sun instead of dancing with it. Because Lake Tahoe is a massive basin surrounded by peaks, the sun disappears behind the mountains long before the actual "sunset" time listed on your weather app. If you are standing on the West Shore (the California side) at sunset, you’ll find yourself in deep, muddy shadows while the East Shore is still basking in golden light.
The Fix: You need to strategically split your day. Plan your landscape photography Lake Tahoe sessions by the compass. In the morning, you should be on the East Shore (the Nevada side), specifically at places like Sand Harbor or Secret Cove. The sun will rise behind you, illuminating the crystal-clear water and the famous underwater boulders with a front-lit glow. In the afternoon, transition to the West Shore. Locations like Emerald Bay or Eagle Falls come alive as the sun sets behind the mountains, often casting a spectacular "alpenglow" on the peaks across the lake.
| Time of Day | Ideal Shore | Featured Locations |
|---|---|---|
| Sunrise | East Shore (Nevada) | Sand Harbor, Bonsai Rock, Cave Rock |
| Mid-Morning | East Shore | Secret Cove, Chimney Beach |
| Late Afternoon | West Shore (California) | Emerald Bay, D.L. Bliss State Park |
| Sunset | West Shore | Eagle Falls, Sugar Pine Point |
2. Relying on Autofocus in Low-Light Scenarios
You’ve probably experienced that frustrating "hunting" sound your lens makes when you’re trying to shoot at 5:00 AM at Bonsai Rock. When the light is low and the contrast is minimal, your camera’s autofocus often fails. Even worse, it might think it has focus, but when you get home and open the file on a large monitor, you realize the rocks are soft while the distant trees are sharp.
The Fix: You must embrace manual focus for your best photo spots Lake Tahoe. Switch your lens to manual, turn on your camera’s "Live View" or electronic viewfinder, and use the zoom function to magnify a specific detail: like the texture on a rock or a distant pine tree. Adjust the focus ring until the details are tack-sharp. If your camera has focus peaking, use it. This ensures that your files are sharp from corner to corner, which is essential if you ever want to see your work hanging on a wall like the pieces found at Edin Fine Art.
3. Letting the Dynamic Range Kill Your Highlights
Lake Tahoe is a land of extremes. You have dark, navy-blue water, shadowed evergreen trees, and a sky that can be blindingly bright. Your camera’s sensor simply cannot "see" all that detail in a single standard exposure. If you expose for the dark trees, your sky will turn into a featureless white void. If you expose for the sky, your foreground becomes a black silhouette.
The Fix: This is where exposure bracketing becomes your best friend. Set your camera to take three to five different exposures (one dark, one "normal," and one bright). Later, you can blend these in post-processing to create a balanced High Dynamic Range (HDR) image that mimics what your eyes actually saw. To make this process even more seamless, using a professional toolkit like the Ultimate Lightroom Preset Collection can help you recover those highlights and shadows while maintaining a natural, fine-art look.
4. The "Tripod First" Composition Trap
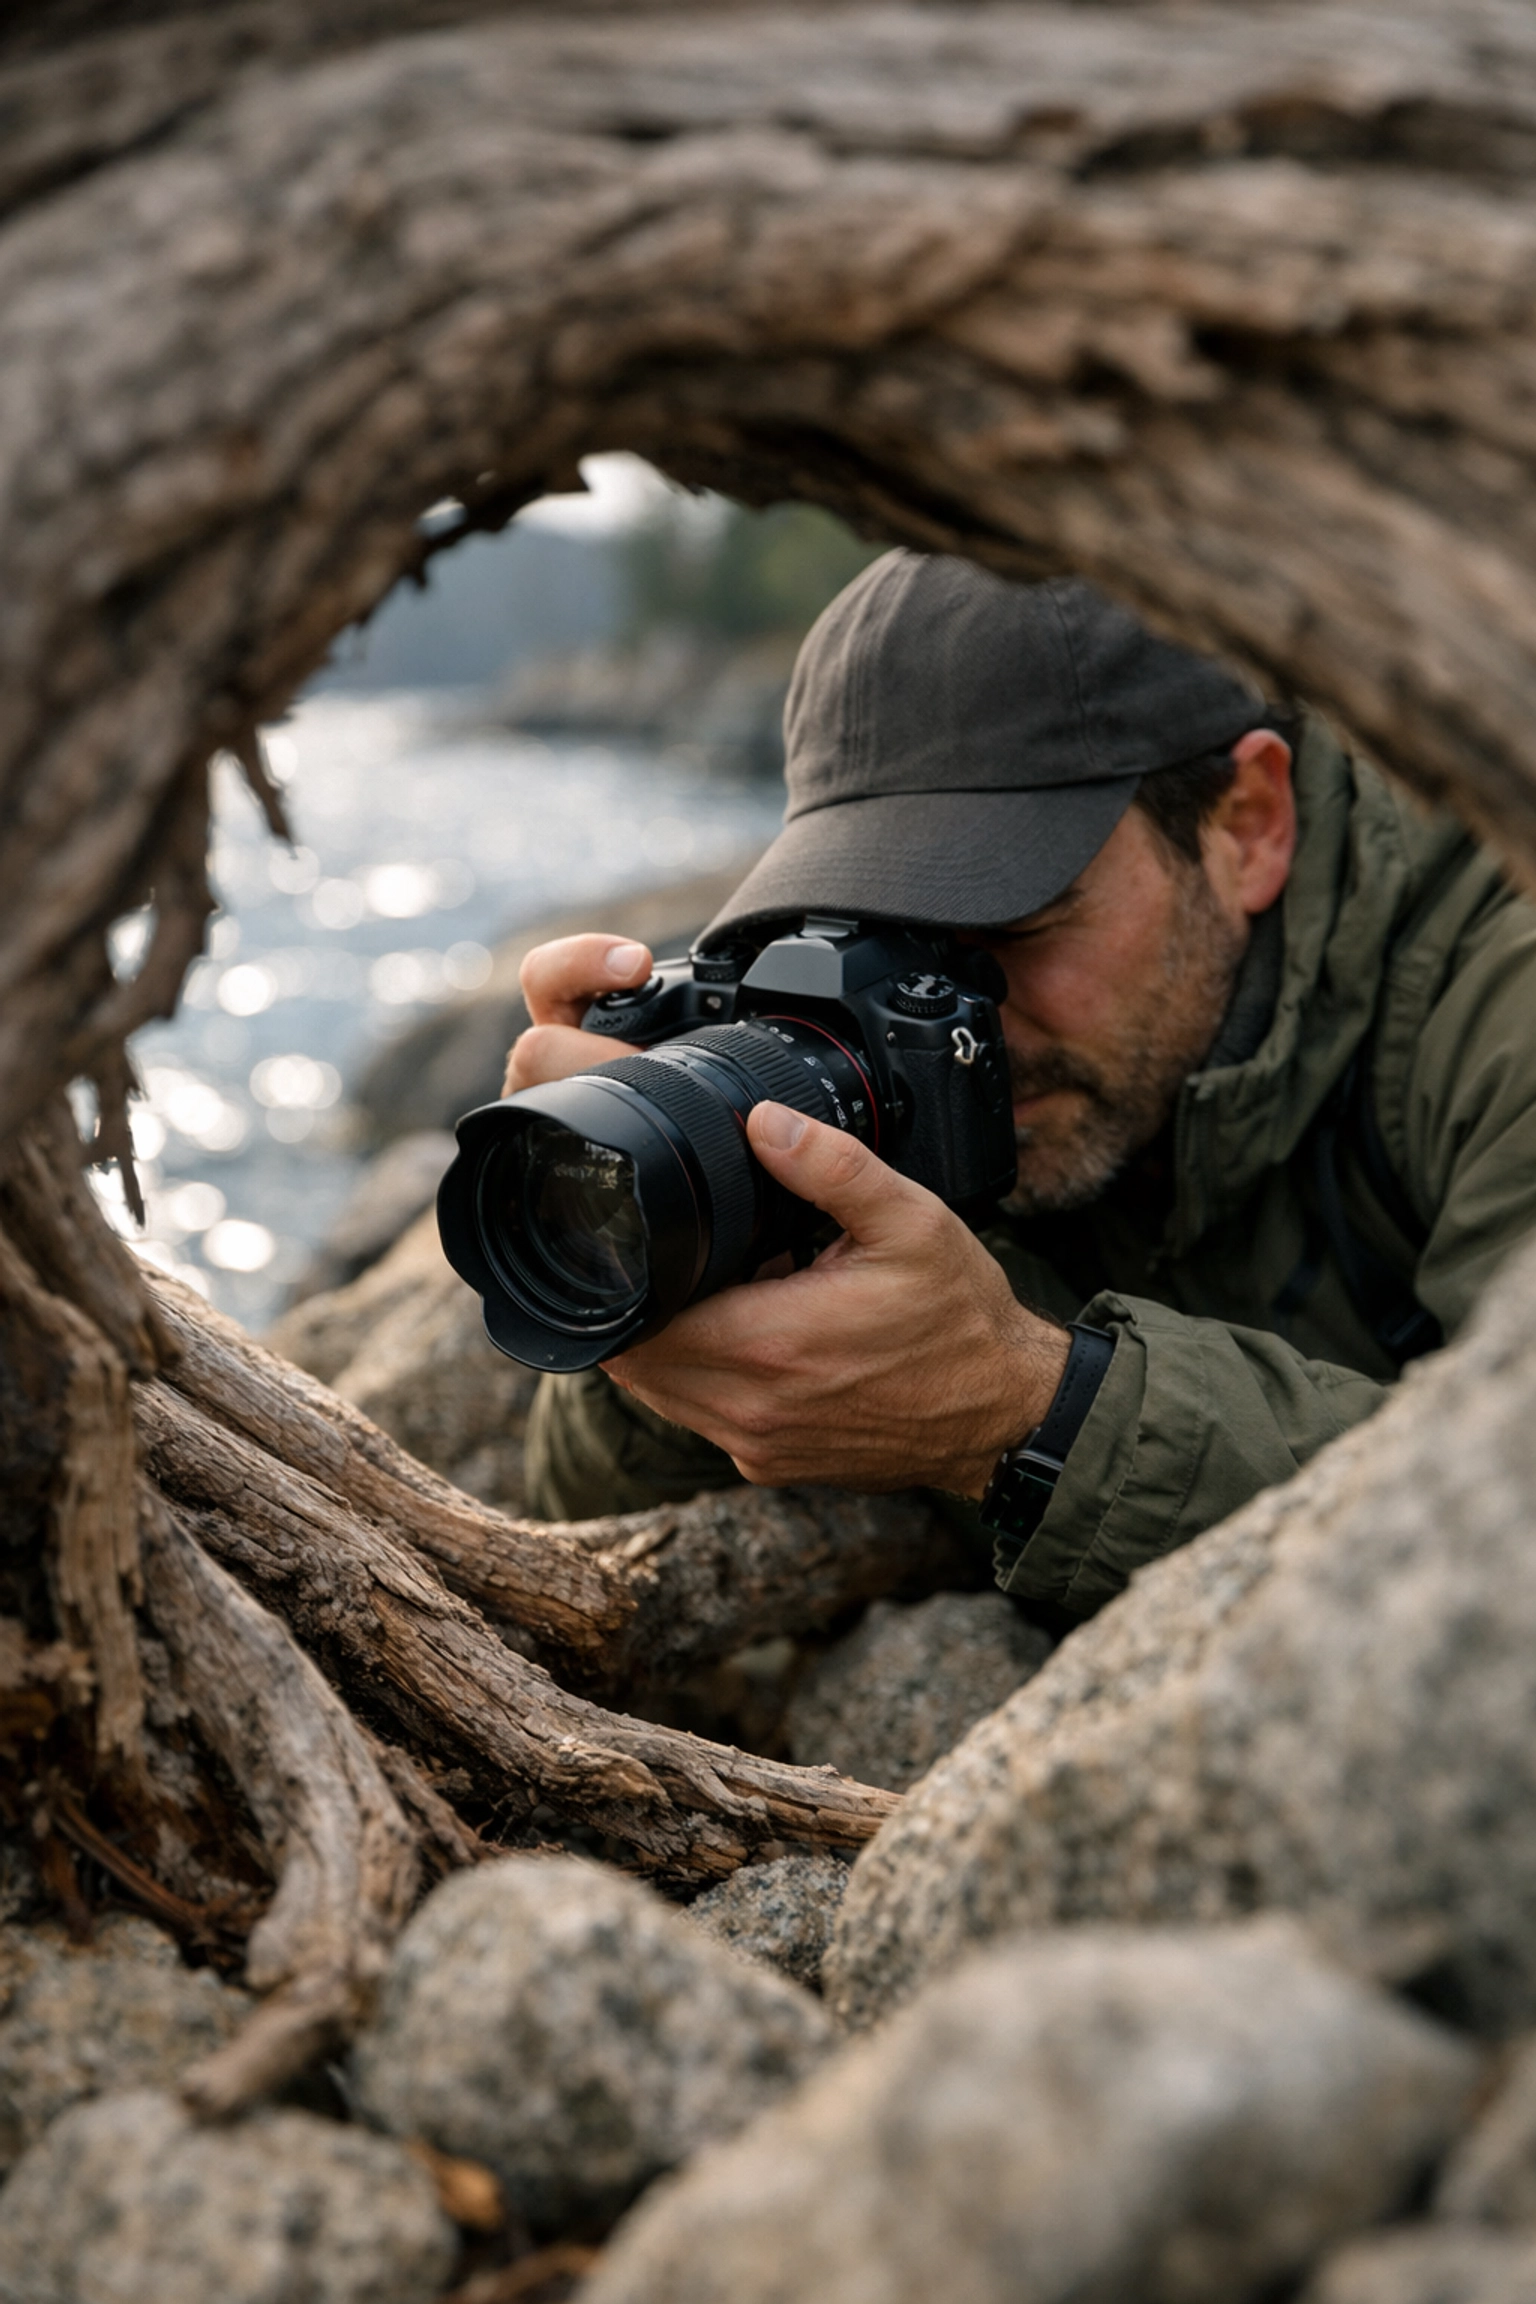
It’s a habit we all have: you arrive at a location, find a cool-looking spot, and immediately plant your tripod. From that moment on, your creativity is locked into a three-foot radius. You start adjusting the ball head instead of moving your feet. This leads to generic compositions that look exactly like everyone else's Instagram feed.
The Fix: Scout with your eyes and your handheld camera first. Walk around the boulders at Sand Harbor. Crouch down low to the water. Climb a little higher on a ridge. Only when you find a composition that makes your heart skip a beat should you deploy your tripod. The tripod should be a tool for stability, not a leash for your creativity. For a deep dive into finding these unique angles, check out the comprehensive Lake Tahoe Photography Guide.
5. Ignoring the Power of a Circular Polarizer
The water in Lake Tahoe is famous for being "Tahoe Blue": a clarity that is almost unbelievable. However, when you photograph it, you often end up with a lot of white surface glare that hides the rocks beneath the water. Without a polarizer, you’re missing half the story of the lake’s beauty.
The Fix: You need a high-quality circular polarizer (CPL) filter. By rotating this filter, you can cut through the surface reflections, allowing your camera to see the orange granite boulders resting ten feet below the surface. It also deepens the blues in the sky and increases the saturation of the foliage. It’s the closest thing to "magic" in a landscape photographer's bag. This is a non-negotiable tool if you want to capture the true essence of landscape photography Lake Tahoe.
6. Shooting in Harsh Midday Light
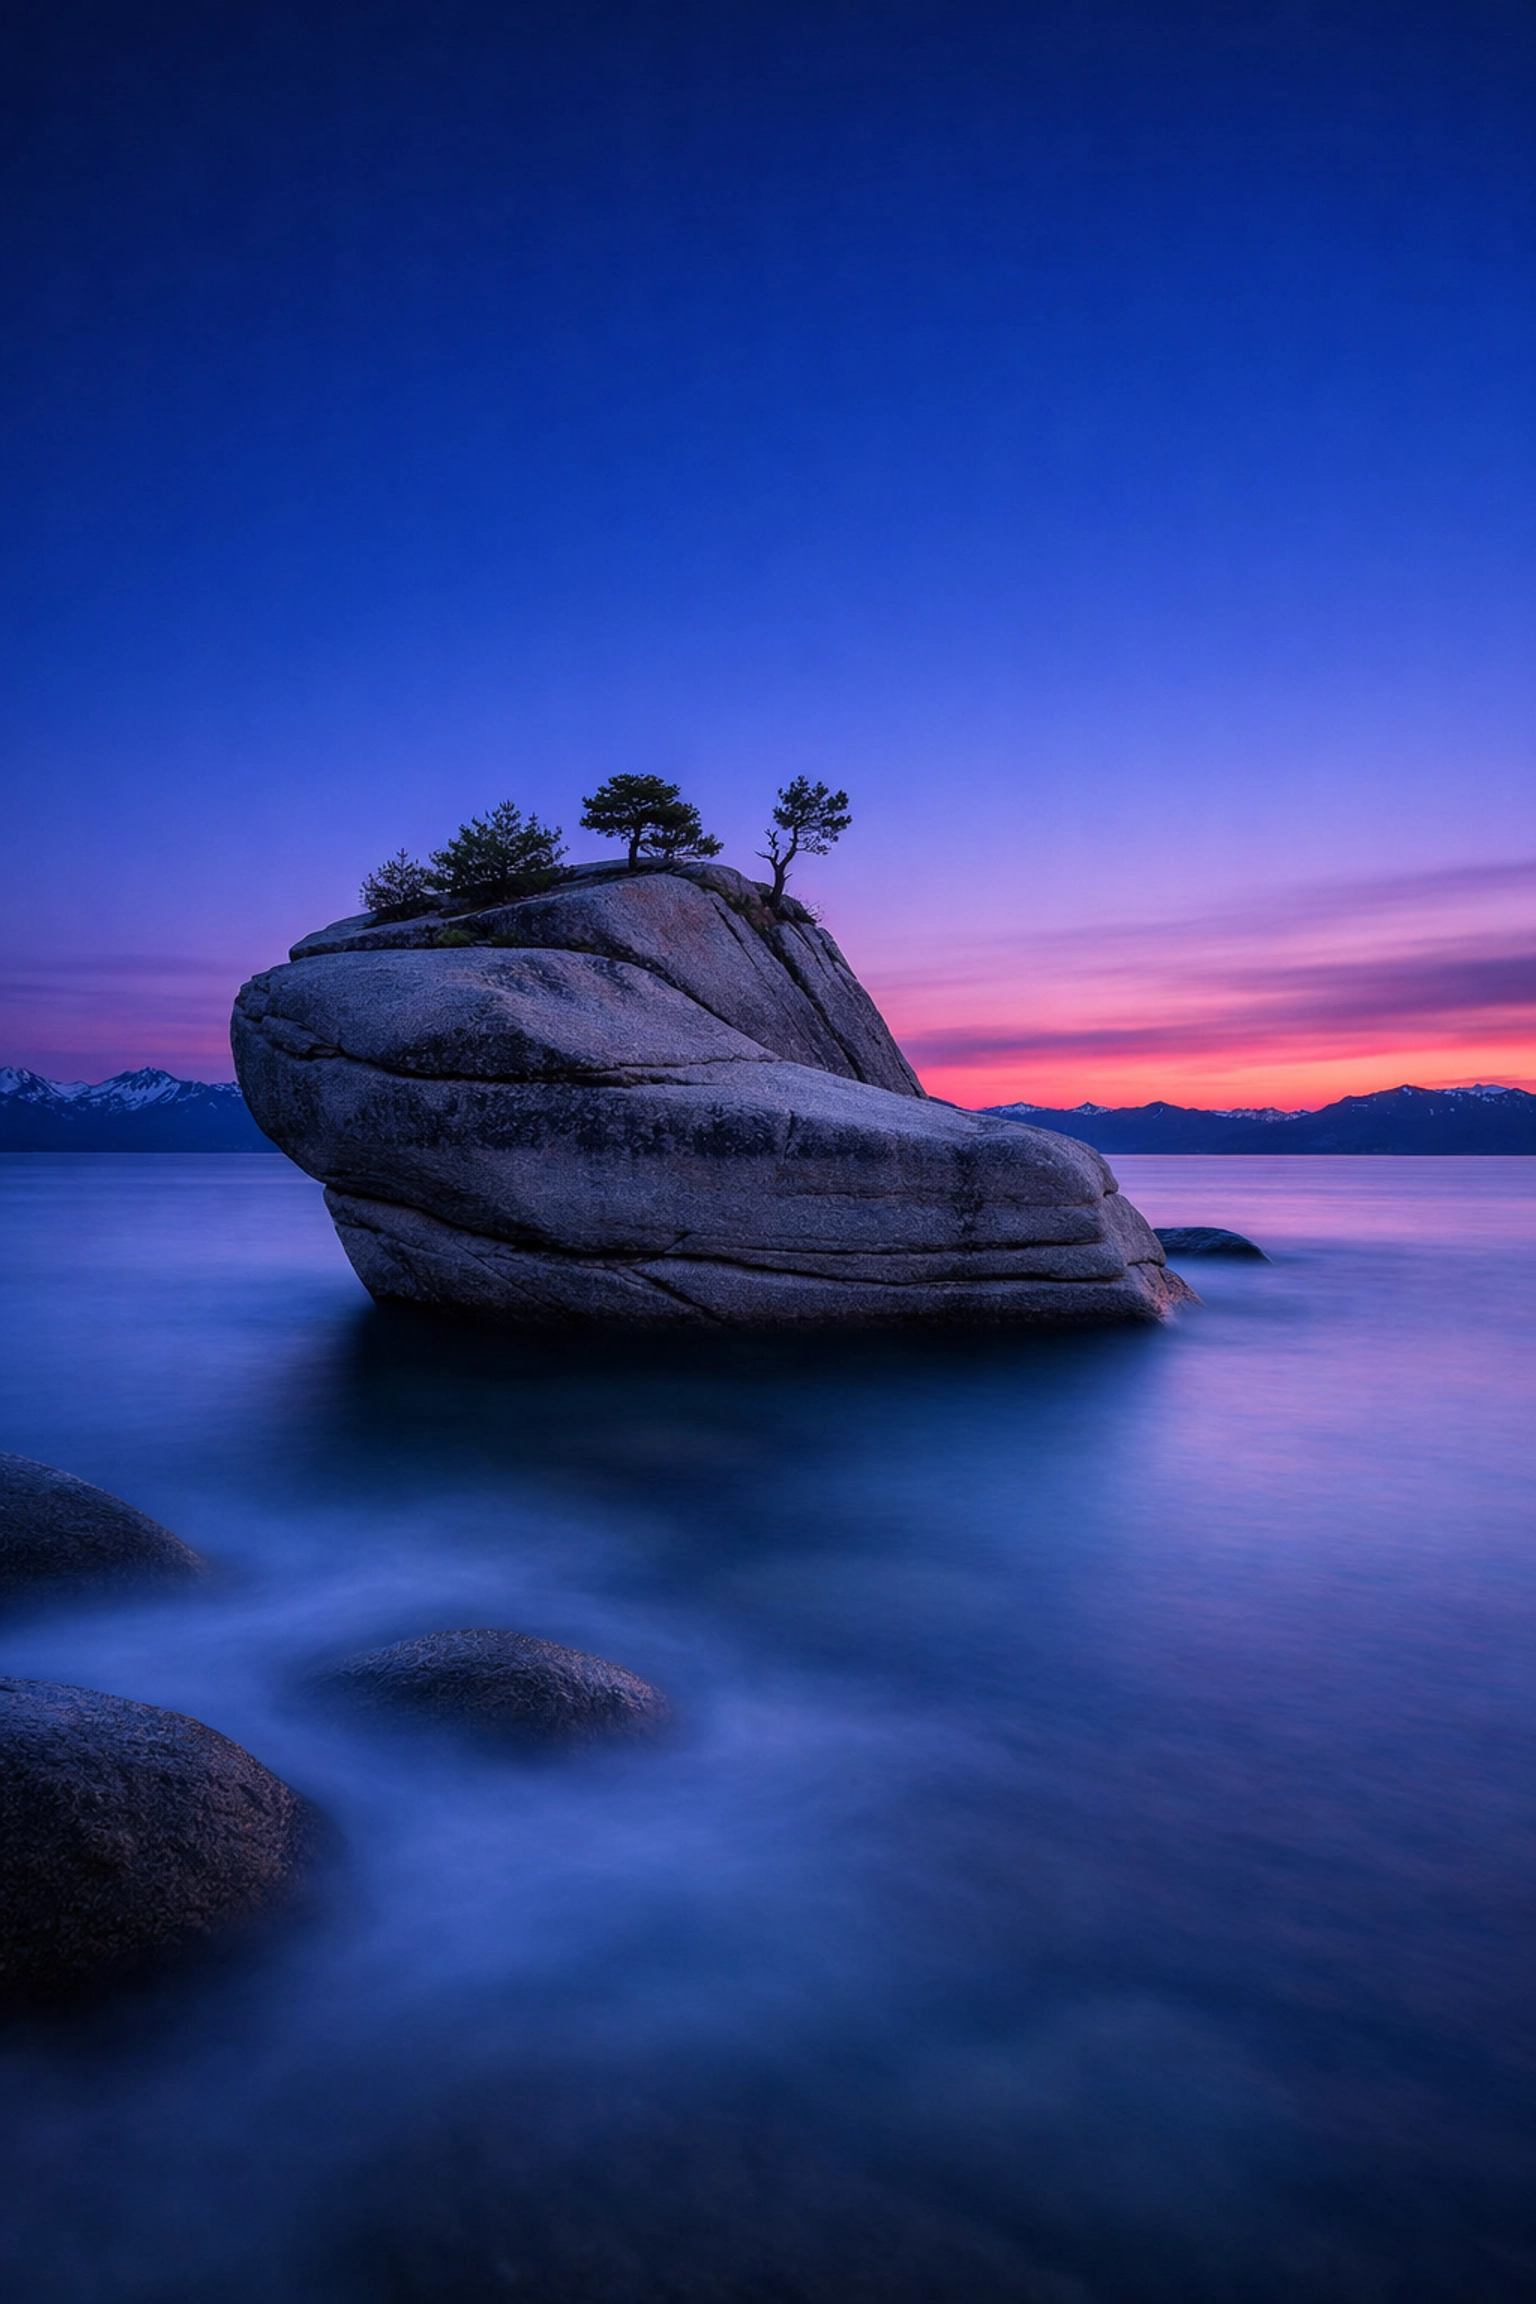
While the turquoise water of Lake Tahoe looks amazing in the midday sun, the light is incredibly harsh. It creates deep, distracting shadows under every rock and washes out the delicate colors of the landscape. Most "epic" shots are not taken at noon; they are taken when the sun is low on the horizon.
The Fix: Be a "Golden Hour" hunter. The hour after sunrise and the hour before sunset provide a soft, directional light that adds texture and dimension to the landscape. If you must shoot during the day, look for "Blue Hour": the period just before sunrise or just after sunset. The light is even, cool, and perfect for long exposures that turn the lake's ripples into a smooth, misty floor.
7. Rushing the Composition
You’ve traveled all this way, you’re excited, and you start firing off shots like a machine gun. But when you look at the results, the horizon is crooked, there’s a distracting branch poking into the side of the frame, or the main subject (like Bonsai Rock) is uncomfortably close to the edge.
The Fix: Slow down. Treat every frame like it’s a piece of film that costs $50 to develop. Check your edges: is there anything distracting that you can exclude by moving six inches to the left? Check your level: is the lake leaking out of the side of the photo? Take a breath and compose with intention. Your goal is to lead the viewer's eye through the frame, from the foreground textures to the distant snow-capped peaks.
Master the Lake with Professional Guidance
Lake Tahoe is a rewarding but challenging environment. If you’re tired of coming home with mediocre results, it’s time to invest in your craft. My Lake Tahoe Photography Guide is a masterclass in navigating this terrain, offering the exact GPS coordinates, timing secrets, and technical settings for the most iconic spots on the lake.
Whether you are a hobbyist or an aspiring pro, mastering these locations requires a blend of technical skill and local knowledge. By avoiding these seven common mistakes, you’re already ahead of 90% of the people standing on the shore next to you.
For more insights on how to elevate your work, explore our site for a deep dive into hundreds of tutorials and guides. From the technical aspects of fine art to the best gear for the field, we are dedicated to helping you capture the world in its best light.
Visit Edin Studios to see how these techniques translate into professional productions, and don't forget to browse the Fine Art gallery for inspiration on your next Tahoe adventure. Hence, with these fixes in your pocket, your next trip to the Big Blue will result in the portfolio-worthy images you've always wanted. Stay sharp, keep shooting, and I'll see you on the shoreline.


