
FineArt projects start with conceptual clarity and disciplined planning so you can translate ideas into shootable visuals; you refine composition, control lighting, manage logistics, and, if you use analog processes, follow safe protocols around darkroom chemicals and sharp tools to avoid hazards. Through iterative editing and precise print calibration you produce exhibition-ready archival prints that realize your vision.
Key Takeaways:
- Define a clear concept and narrative before shooting, supported by research and an artist statement.
- Develop a consistent visual language with moodboards, palettes, props, and lighting studies to unify the project.
- Plan production logistics-locations, permits, collaborators, equipment, and a shot list-to execute the vision efficiently.
- Refine images through thoughtful post-processing that reinforces concept, maintaining consistent edits across the series.
- Prepare prints with color management, test proofs, paper selection, and presentation choices to preserve intent from screen to print.
Understanding Your Vision
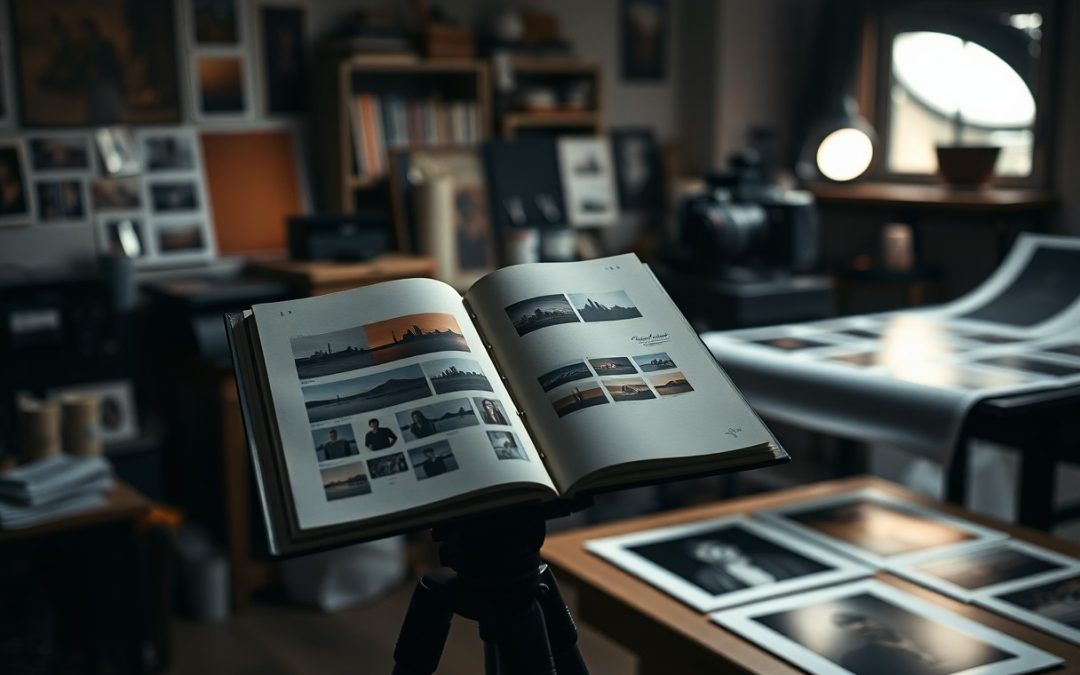
You refine the project’s aim by writing a concise statement, sketching visual keywords and deciding exhibition format. Start with a one-sentence statement that defines mood and outcome, pick a 2-3 color palette, and choose a target print size such as 20×24 or a 12-page zine. Combine image studies with quick mockups to see how the concept translates to paper.
Defining Your Artistic Intent
You craft a one-sentence thesis that sets emotional intent and audience, then assign measurable goals: 8-15 final images, a target print size (e.g., 16×20), lighting approach and distribution plan. For example, state “explore urban solitude through 12 square-format portraits for a single-room gallery installation” and outline shooting constraints that support that aim.
Identifying Themes and Concepts
You isolate themes by naming motifs, symbols and recurring visual structures. Narrow to 2-4 motifs, test variations, and shoot between 50-200 frames to refine choices; then reduce to 10-20 candidates for sequencing. Use repeated props, color accents or compositional framing to bind the series visually.
You begin with research: collect 100+ reference images, archival photos and texts to map influences, then build a moodboard and matrix crossing motifs with techniques (lens, lighting, scale). Try a single lens (for consistency, e.g., 50mm) and limit palette to three tones. Shoot with exposure brackets (±1 stop), guard against clipped highlights and noisy shadows, cull methodically, and sequence as open (3), develop (6-9), resolve (2-3) to land on 10-15 prints ready for exhibition.
Research and Inspiration
Exploring Influences and References
Focus on a tight set of 3-5 core references-for example, Ansel Adams for tonal control, Nan Goldin for intimate portraiture, Gregory Crewdson for cinematic staging-and collect 20-30 images into a moodboard. Use books, museum catalogs and online EXIF data to note lenses and settings: 85mm for portraits, 24mm for landscapes. Keep notes on mood, color palettes and narrative beats, and avoid direct copying; respect copyright and source attribution.
Analyzing Existing Works
Break down each reference into compositional geometry, lighting strategy, color grading and production workflow: study contact sheets, metering choices, histograms and dynamic range to see what was captured versus post-processed. Pay attention to framing ratios (3:2, 4:5), staged-set scale (Crewdson often spends weeks with 2-3 assistants) and how prints translate tonally. Use histograms and contact sheets to separate intent from technique and note any ethical issues around appropriation.
Apply a simple scoring checklist-rate concept, composition, lighting, color and printability from 1-10-then annotate each image with technical data: aperture ranges (f/1.4-f/16), shutter speeds (1/125-1/500 for handheld motion control), ISO 100-800 and color temps (3200-5600K). Run test prints at 300 dpi on 200-300 gsm paper with archival pigment inks, and use a spectrophotometer or printer profile to verify color fidelity before adopting techniques into your project.
Planning Your Project
Setting Realistic Objectives
You set measurable goals like producing a 12-image cohesive series, limiting active shooting to 8 weeks, and allocating 10-30 hours of post-production per body of work; define final print sizes and edition counts up front. Break large ambitions into mini-deliverables-shoot 3 images/week or finalize 4 proofs/month-to prevent scope creep, because overcommitting causes missed deadlines and burnout.
Creating a Timeline
Map milestones: pre-production 2-3 weeks, shooting 4-8 weeks with 2-4 sessions/week, post-production 2-4 weeks at ~30-60 minutes per image, and printing 1-3 weeks depending on lab. Add a 30-40% time buffer for weather, reshoots, and edits, and block studio, crew, and lab slots on your calendar before you begin.
Work backward from fixed dates: for a June 1 opening, target finished prints by May 10 to accommodate a 7-14 day lab turnaround plus shipping, so place print orders by April 30. Expect permits to take 4-6 weeks, reserve locations/crew 2-3 weeks ahead, and budget contingency days and travel logistics to avoid expensive reshoots.
The Technical Aspects
You’ll balance capture and output: shoot 14-bit RAW for latitude, work in 16-bit TIFF for prints, and export at 300 dpi for gallery-quality reproduction. Calibrate your pipeline with a X-Rite i1Display Pro, use Adobe RGB for wide-gamut editing, and check histograms to protect highlights while pushing shadow detail. Prioritize dynamic range and bit depth over ISO convenience when planning exposures.
Choosing the Right Equipment
You match sensor and glass to your concept: choose full-frame bodies like the Sony a7R IV (61MP) for high-res detail or a medium format GFX 100S (102MP) when texture and print size demand it. Pick primes (35mm, 50mm, 85mm) for character, use a tilt-shift for perspective control, and invest in a tripod rated >20 kg plus an Arca-style head and remote release to eliminate blur. Avoid cheap filters that degrade contrast.
Understanding Composition and Lighting
You should compose using proportion and movement: apply the rule of thirds or golden ratio, enforce depth with foreground, midground and background layers, and employ leading lines or deliberate negative space to guide the eye. For lighting, favor soft modifiers for portraits and hard light to sculpt texture; practicals at 3200K versus daylight at 5600K can drive mood. Check exposure with histograms rather than eyeballing.
You should experiment with focal length to shift narrative-35mm situates subjects in context, 85mm compresses and isolates. Use a fill reflector to reduce contrast by about 1 stop or set key-to-fill at a 3:1 ratio for dimensionality. For high-dynamic scenes, bracket +/-2 stops and merge HDR to retain shadow tone, always monitor the histogram to avoid clipping highlights.
Executing Your Vision
You should schedule focused production blocks-typically 1-4 full days or 2-6 half-days-allocate a budget for props and assistants, and assemble a minimal crew (photographer, assistant, stylist). Expect to shoot 200-800 RAW frames and narrow to 10-50 selects. Maintain offsite backups and a clear color pipeline (calibrated monitor → soft-proofing) before you move to retouching and print tests.
Capturing Images Effectively
You should lock down composition and exposure with a tripod, shoot in RAW, and use a low ISO (100-400) to maximize tonality. For still-life, try focus stacking of 8-20 frames; for motion, choose shutter speeds like 1/125s at 50mm or slower with panning. Use bracketing ±1-2 EV to protect highlights, tether to review on a calibrated monitor, and check the histogram to avoid clipping.
Experimenting and Iterating
You should run controlled variations: change lighting by ±1 stop, swap focal lengths (35mm/85mm), and test three compositions per setup; many projects benefit from 3-7 strong variants. Keep a shoot log with settings and emotional notes, make quick contact sheets, and cull ruthlessly. Use virtual copies in Lightroom to test color grades, then soft‑proof before committing to print to save time and material.
Shoot 12-24 exposures per concept, then review on a calibrated monitor using an X‑Rite profile; make 2-3 virtual edits and produce small test prints (8×10) at 240-300 PPI to judge scale and tonal balance. View proofs under a D50 light source, annotate iterations in your manifest, and limit final rounds to 2-4 to prevent overworking the image.
Editing and Refining
Cull ruthlessly: reduce a shoot of 50 frames to the 8-15 that best express your concept, sequence them so tonal and thematic shifts guide the viewer, and check histograms to ensure exposure consistency across the series. You should aim for visual coherence-matching contrast, color cast, and scale-while avoiding over-editing that flattens emotion. Use contact sheets and peer feedback to test different orders before committing to final prints.
Post-Processing Techniques
Start from RAW, work in 16-bit where possible, and favor non‑destructive edits with adjustment layers and masks. Employ curves for global tonality, luminosity masks for precise highlights/shadows, and selective HSL shifts to isolate mood (for example, desaturate greens −30 to mute backgrounds). Finish with targeted dodge-and-burn at low opacity and apply output sharpening tuned to your final resolution (typical radius 0.6-1.2 px at 300 ppi).
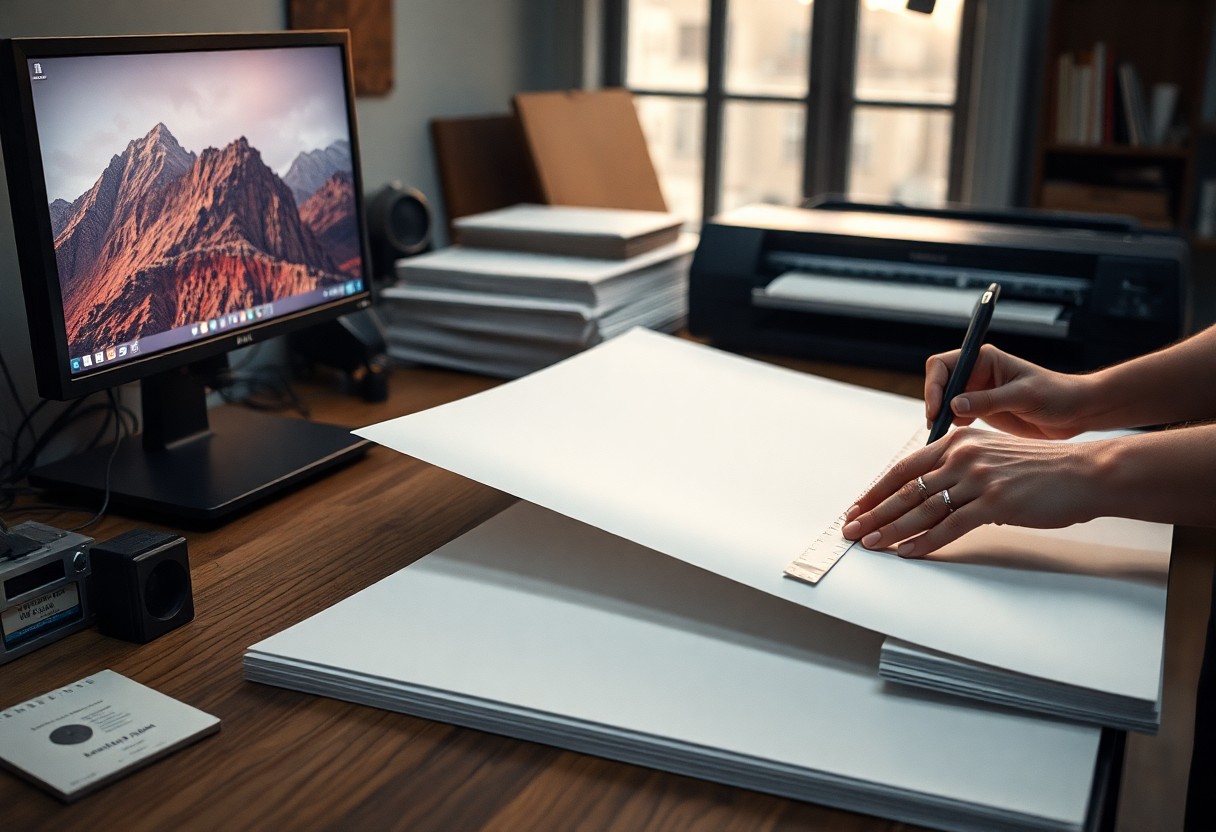
Preparing Your Work for Print
Set canvas to final print dimensions at 300 ppi, convert to the printer’s ICC profile via soft‑proofing, and export as 16‑bit TIFF or high‑quality JPEG with embedded profile. You must check for out‑of‑gamut colors and adjust rendering intent (Perceptual vs Relative) to preserve hue relationships, and apply final output sharpening specifically for the paper type to avoid banding or posterization.
Verify trim, bleed, and safe‑zone requirements with your lab; for gallery prints add a 5-10 mm bleed and keep critical content 10-20 mm inside the edge. Choose paper intentionally-matte lowers perceived contrast while baryta increases depth-and order a proof at final size (common proof sizes: 8×10 or 16×20) to evaluate shadow detail and color shifts. When satisfied, embed the ICC profile and keep a print‑ready master file for consistent reprints.
Final Words
So you turn an idea into a cohesive fine art project by clarifying your vision, researching references, and sketching a conceptual plan; you iterate with small shoots and refine technique until images convincingly express intent; you manage post-production with restraint, proof prints with skilled labs or your own calibrated workflow, and prepare presentation and editioning that honor the work’s concept and permanence.
FAQ
Q: How do I generate and refine a strong conceptual idea for a fine art photography project?
A: Start by identifying themes that resonate-emotions, social commentary, memory, identity, myth, or a specific visual motif. Collect influences from literature, painting, film, and personal experience; build a moodboard with color palettes, compositions, textures, and symbolic imagery. Narrow the concept to a clear statement (one sentence) that defines intent, message, and mood. Test the idea with small studies or sketches to see how it reads visually and adjust the concept until narrative, aesthetic, and feasibility align.
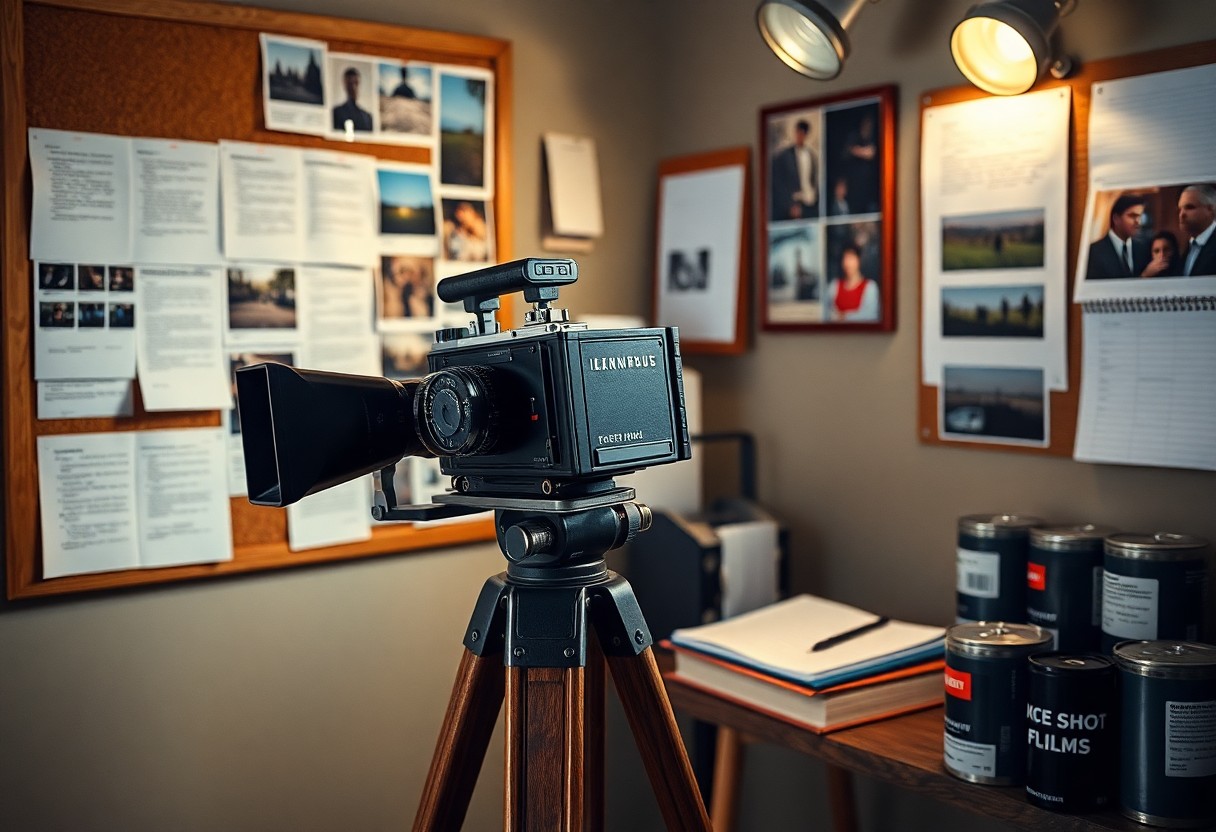
Q: What steps convert a concept into a practical production plan?
A: Translate the concept into a project blueprint: create a shot list, storyboards or sketches, and a detailed moodboard. Define technical needs-camera, lenses, lighting, props, wardrobe, locations, and assistants. Build a schedule including scouting, rehearsals, shoot days, and post-production. Prepare budgets and permits, and assemble collaborators (stylists, models, set builders, makeup artists). Run a test shoot or series of contact-sheet experiments to finalize compositions, lighting setups, and color direction before the main session.
Q: What production and shooting techniques help realize conceptual imagery effectively?
A: Use lighting and composition deliberately to support the concept-controlled studio light for sculptural clarity, natural light for atmosphere, or mixed lighting for tension. Design sets and props that function as symbols rather than literal details. Direct models with reference poses and emotional cues to convey narrative without over-explaining. Choose lenses and depth of field to isolate or contextualize subjects. Keep detailed notes and diagrams of setups so you can recreate or vary them consistently across series.
Q: How should I handle post-production to maintain the integrity of the concept and prepare images for print?
A: Work nondestructively using layers and adjustment masks to preserve originals. Use global color grading and selective adjustments to reinforce mood while avoiding heavy, arbitrary edits that obscure intent. Calibrate your monitor and work in a wide color space (ProPhoto or Adobe RGB) for editing, then convert to the printer profile before final export. Upsample only if needed, remove distracting artifacts, and retain texture and tonal range appropriate to the chosen paper and viewing distance. Produce soft-proofed TIFFs or high-quality PDFs for the printer.
Q: What are best practices for printing, editioning, and presenting a fine art photography series?
A: Select paper and print process that align with the concept-matte papers for subtlety, baryta for rich blacks, or textured cotton for tactile presence. Work with a trusted fine art lab or master your own printing with test strips and proof prints. Decide edition size and sign/number prints; document provenance with certificates that list materials, print method, and date. Frame with archival glazing and mounting; choose framing that complements the work without distracting. Craft an artist statement and series notes that contextualize the concept for galleries and collectors, and prepare high-resolution images and CV materials for exhibitions and submissions.


