
Most of your strongest fine art work starts with clear intent: define a mood, control light, and simplify composition so emotion guides form. As you shoot, prioritize quality light and watch for the danger of overediting that can ruin subtlety; use deliberate camera settings, experiment with angles, and refine vision in post. You’ll learn to balance technical skill with creative restraint so your images feel both powerful and personal.
Key Takeaways:
- Develop a clear artistic vision-select themes, mood, and storytelling that guide composition and subject choices.
- Prioritize strong composition-use negative space, rule of thirds, leading lines, and simplify scenes to strengthen impact.
- Master light and exposure-study light quality and direction, shoot during golden/blue hour, and use long exposures or reflectors to shape mood.
- Learn camera controls and lens choice-use aperture for depth of field, shutter speed for motion, and keep ISO low for cleaner files.
- Edit with intent and present thoughtfully-use post-processing to enhance mood and consistency, and choose prints/framing that match your work.
Understanding Fine Art Photography
When you approach fine art photography, focus on intent, presentation, and the final object as much as the capture; galleries expect limited editions (commonly 10-50), archival materials like pigment prints on cotton rag, and a clear artistic statement. You should plan lighting, composition, and post-processing so the print communicates your vision, and be aware that non-archival prints will fade over years if not properly made and framed.
Definition and Purpose
Fine art photography is photography made to express an individual vision rather than document reality; you shape mood, concept, and form to provoke emotion or ideas. Many practitioners produce conceptual series, staged portraits, or abstract compositions intended for exhibition and sale, and you often work in limited runs with detailed artist statements and provenance to support the work’s cultural and market value.
Historical Context
Photography entered the art world through movements like Pictorialism in the late 19th century, shifted toward modernist clarity in the 1920s, and expanded with postwar figures such as Ansel Adams (zone system) and later conceptual artists like Cindy Sherman, who reframed photography as critical art practice rather than mere documentation.
Technical and market revolutions shaped what you can do: early wet-plate and silver-gelatin processes gave way to Kodachrome in 1935, archival pigment printing, and then digital workflows after 2000, which both democratized production and increased competition. Museums began collecting photography widely in the mid-20th century, and high-end auction prices (e.g., Andreas Gursky’s sale in 2011) show how photographic prints can attain significant monetary and cultural value.
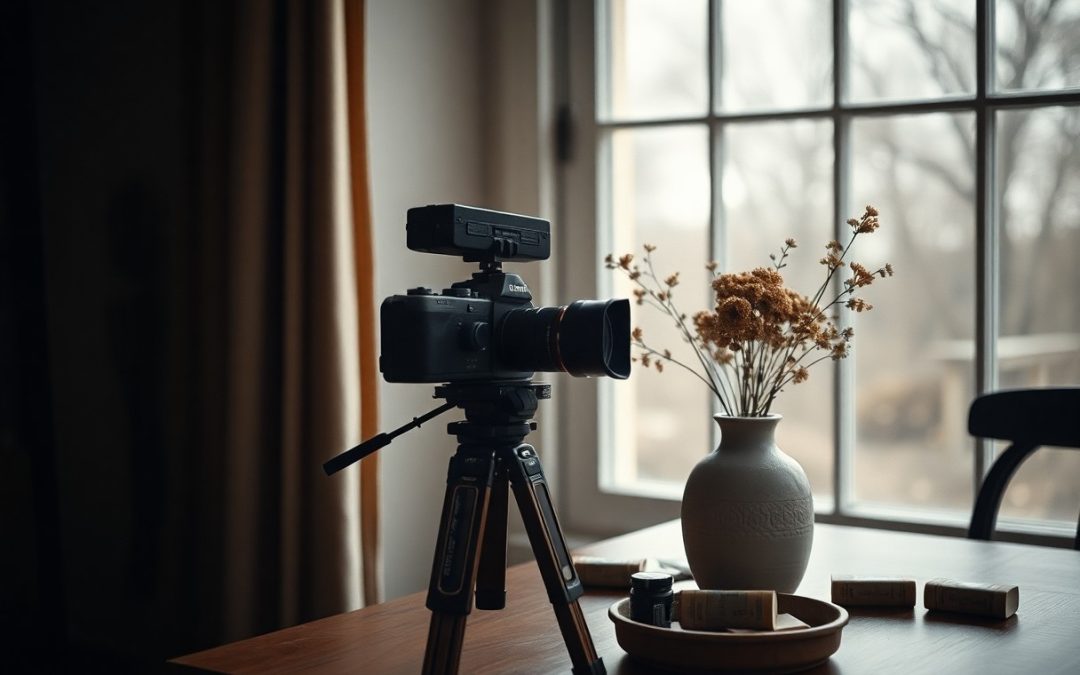
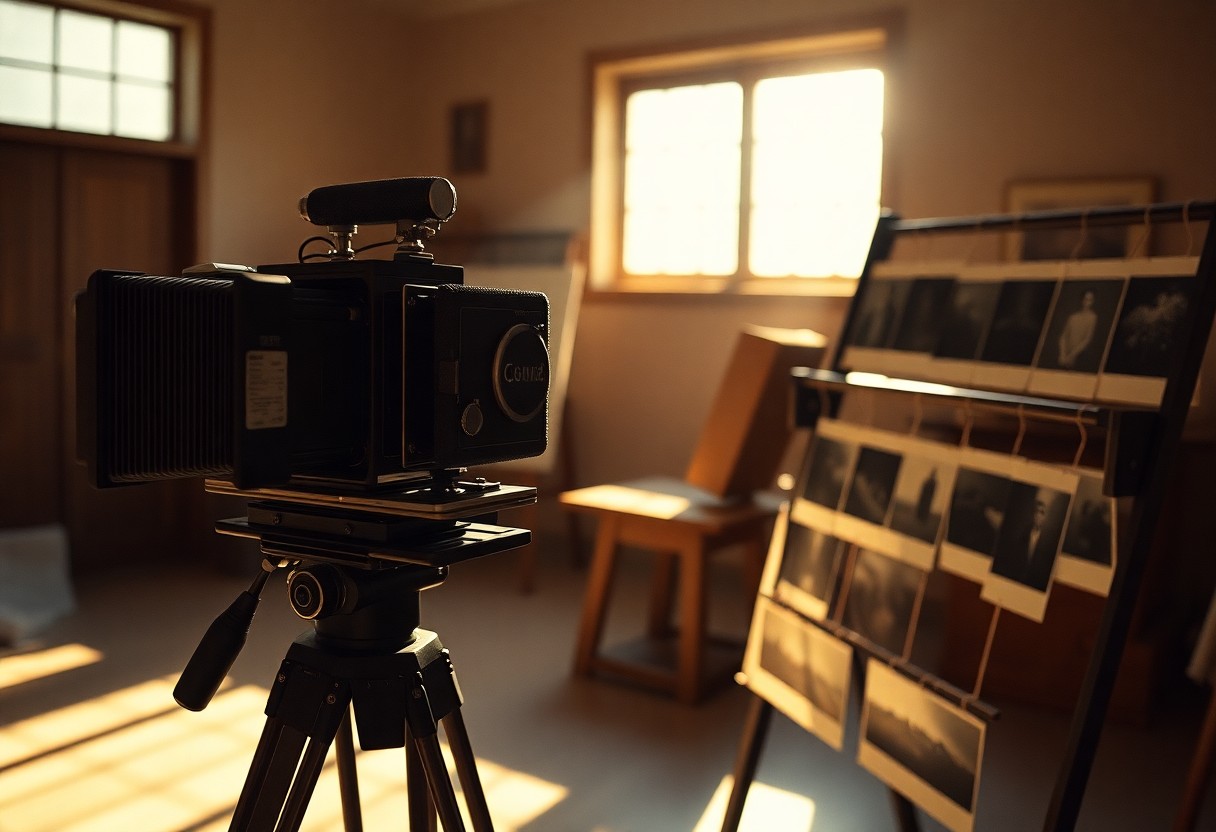
Essential Equipment for Beginners
Don’t overbuy; start with a reliable camera body and one or two lenses. You should opt for a camera with at least 24MP and good low-light performance (ISO to ~51200), like the Sony a7 III or Nikon Z5 for full-frame, or APS-C options such as Fujifilm X-T30 II. Add a sturdy tripod, remote shutter, and protective filters; a basic kit under $1,500 can cover importants for fine art work.
Camera Selection
When choosing a body, weigh sensor size and autofocus: full-frame gives wider dynamic range and shallower depth of field, while APS-C (e.g., Fujifilm X-T30 II) saves weight and cost. Favor mirrorless models with in-body image stabilization (IBIS) if you plan handheld low-light shooting, and prioritize reliable face/eye AF and good dynamic range-models like the Sony a7 III or Canon R6 illustrate these strengths.
Lenses and Accessories
Start with a fast prime and a standard zoom. A 50mm f/1.8 or 35mm f/1.4 gives character and low-light ability; a 24-70mm f/2.8 covers composition flexibility. Add a sturdy tripod (aluminum for budget, carbon for travel), a remote release, and a circular polarizer or neutral-density filter to control reflections and exposure for long exposures.
Primes typically deliver sharper images and wider apertures than zooms; for example, an 85mm f/1.8 at f/2 on a full-frame separates your subject with creamy bokeh, while a 90mm macro captures texture at 1:1. Pay for multi-coated filters-cheap glass can lower contrast-and include a lens hood, blower, and microfiber cloth to prevent dust and scratches during shoots.
Composition Techniques
Compose intentionally using balance, negative space, and geometric guides: apply a 3×3 grid or the golden ratio (1:1.618) to position elements, leave at least 30% negative space to emphasize your subject, and choose symmetry for formal statements or asymmetry for tension. Use color contrast and scale-placing a small figure against expansive sky makes a powerful fine-art statement. When you shoot, vary angles and lens choice to test how scale and balance change the mood.
Rule of Thirds
Apply the 3×3 grid by dividing the frame into thirds; position your subject at one of the four intersections to create dynamic tension and focus. For portraits, align your subject’s eyes with the top horizontal line; for landscapes, place the horizon on the top or bottom third depending on whether you want to emphasize foreground or sky. You can break the rule for symmetry, but most successful prints use off-center placement to hold the viewer’s gaze.
Leading Lines and Framing
Harness roads, fences, rivers or converging architecture as leading lines to draw the eye toward your focal point and anchor your frame; typically one to three clear lines work best. Use natural frames-doorways, branches, windows-to isolate your subject and add depth. Avoid multiple competing lines that fragment the composition; competing lines can confuse the viewer. When you execute this well, leading lines guide attention and heighten depth.
Experiment with perspective: when you get within 0.5-1 meter of a foreground line using a wide-angle (16-35mm) you exaggerate depth, while a 70-200mm telephoto compresses and layers lines for a denser look. Keep aperture around f/5.6-f/11 to retain sharpness from near to far, and place frames (arches, windows) about 1-3 meters from your subject to create a clear border. A common setup-24mm, f/8, low angle, leading road 30 meters to the subject-produces strong directional flow.
Lighting Considerations
Assess the direction, quality, and color of available light: modern sensors capture about 12-14 stops of dynamic range, so you should expose to protect highlights and use the histogram to avoid clipping. Bracket exposures (±2 EV) when contrast is high, employ reflectors or diffusers to sculpt shadows, and match color sources with gels or white balance shifts to prevent mixed-color casts that ruin skin tones.
Natural Light vs. Artificial Light
Natural light gives you soft, flattering gradients and changing moods, while artificial sources offer repeatable control: tungsten sits near 3200K, daylight around 5600K, and quality LEDs should be CRI>90. Use softboxes or large diffusers to mimic window light, add a 1/4 or 1/2 CTO gel to warm LEDs, and employ TTL or manual strobes to freeze motion-avoid uncontrolled mixes that create unexpected color casts.
Golden Hour and Blue Hour
Golden hour (roughly the first/last 20-60 minutes around sunrise/sunset) yields warm, low-angle light that enhances texture and long shadows; blue hour occurs when the sun is a few degrees below the horizon and gives deep, cool tones ideal for cityscapes and reflective water. You should plan locations, arrive early, and use a tripod for blue-hour long exposures to capture subtle color transitions without noise.
For portraits at golden hour try a 50mm f/1.8 at f/2.8, ISO 100-200 and shutter 1/200-1/400 to retain background glow while using a reflector or 1/16-1/8 power fill flash to lift eyes; for landscapes bracket three images at ±2 EV and merge for HDR to preserve 14+ stops of detail. During blue hour use f/8-11, ISO 100 and 5-30s exposures with a stable tripod; always shoot RAW so you can fine-tune white balance and recover highlights from clipped areas.
Post-Processing Tips
- RAW workflow
- Exposure recovery
- Local adjustments & masks
- Color grading
- Sharpening & noise reduction
When you edit, prioritize working in RAW to recover up to 12-14 stops of dynamic range and make conservative global exposure and contrast moves before applying targeted local adjustments; use masks or brushes to guide the viewer and avoid over-editing that creates halos or banding, which are dangerous for large prints. Assume that you should export at the intended size and color profile for final output.
Software Options
You can rely on Lightroom Classic for cataloguing and batch edits and on Photoshop for pixel-level retouching; the Adobe Photography plan is about $9.99/month. Capture One offers advanced color tools and tethered workflows favored in studio shoots, while free options like Darktable and RawTherapee provide powerful RAW processing without subscription fees.
Editing Techniques
You should begin with global fixes-set white balance, lift shadows by about 20-40% to reveal detail, and pull highlights down to regain texture-then refine with dodging and burning using low-opacity brushes to sculpt light; keep clarity/texture tweaks modest (±5-15%) to preserve natural gradations.
You can dive deeper by combining a Curves layer with targeted masks-apply a midtone S-curve for contrast, then use frequency separation to smooth broad tonal shifts while keeping surface texture; build 3-5 stacked luminosity masks to edit highlights, midtones, and shadows independently. When you sharpen for print, apply output sharpening at 300 PPI with a radius near 0.8-1.2px, export web images in sRGB, and use Adobe RGB or ProPhoto for large prints where supported.
Developing Your Artistic Vision
Push beyond technique by curating a visual DNA: assemble a mood board of 50-100 images, pick 3 recurring themes (light, texture, isolation), and commit to a 30-day project shooting one frame per day. You can analyze 5 favorite photographers or painters to identify patterns in composition, color, and subject choice, then keep a short log of decisions and outcomes. Consistent practice and selective editing (retain 10-20% of your shots) will reveal the motifs that define your voice.
Finding Inspiration
You should visit at least 3 galleries, parks, or film screenings each month and collect 200 reference images into labeled folders (mood, color, pose). Spend 10 minutes dissecting one inspiring image-note lens, angle, and light-to extract three techniques to try. Field notes on time, weather, and emotion help you replicate conditions that moved you. Use those elements to transform, not copy, so your work stays original.
Building a Personal Style
Begin by limiting variables: shoot with one lens (for example, a 50mm), pick a consistent color palette, and favor a single lighting approach for a month to force decisions. After 10 shoots, tally recurring elements and mark the top 5 that resonate with you and viewers. Consistency over variety increases recognition-galleries and clients look for cohesive bodies of work.
Refine with measurable edits: pare your portfolio to 12-20 images that share tone and subject, restrict post-processing presets to two, and run a 30-day feedback test by showing the series to 10 peers or posting it online. If 7+ people use the same adjective to describe your set, treat that descriptor as a clue to lean into. Beware overediting-excessive retouching can erase the authenticity that makes your style compelling.
To wrap up
On the whole you should focus on cultivating your vision, practicing composition and light control, learning your tools, and refining post-processing to convey emotion; prioritize intentional shooting, study masters, solicit feedback, and be patient as your style evolves-these steps will help you capture stunning fine art photographs that reflect your voice.
FAQ
Q: What basic gear do I need to start creating fine art photographs?
A: A reliable camera that shoots RAW (mirrorless or DSLR), a solid prime or versatile zoom lens (35mm-85mm for general work; 100mm+ for portraits or details), and a sturdy tripod are the foundation. Add a remote shutter release or use the camera’s timer to avoid camera shake. Carry neutral density and circular polarizing filters for controlling light and reflections. Invest in a calibrated monitor and basic editing software (Lightroom/Photoshop or equivalents) for post-processing. You don’t need the most expensive gear-opt for lenses with good sharpness and a tripod that keeps your framing steady for long exposures and precise compositions.
Q: How do I develop strong composition and a fine art visual language?
A: Start by studying artists and photographers to identify recurring visual motifs, such as negative space, minimalism, textures, and tonal contrast. Use compositional tools: leading lines, shapes, symmetry/asymmetry, the rule of thirds and the golden ratio as starting points, then simplify until the image reads clearly. Focus on mood and intent-ask what emotional response you want and remove elements that distract. Shoot multiple variations (different focal lengths, perspectives, and crops) to find the strongest arrangement, and when editing, crop decisively to emphasize form and balance.
Q: What camera settings and lighting techniques create the best fine art results?
A: Expose deliberately: shoot in RAW, use low ISO for maximum dynamic range, select aperture based on desired depth of field (wide apertures for subject isolation; narrow apertures for landscape detail), and adjust shutter speed for motion control-use long exposures for smoothing water/clouds or short speeds to freeze detail. Meter for highlights and check the histogram to avoid clipping. Use soft, directional light (golden hour, window light, overcast skies) to enhance texture and mood; employ reflectors or diffusers to shape light, and bracket exposures or use exposure blending/focus stacking for high dynamic range or extended depth of field.
Q: How should I approach post-processing and preparing files for print?
A: Begin with global adjustments-exposure, contrast, white balance, and clarity-then move to local edits to draw attention to your subject and refine tonal transitions. Work non-destructively with layers or virtual copies, and use sharpening selectively based on output size. Calibrate your monitor and soft-proof using the printer or lab’s ICC profiles to adjust colors and contrast for the chosen paper. Export at the correct resolution and color space (typically sRGB for web, Adobe RGB or ProPhoto RGB for print workflows when supported). For archival quality, save masters in 16-bit TIFF or high-quality JPEGs and keep organized backups with metadata and keywords.
Q: How do I find and refine my personal style in fine art photography?
A: Create projects and series rather than one-off images-consistency across subject matter, palette, mood, or process helps define a style. Limit your tools (one lens, monochrome only, or a specific lighting method) to force creative problem solving. Critique work objectively: select images that share visual traits and discard others, then iterate on the chosen approach. Seek feedback from peers or mentors, and exhibit or publish small cohesive bodies of work to test audience reaction. Over time, documenting your process and maintaining a consistent post-processing workflow will solidify a recognizable artistic voice.


